Contributed by: [email protected]
This article will show
you how to add the 4.6is spoiler parts to your 2000 thru 2003 4.4 or 3.0 X5. Note that this DIY will not apply for the front bumper on the facelifted 2004 and newer X5 (the 4.8is front bumper is all one peice), but the back bumper instructions will still apply.
Parts needed:
Front Cover: 51117062604
Rear Cover: 51127062601
Rear side cap: 51127062599
Rear side cap: 51127062600
Paint was $263 for me
(note: For the
4.8is Front Bumper - part # is 51-19-0-008-822 which ran
$430.65 from Shelly BMW. This is only part different from 4.6.
It is relatively easy conversion except for the PDC holding bracket issue.)
Misc Parts:
Epoxy windshield adhesive
Stiff tape (that will not stretch if possible)
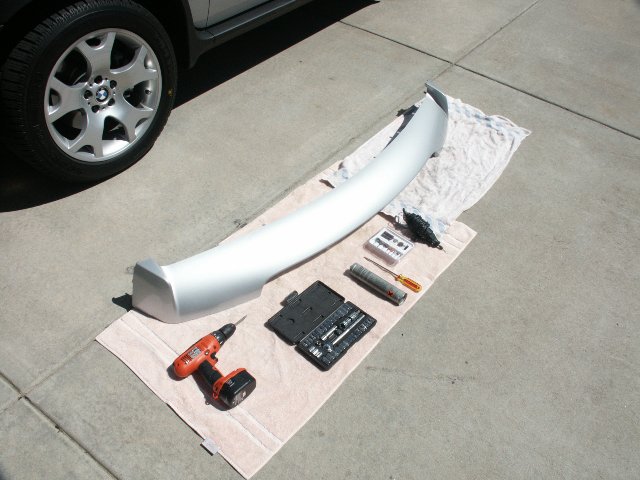
Tools:
Socket set
Dremel tool
Flat head and Phillips Screw drivers
Self tapping screws
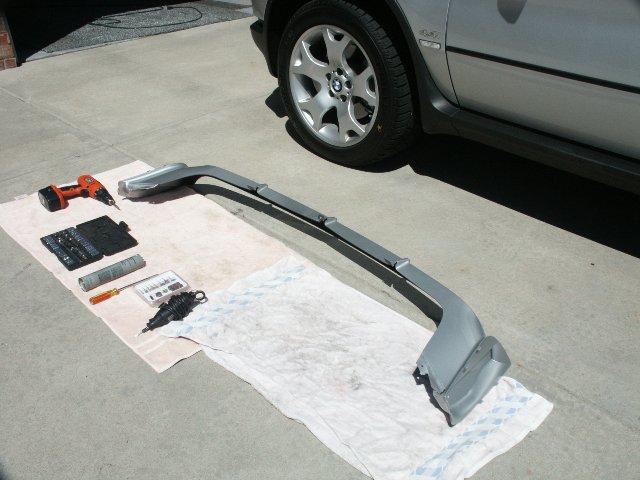
Here are
the Before pictures of the front and rear:


Here is
a shot of some of the tools you need:
On the
front piece you will see tabs all around. I was going to try and
cut groves in the bumper to accommodate these tabs but it proved
to be a real pain. So I trimmed all the
tabs with my dremel tool. Make sure you leave the ones that attach
the top between the grill supports (you will see what I mean in
the picture). You will need to clean the bumper well with a diluted
alcohol solution then take your windshield adhesive and put a
good bead around the edge of the spoiler.

After
you do this you can snap the piece in place. Use your tape to
secure it for curing as shown below.

You can
use "Goof Off" to remove any of the excess adhesive
that comes out. Be careful though, this stuff can get everywhere.
The cure time is 24hrs. for the adhesive.
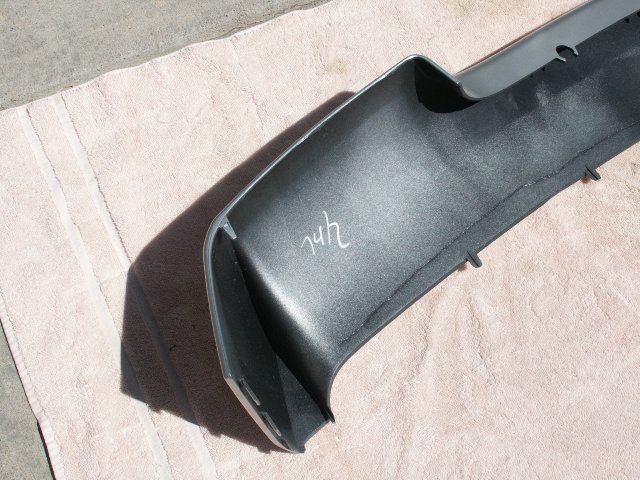
Now for
the rear. The rear is VERY easy. You will need to trim the tabs
inside the rear piece so it will fit snugly on the lower portion
of the rear bumper. There is a hook tab on either side of the
rear piece as well that needs to be removed with your dremel tool.
Do NOT attach the side caps yet. You will need access to the drill
holes. Once again clean your surfaces. Then apply a bead of adhesive
where you need to (you will see where during test fits). It will
be helpful to have a friend hold the piece in place while you
use a self-tapping screw to secure each side. Once those screws
are in place get under the rear and add 5 screws to the underside.
See pictures for more information.


Now you
may install your side caps. You will not see them on my car above
because they are still coming in  . You are now complete.
To be
honest the front was the hardest. They rear went right on. I will
try to post pictures of the completed product after the adhesive
cures. I am also putting on the aluminum running boards later
this week
If you
have questions email me at [email protected]
-------------------------------------------------------------------
Part numbers for the rear fender flares:
1. COVER, WHEEL ARCH, REAR LEFT 51-71-7-049-869
2. COVER, WHEEL ARCH, REAR RIGHT 51-71-7-049-870
3. SUPPORT REAR LEFT BUMPER TRIM 51-12-7-046-919
4. SUPPORT REAR RIGHT BUMPER TRIM 51-12-7-046-920
5. COVER, WHEEL ARCH, FRONT LEFT 51-71-7-049-867
6. COVER, WHEEL ARCH, FRONT RIGHT 51-71-7-049-868
#1, 2, 4 and 5 cost around USD $173/each
#3 and 4 cost around USD $113/each.
Front flares and rear flares (upper ones) are very easy to install. Pop
out the plastic rivets on the old flares and mount the new flares with
new plastic rivets. The lower part of the rear fender flares (items #3
and 4) are hard to install. You might have to cut into the rear bumper
to mount them.
In addition, you may need a plastic rivet setter to do the job. The
plastic rivet setter can be bought from Napa stores. Here's the link to the Napa rivet gun.
The part # for the plastic blind rivet is 51-71-7-002-953
and it costs around USD $.32 each. Buy extra rivets
because they break easily. The front flares will take about 6 rivets on
each side and rear will need 6 on each
side as well.