
|
|
|
|
||||||||||
| Xoutpost server transfer and maintenance is occurring.... |
| Xoutpost is currently undergoing a planned server migration.... stay tuned for new developments.... sincerely, the management |
|
|
LinkBack | Thread Tools | Display Modes |
|
#1
 04-17-2019, 11:13 AM
|
|||
|
|||
|
Build Log: M57 X5
Hi, my name is Evan and I like to modify BMWs.
Here are some of my old and current projects: Imola Red E39 M5: https://www.m5board.com/vbulletin/ca...ded-clean.html E39 540iT: https://www.bimmerfest.com/forums/sh....php?t=1245562 535xi E61 Touring: https://www.spoolstreet.com/posts/bm...project-wagon/ The "N54 Powered E61 M5 Wagon"  https://www.n54tech.com/forums/showthread.php?t=36899 The new addition to the fleet is a 2012 X5 diesel. I am very excited about this as a project since at the heart of this vehicle is the M57 motor which is wildly underappreciated in the US. Offering torque, reliability, and efficiency it's has great attributes for a fun daily driver. The plans for this is vehicle are fairly conservative relative to my other projects and the plan is to enhance the performance, dynamics, and reliability while not sacrificing anything in exchange. Plans include: - F85 X5M or F10 M5 brakes - F10 M5 steering wheel - JR 2.8 tune and supporting mods - XHP X Delete and Transmission tune - Upgraded headlights, fog lights, and reverse light - Style 612M wheels (done) - Revised Fitment (taller tires, KW V3 or springs) - 3rd row delete, rear seat entertainment delete - Stealth tow hitch. - Fender flared, M Sport front bumper - Clear Bra + Tint - etc. etc. etc. Here are the stock specs: 08/2012 78,XXX Platinum Grey Metallic over Black 1 owner Southern California vehicle Premium Package Sport Package Comfort Access Comfort Seats: Heated/Ventilated/Active Driver Heated Rear Seats + Steering Wheel Technology Pakcage Lighting Package 3rd Row + Rear Air Suspension Rear Seat Entertainment Soft Close Doors LET'S GO!!!! A rare picture of one of my vehicles in stock form... 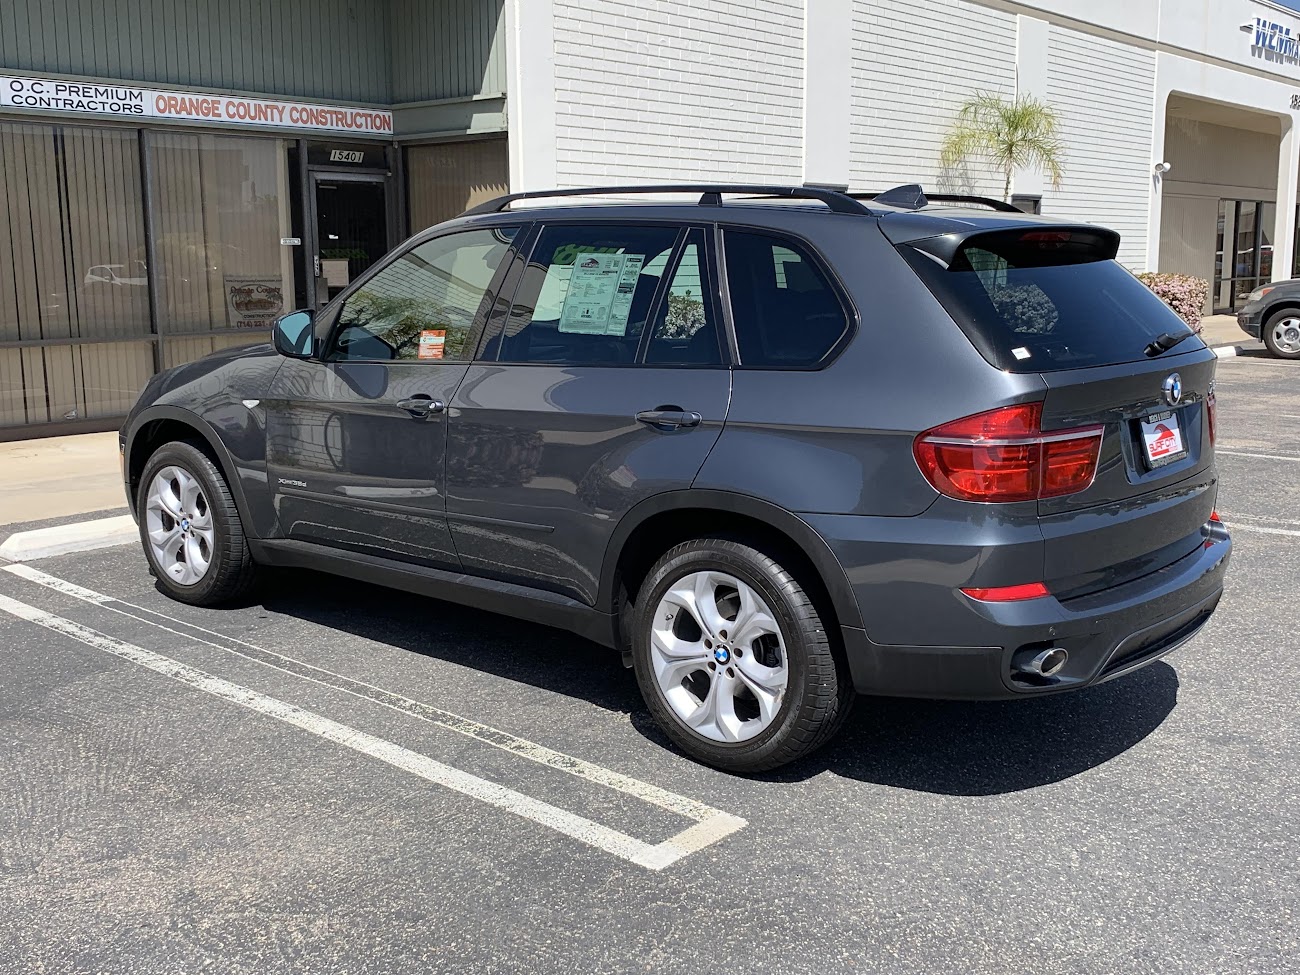 Pulling in the garage after driving it home  Had some 612M wheels waiting   Style 335 (19") vs Style 612 (21")  Ooooffffph  Saving 10-12lbs a corner of unsprung mass and rotational weight, nice!  Hubs were a little rusty so I hit it with a wire brush and applied some anti-seize.    Much better, Day 1 was a success   Interior received an emergency cleaning to remove all the oily/greasy/nasty interior shine the dealership covered everything with.  Next up was debadging the tailgate and front doors. Heat gun, plstic razor, some "finger grease" and goo gone.  Followed up with the DA polisher and some Chemical Guys V36  Much better 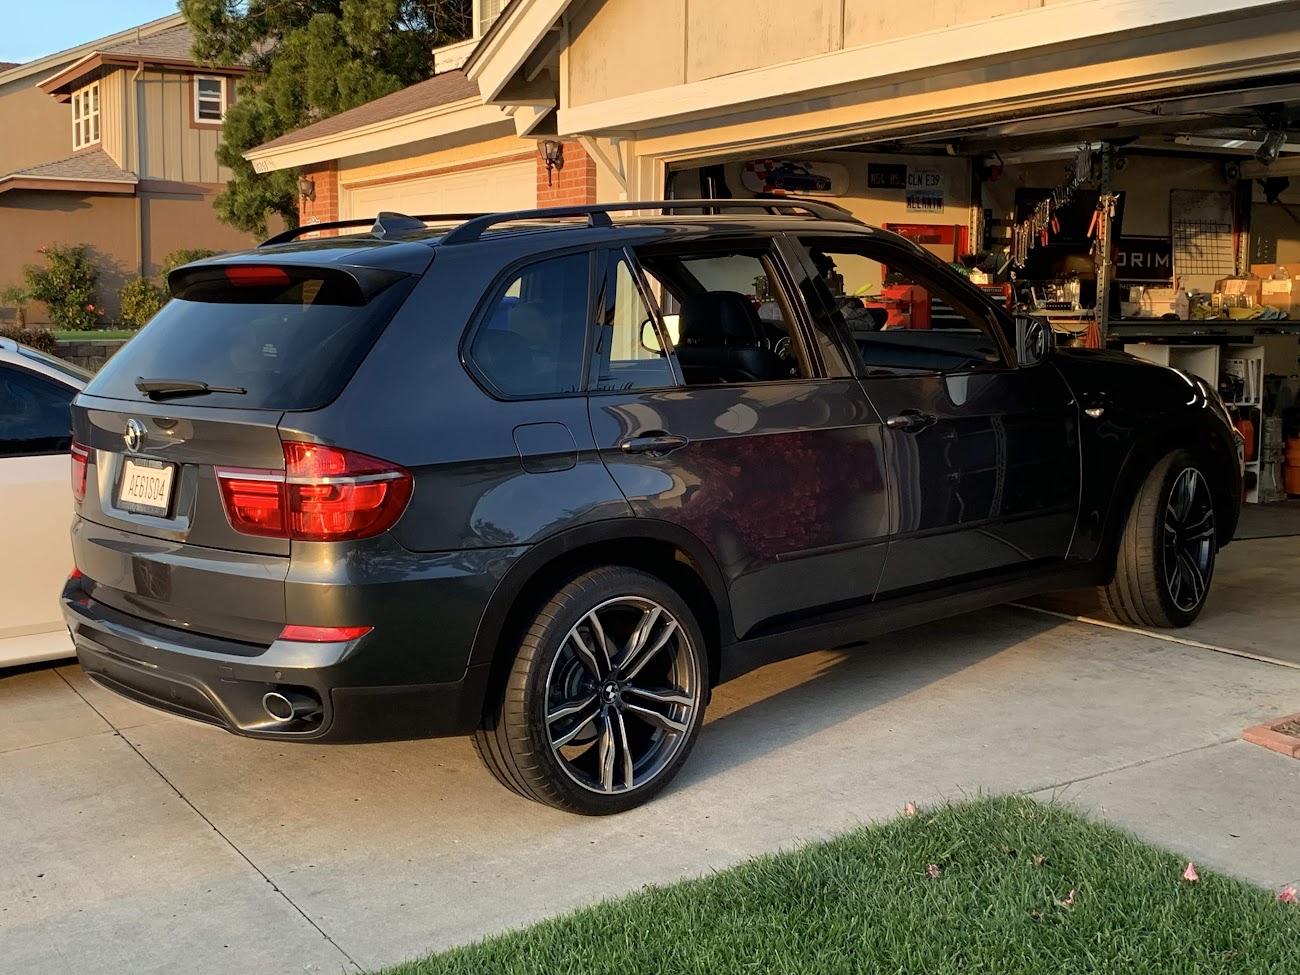 This stupid thing.... Hope the BMW engineer who thought this was a good way to store the DVD screen was fired....  Phone cradle delete, will follow up with the OEM delete plate later  More chrome delete. Exhaust tips were removed, cleaned, scuffed, cleaned, primed, and painted with satin black high temp paint  Rear reflectors were also dipped black, don't worry I have some color matched paint on the way and will DIY color match the F/R reflectors   Monochromatic roundals  Disassembled the kidney grills and dipped the chrome, I like how it came out, the black offers a nice contrast to the titanium slats.   Clean as you go  I had some gloss black vinyl left over from a project so I wrapped the front reflectors, I can't stand amber Here is a before/after with all the above changes.  After  X5 didn't come with a cargo cover but thankfully I found one locally in great condition for a great price   Put the mountain bike racks on    Backing up X5s info for XHP license   As a temp solution until I really upgrade the headlights I replaced the stock bulbs with some Osram CBB, not cheap but as you can see they offer much better intensity than the old stock bulbs  

|
| Bookmarks |
|
|
|
|


 Threaded Mode

