Quote:
Originally Posted by sgrice

Amen about the egr electrical connection. I think I mentioned it in the first post, and it was mentioned again in one of the later posts - but it is difficult. It's hard to describe the technique, but it's not so much "prying" with a micro-screwdriver, as it is sliding it between the two parts of the connector. There is some sort of a internal "ramp" that the clip catches on. I put the micro-screwdriver flat blade inbetween the two connector parts (from the back side), slide it back and forth for about 30 seconds while pulling with moderate force, and then suddenly the connector separates. I've looked several times to see exactly what gets unlatched (and why the white clip doesn't seem to do much), but I really can't see exactly what's going on.
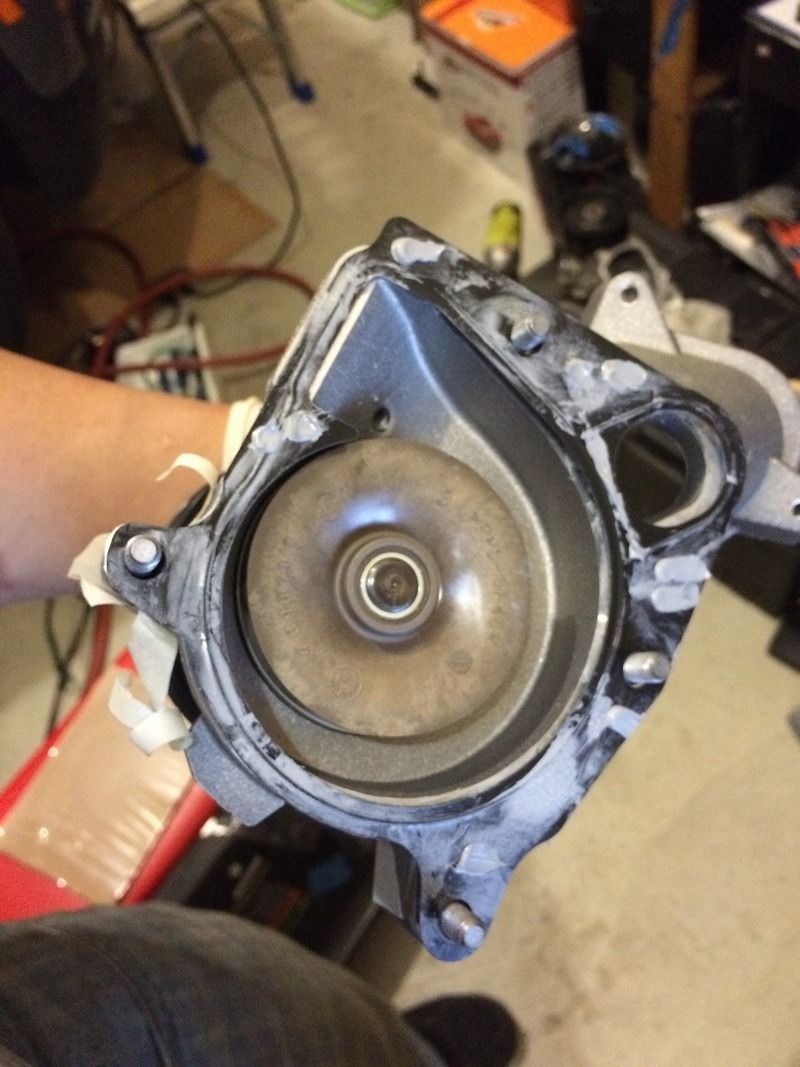
With regard to metal tabs on the water pump gasket, another option would be to cross-cut the metal gasket with a wire cutter/dikes in 2 or 3 locations, then twist the tabs back and forth like a paper clip until metal fatigue eventually takes care of the issue.
I am out of town right now, so do not have access to Rheingold. Thus I don't know the torque values for the egr valve and throttle/anti-shudder valve.
Interesting to see the carbon build up on the egr valve. It looks similar to what mine was like at 80,000 miles. Otherwise, congrats to you - looks like you've done the hard part!
Regards.
|
Again, thank you so much to sgrice and all those who contributed on this thread. Took me 4 days due to work schedules but I was able to get it done. Temp is finally working well back to 89-90 degF during normal driving.
Some of the frustrations I encountered.
Initially positioning the new metal gasket on the engine block (as per instruction) just didn't work out for me. I find it almost impossible to keep that area dry from coolant to hold the gasket in place despite the use of sealant. Made me realize the reason they used those tabs to keep the screw holes aligned. Metal gasket I got wasn't completely flat, pressing one side on the waterpump makes the other end pop up. Another issue: the moment it sits correctly in place, it easily slides off upon cramming the water pump in that limited space. Made a mess with the gasket sealant as shown below from the numerous attempts and had to wipe and clean them off again before they complete dry up solid.
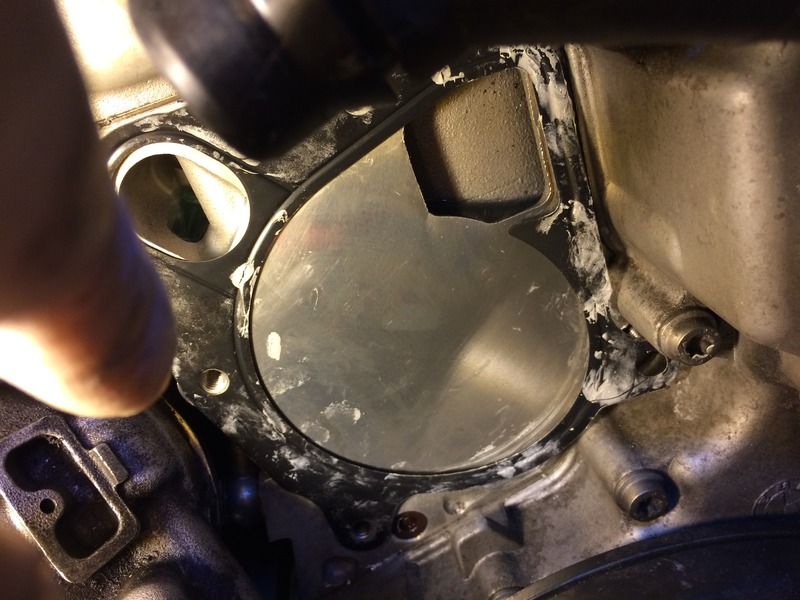
Also tried with the screws on (taped to prevent it from dropping) to keep the gasket in place to no avail due to limited space. Braille method was not working for me looking for those holes as I was afraid to bend the gasket if forced in.

Had to take a breather.
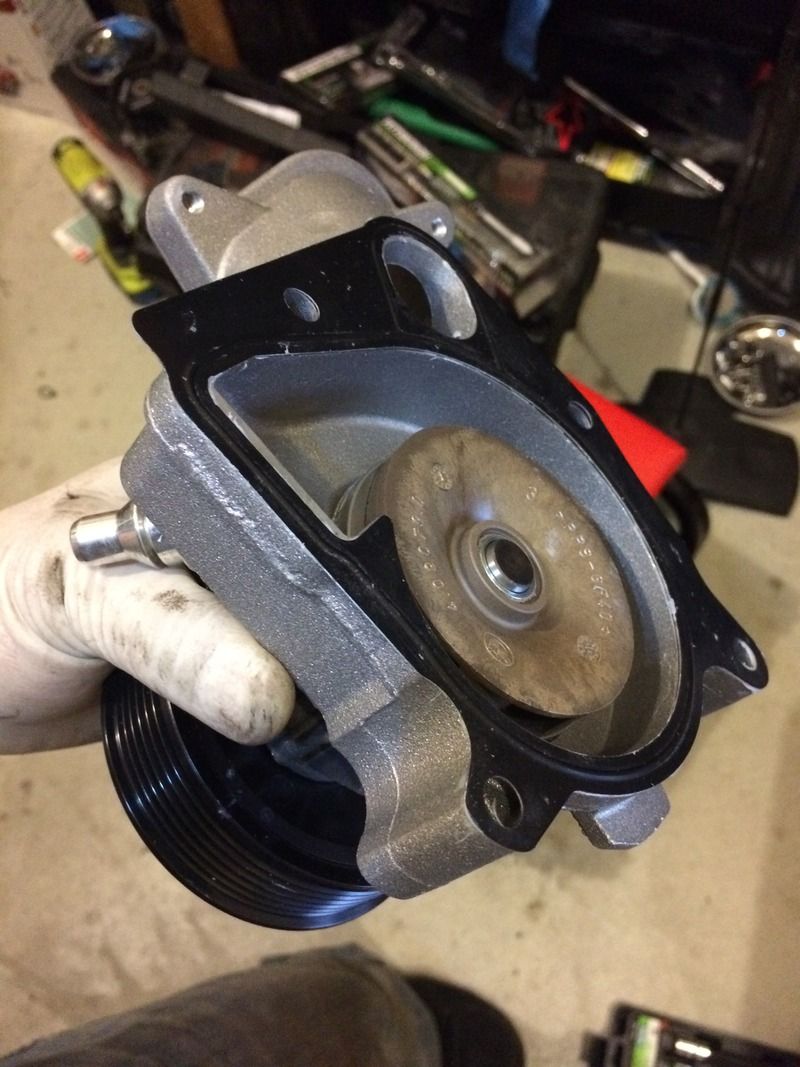
Eventually, I went opposite the instructions and ended up having to rest the gasket on the water pump and let it dry in place pressed down against a flat surface before installing. This turned out perfect for me installing it easily.
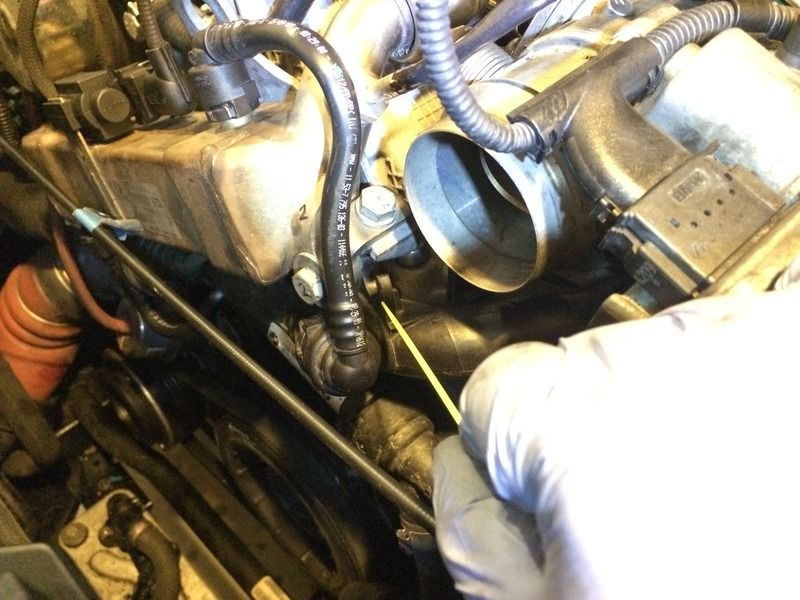
I can't recall if there's something attached on this hook like thingy on the hard pipe that run into the thermostat.