Update:
06/12/2021
- Installed a Thinkware Q800 Pro front and rear dash cam. Details on install can be seen
here as I edited up a YouTube video on it. Nothing new, others have done the same, but it's there. Pretty happy with the unit itself. Form factor doesn't block driver or passenger views. Has some things I'd change and the mobile app is a little cludgy, but paired with the rear cam and install harness it was a fair price I think. $321.48

- Updated the maps to 2021 as they were original. Bought a lifetime key from Bimmer Nav. Files uploaded no problem using a USB drive I had on hand. $50
 09/04/2021
- Had a new set of tires installed. The Continentals were getting long in the tooth at 6 years and 7 years old. Had about 45000 miles on them and tread was still okay. But with the Texas summer heat I didn't want to risk an old tire having a separation or other failure as this is the primary family vehicle. Went with a set of Toyo Proxes STIII in factory 20" sizes. Very happy with them so far. Ride smoother and quieter than the Contis surprisingly but I think that's because the old tires were getting hard and dry. OTD at Discount with certs was $1029.99.
10/06/2021
- Oil change time. Went a bit longer than I like to on this change, almost 9,000 miles. Typically like to do 7-7.5k miles but what are you going to do. Used FCP Liqui Moly kit. KIT-11428507683KT3 $69.86

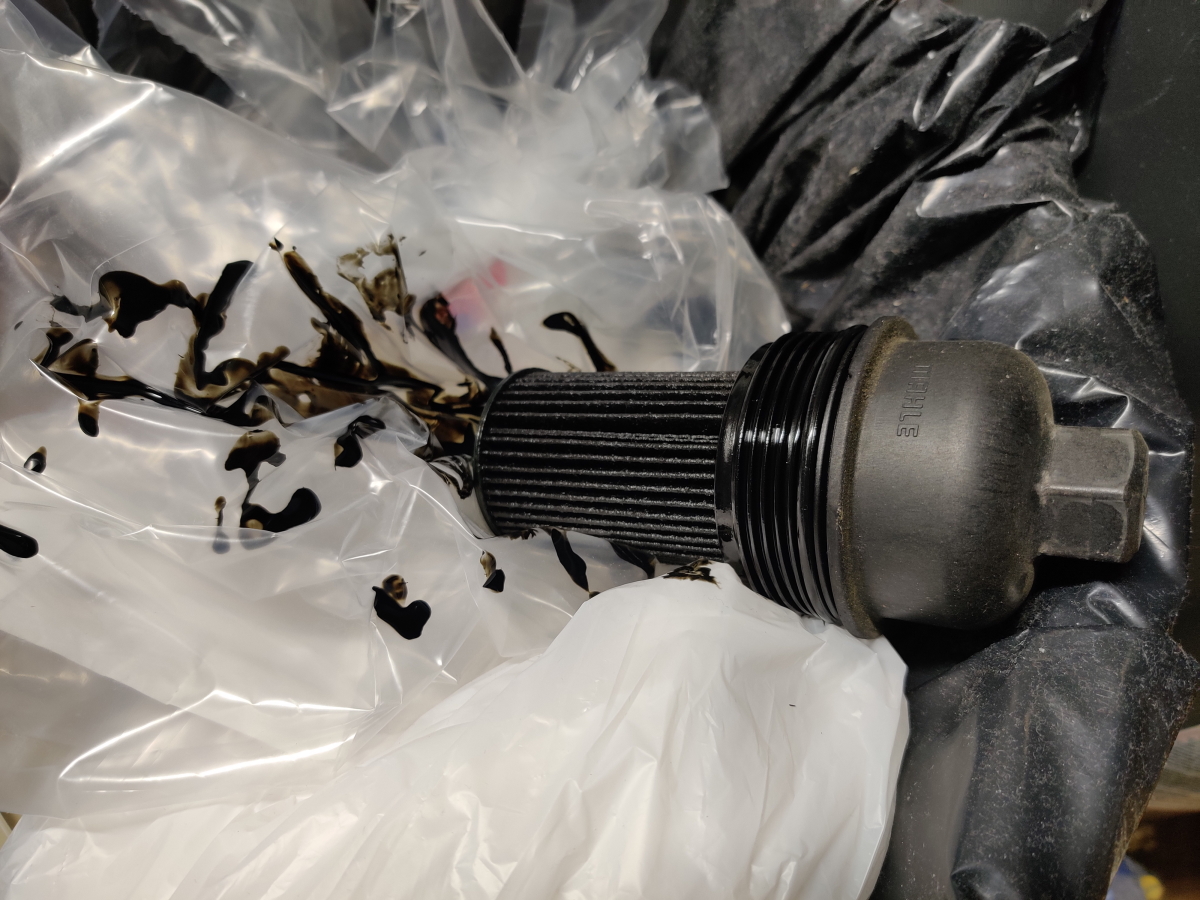
- Replaced fuel filter with a Hengst from FCP. Note: X5 will stumble for the first few starts and throw a code for low fuel rail pressure. I tried to use the Foxwell NT530 to do the bleed procedure but it froze on me during the process. Scared the hell out of me as the pump just kept running. :bulge: I tried to start the X5 after disconnecting the Foxwell and it wouldn't start. Just cranked. Cycled ignition, and this time it fired right up. Cleared the low rail pressure code and moved on. Mahle is the OES for BMW in case anyone was curious and wants the original filter. 13327811227 $31.79
- Installed 3 new jack pads as 2 were missing and 1 was in poor shape. These are Rein branded from FCP and work fine. Side note, you can also see my metal pucks that I use for putting my BMWs on stands (or jacking from the jack pad). They are metal Potato pucks from Amazon. Used them for years and love them. 51717189259 $26.07


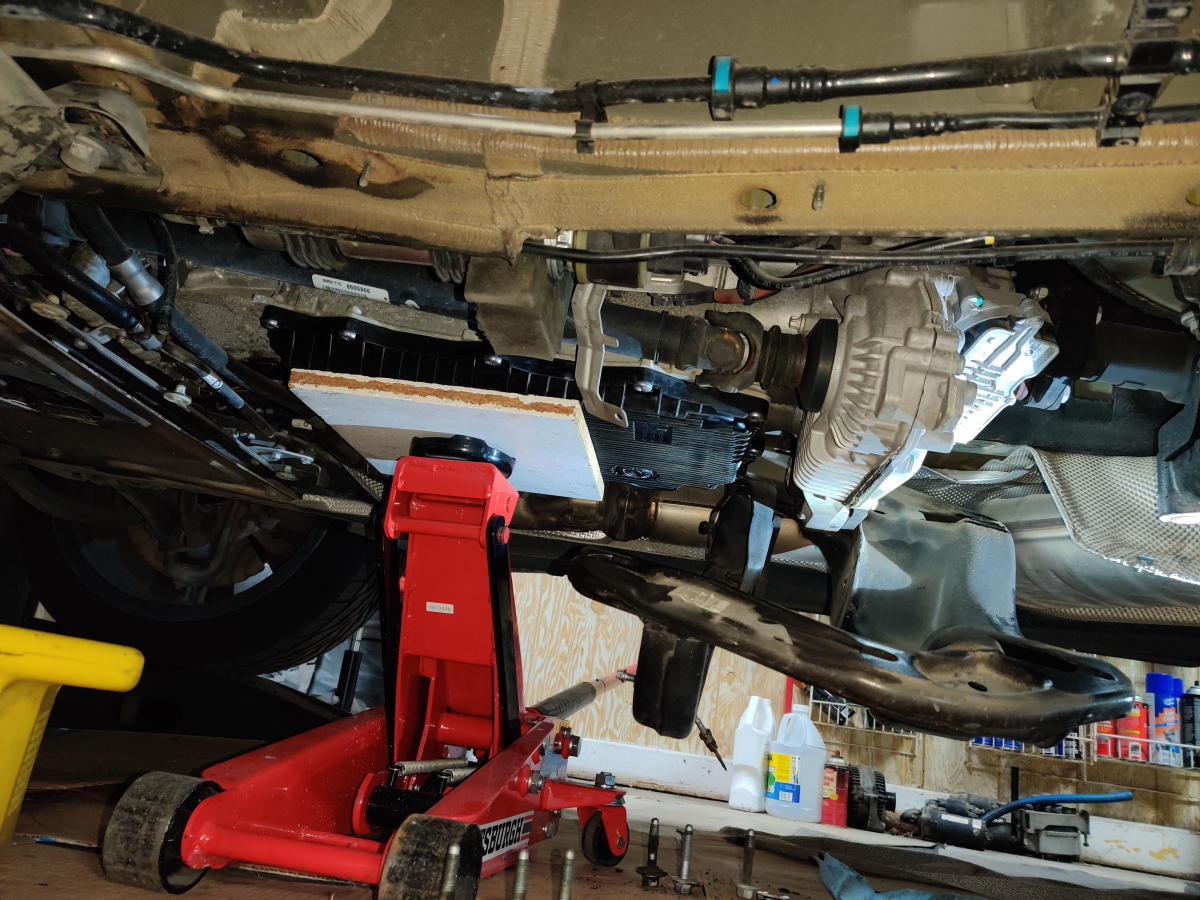
- Changed the transfer case fluid. I salute those who do this without taking the shields down and dropping the crossmember. My gorilla hands would not fit in there to get the plug back on so down everything came. Used S-Tec (Shell) trans fluid. 83222409710 $42.59
 Notes on dropping the crossmember.
Because I was doing the fuel filter I had to remove the 3 splash pans anyway so dropping the Xmember was not
much additional work. I looked at it as a plus anyway as I like to inspect the guibos, u-joints on the front driveshaft, and the trans mount bushing on a "new to me" BMW. These were all in pretty good condition ~92000 miles.
- First remove the 2 splash pans from the left side of the vehicle and the center trans splash pan. Some push pins, 10mm plastic nuts, and a whack ton of 8mm screws.
- Then undo the 1 small torx bolt holding the NOX sensor bracket.
- Next unscrew the NOX sensor from the exhaust on the right hand side of the vehicle with a 14mm open ended wrench. Or better yet, o2 sensor style socket. Undo from the 3 cable clamps and let the sensor hang.
- Now support the transmission with a jack and wide piece of wood, or a trans jack. Lift it slightly to take the load off the transfer case/transmission mount bushing.
- Undo the long bolt that goes through the mount. It's an 18mm bolt and an 18mm nut. You can fit an 18mm open ended wrench in there to hold the nut. The bolt is very long and doesn't need to come all the way out, just enough to clear the rubber bushing/mount.
- Then remove 6 16mm bolts to drop the crossmember from the body. You don't need to get it all the way off. It will be wedged by the exhaust and transfer case but it will swing down plenty enough to give you the access you need for the plug on the Xfer case.
- Use a level on your trans pan (or the piece of wood supporting it like I did) and adjust it until level. Now you can service your transfer case as normal. Easy right. :thumbsup:
Torque specs:
Transfer case fill plug (x1 14mm allen) - 60Nm or ~45ft lbs
Crossmember to body (x6 16mm) - 38Nm or ~28ft lbs
Transfer case mount (x1 18mm bolt + nut) - 68Nm or ~51ft lbs