Diff install took two days of driveway work. A lift would have made things a lot easier but I wasn't sure I could get it done during my days off and didn't want to get the car stuck on the lift I share.
I put the rear of the car up on jack stands and left the wheels on. There are times when you need to keep the wheels from turning so either the parking brake, or be ready to let the car down a bit onto the pavement, then back up when you need to turn the wheels. The parking brake worked for me most of the time, but some of the fasteners need a lot of torque to loosen and then re-torque at the end. Two floor jacks are nice as the axles pop much more easily into the output flanges if the rear suspension isn't fully extended. Or you could lower the car a bit onto the ground.
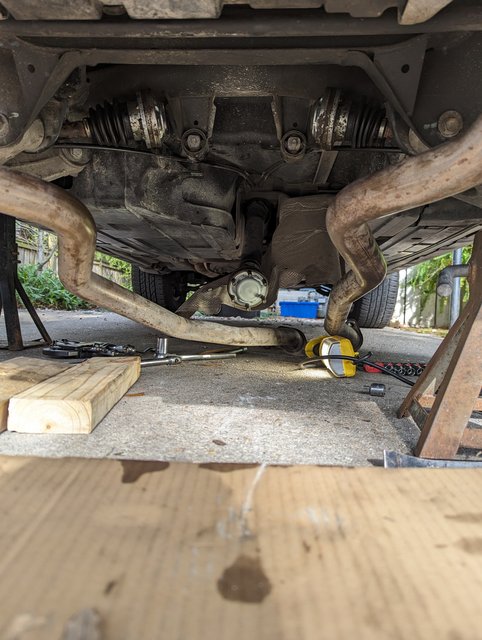
- drop the exhaust from the resonator back. I didn't do this at first, but eventually caved in and did it. Should have done it earlier and removed it fully. As it was I just let it swing down, which helped a bit.
-Undo the heat shield back tot he resonator and bend it down.
- Undo the driveshaft CV joint bolts from the diff input flange. A ratchet wont fit unfortunately so Its tedious and the driveshaft must be held with a pry bar, the parking brake, or put the wheels on the ground.
- Undo the torx head bolts that hold the axle to the diff output flanges. These are a pain and can only be reached when the bolts are at certain clock positions due to the rubber boot, etc. Do one or two, then turn the wheels, lock them with the parking brake, rinse and repeat. I bought 6 new ones just in case some of them were too mangled to reuse. The torx heads can get nasty after repeated use. There are six per axle. The axles can then be levered free of the flanges and tucked up by the parking brake cables.
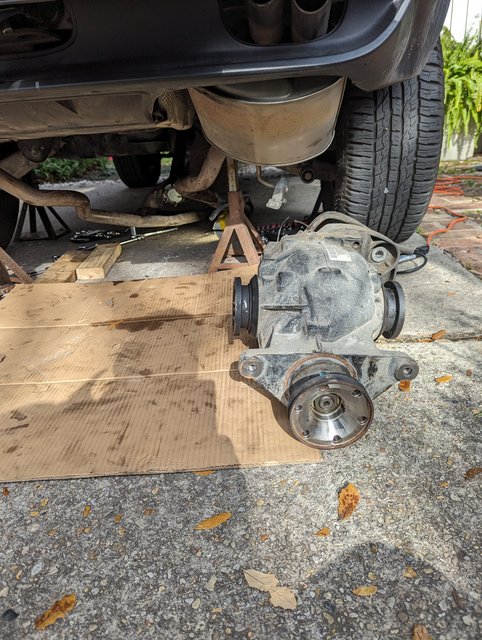
- Get a jack into position and support the diff, then remove the 3 bolts. They are torqued to 122 ft/lbs, so they are a pain on your back. The diff is now free and will drop down on the jack.
I made a jig out of wood to help support it. Not super necessary to remove as gravity is quite helpful, but it was a huge help installing the new diff.
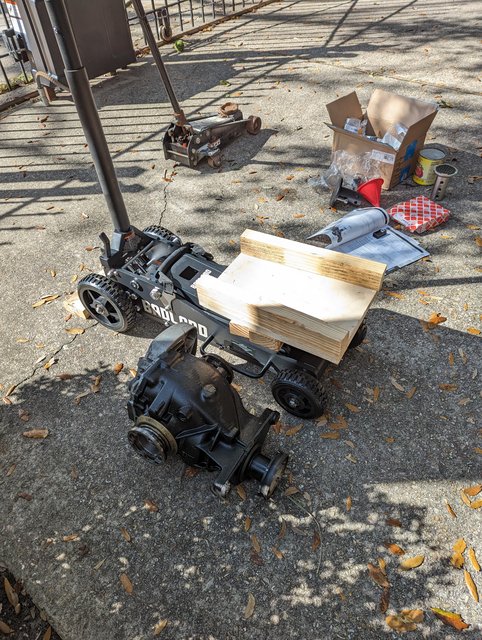
Diff finally out of the car....this took most of a day, but as these things go I could probably drop it again in several hours.
Next came the driveshaft as I needed to replace the CV joint and the center bearing. Its a straight forward exercise with the diff out. Way easier than with the diff in. Three bolts at the guibo (t-case end) and two holding the bearing up and it drops out.
The bolt holding the two halves together is a pain as the 18mm (I recall, maybe) wrench will only turn a few mm at a time inside the U joint. As the bolt comes out, keep knocking on the driveshaft flange (tcase side) with a hammer to separate the two halves and pull the bolt back in so the wrench will continue to fit. Slow, but it it will eventually come out. Mine was on insanely tight, but I recall it only needs to have 50 something ftlbs on it.
The CV joint comes off with a few taps of a rubber mallet after the circlip is removed. Note, I chose to reuse the metal cover, but getting it off was a pain. A new one is cheap and buying one would have saved me some time trying to get the old one off without too many bends where I pried with the pick, screwdriver, etc.
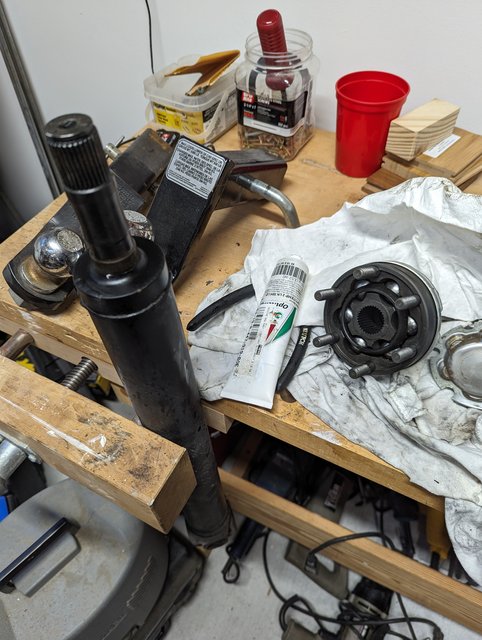
I cleaned the splines, put a little grease on them and tapped the new CV joint on with a big socket. Then the circlip went on and I packed it full of the special grease BMW calls for. Keep working the joint up and down, in and out, etc. and work as much grease in as possible. Then clean up the flange where the gasket goes and set the cover back in. I held it on with the two of the old nuts for the installation.
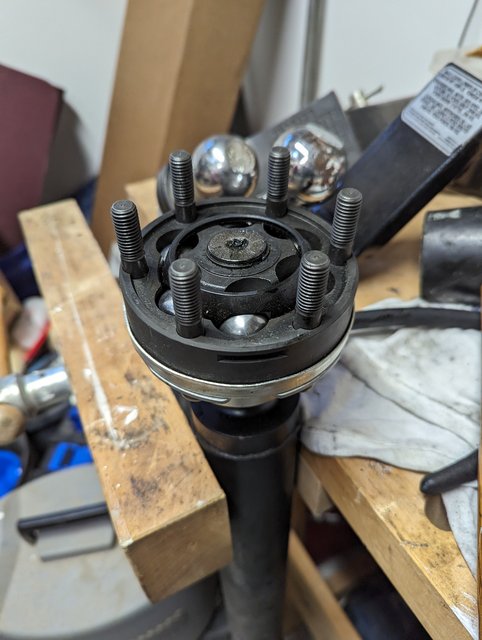
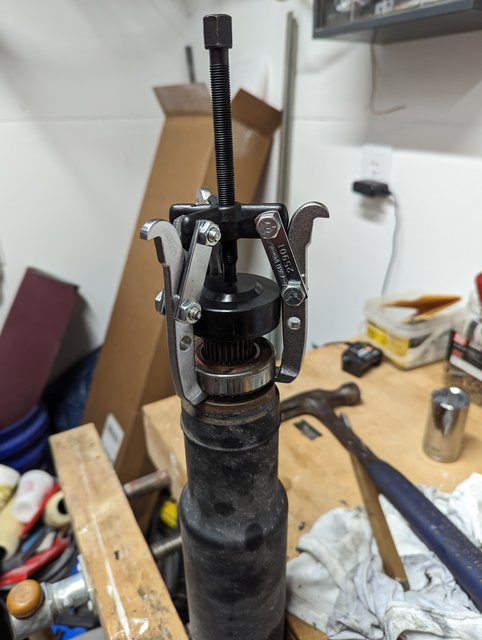
Next came the driveshaft center bearing. The rubber was mostly intact, but really dry and brittle. A mat knife cut must of the rubber off, to allow my three leg puller to pull the rest of the rubber off the actual bearing. The puller popped the bearing off easily after that.
The new one went on easily tapping with an appropriately sized socket.
After this it all went back in...driveshaft first, supported by wire at the cv joint, then the diff on the jig, slowly went up and I slide the cv bolts and axles home as it went into place. The axles needed to be unflexed a bit with floor jacks under the rear suspension. For all these parts as I popped two fasteners in as the parts connected, just to hold the mess together.
Then the diff went all the way up and I slide the front bolts in and caught a few threads. Then the back bolt and nut finally. After that it was just tedious tightening, refastening and final torques. I witness marked everything so I can keep an eye on it all to make sure it stays torqued.