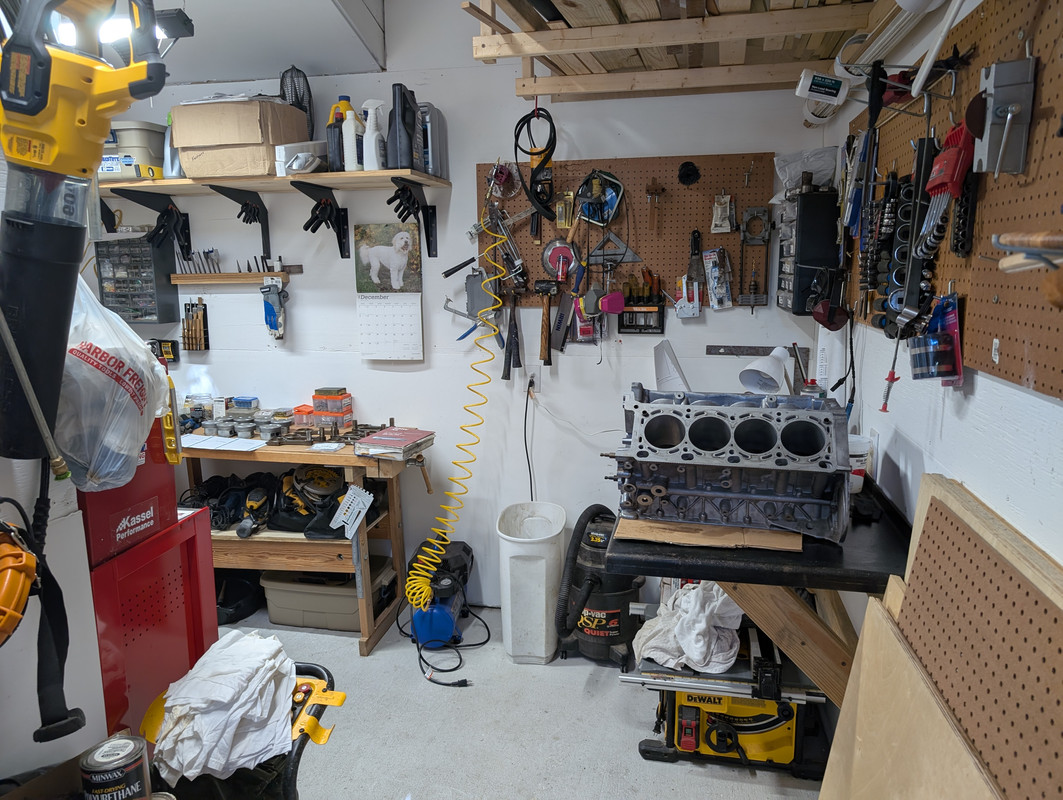
With the pistons cleaned and all the parts on hand, I didnt have any more excuses to put off beginning the assembly of the motor in earnest. So I cleaned my small shop for most of the day instead. In fairness, it was a pig sty and needed it.
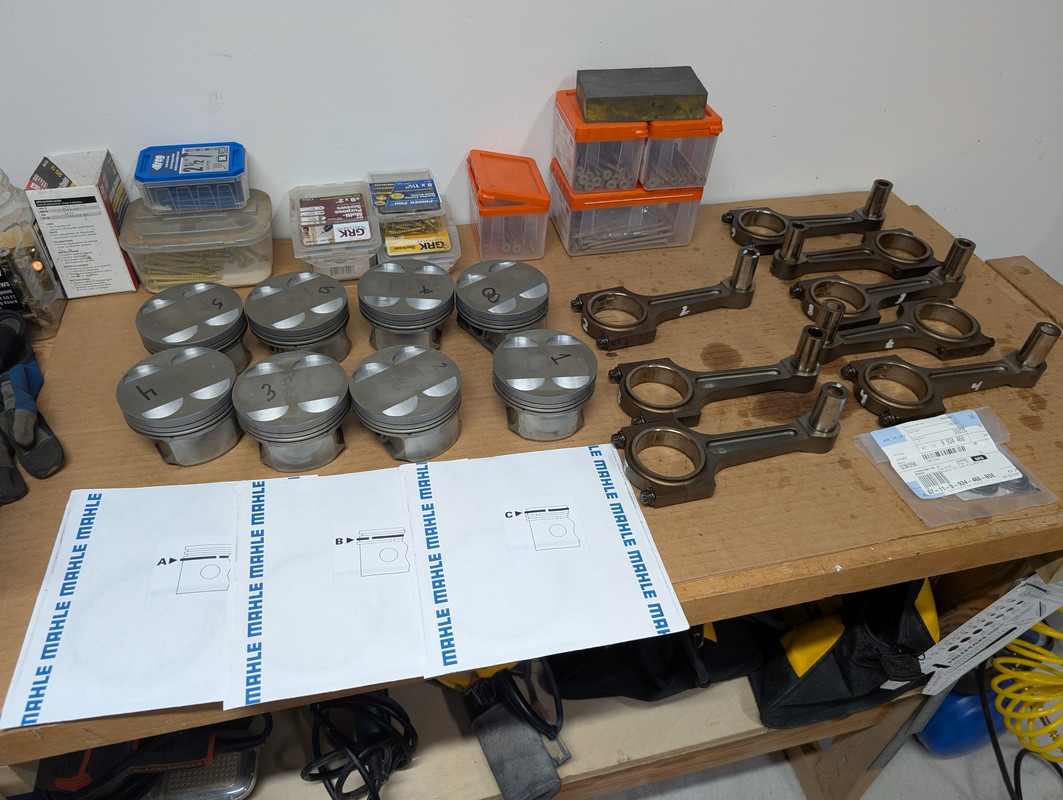
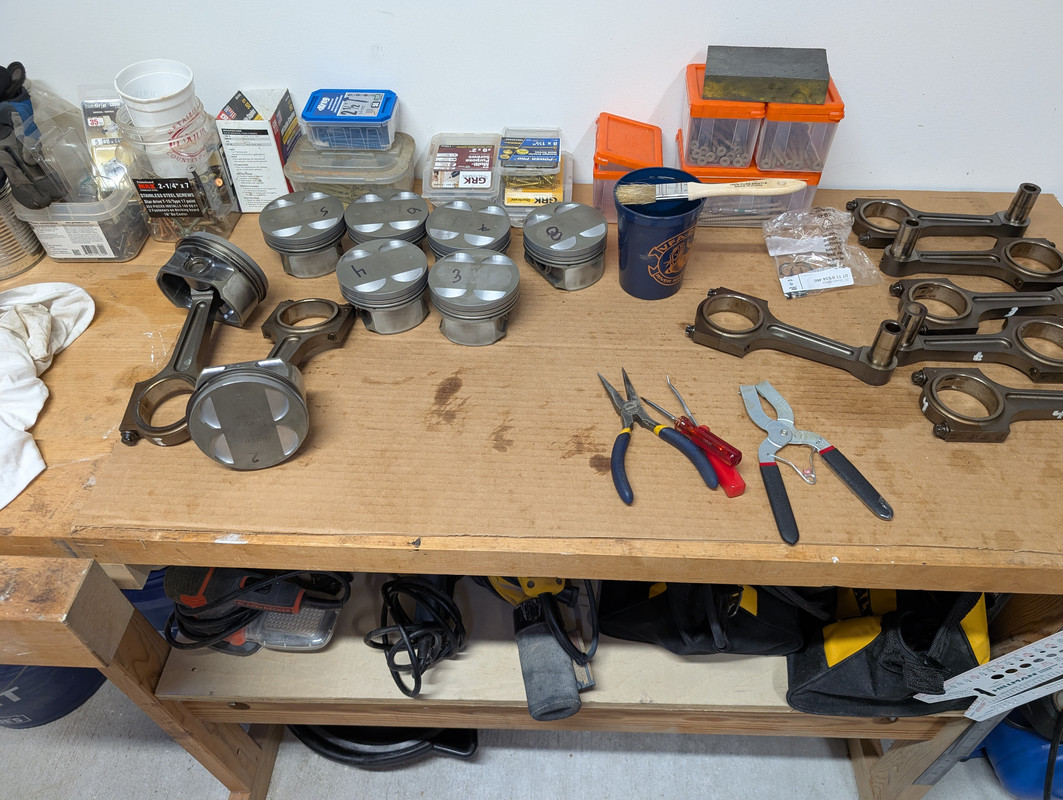
After spending some time with TIS, I organized all the parts I need to reassemble the pistons with new rings and pin retaining clips.
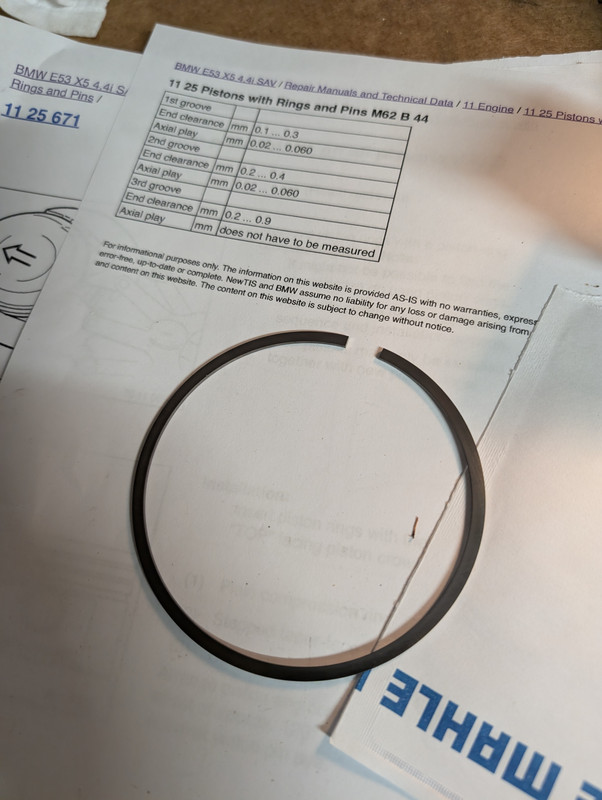
The rings come from Mahle three to a box and each package happily tells you which ring it contains. The bottom oil scrapper ring is a three piece without a top or bottom, the middle ring has a profile and has top etched on it, and the topmost ring seems symmetrical, doesnt have top etched on it but does have the Mahle symbol on one side, so thats the side I put facing up.
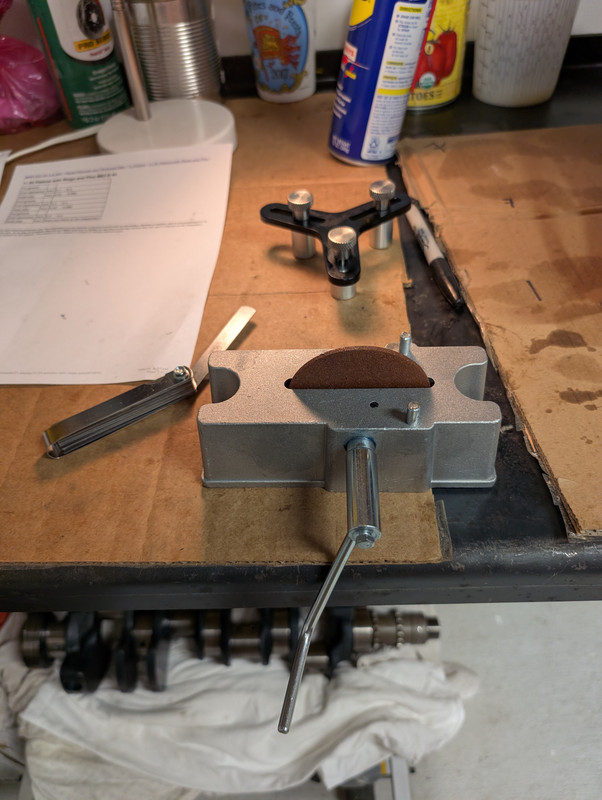
TIS calls for specific end and axial gaps on all 3, so I bought a cheap feeler gauge and ring tool on Amazon.
First I labled the ring packages with the cylinder number they were destined for. Then after oiling the bore and ring lightly with motor oil, I placed worked it into the top of the bore and used the tool to press it down a precise amount. The idea is to not have it askew in the bore or the gap will be off.
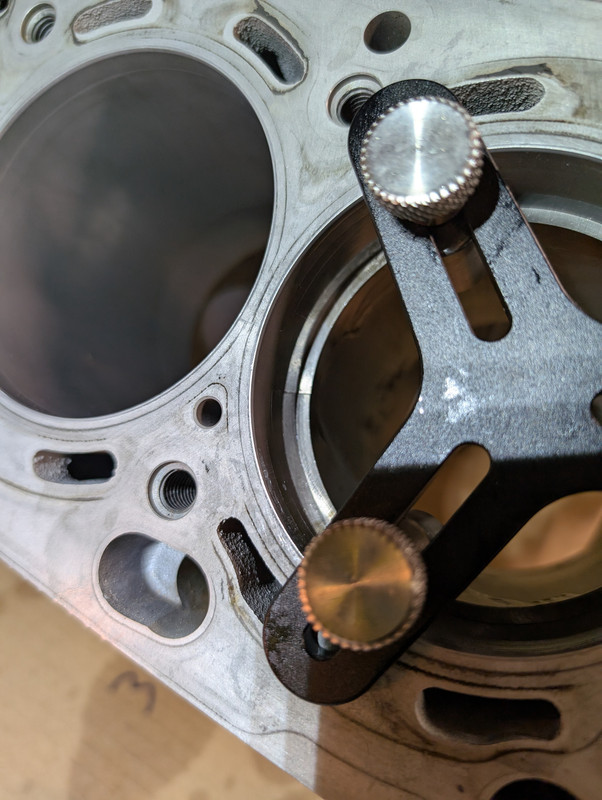
Then I would measure the gap with the feeler starting with the small end of the range given (ie .2mm) and then the largest. If the largest didnt fit I knew we were within tolerance. I only found one on the tight side (within.05mm of the lower limit) so I used the other cheap Amazon tool I bought to sand a .05 mm off of it. It only took a few passes to get it to .2 mm.
I checked the gap in all the rings, but probably didn't have to. One was a bit tight, but within spec, and all the others were well within spec. Thanks Mahle!. After measuring them all assembly was pretty straightforward.
Oil the ring grooves with engine oil:
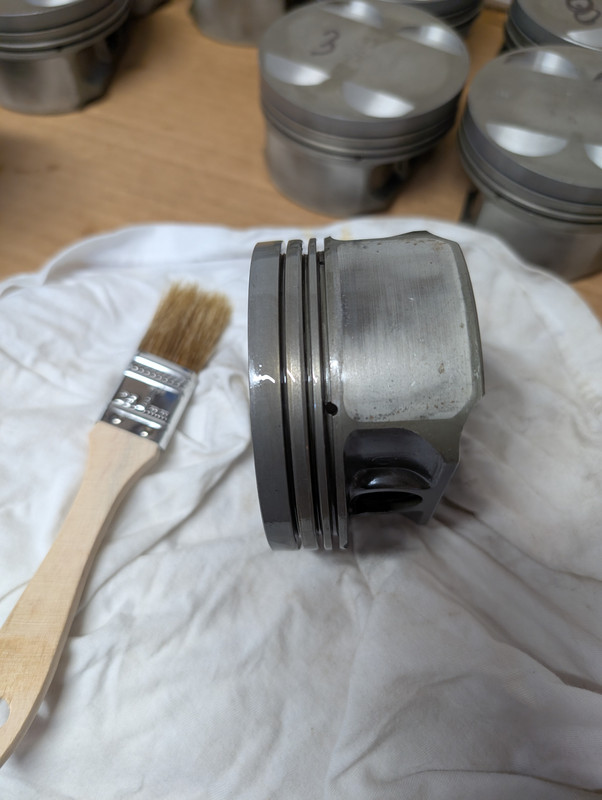
install the rings, starting with the oil scraper (bottom) ring assembly, then the top two working bottom to top. A ring spreader was handy for the upper rings. I separated the oil scraper ring gaps by 10 orm15 degrees and will clo
ck all the ring gaps 120 degrees when I install the pistons.
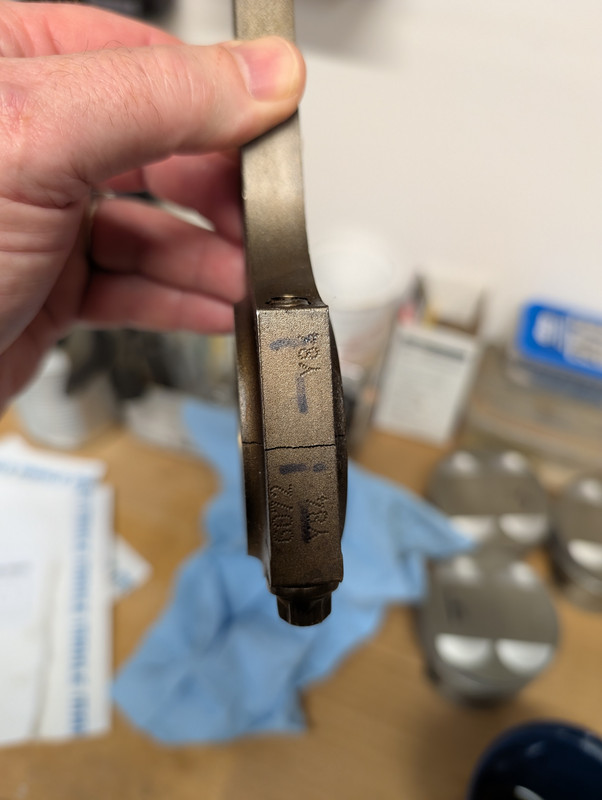
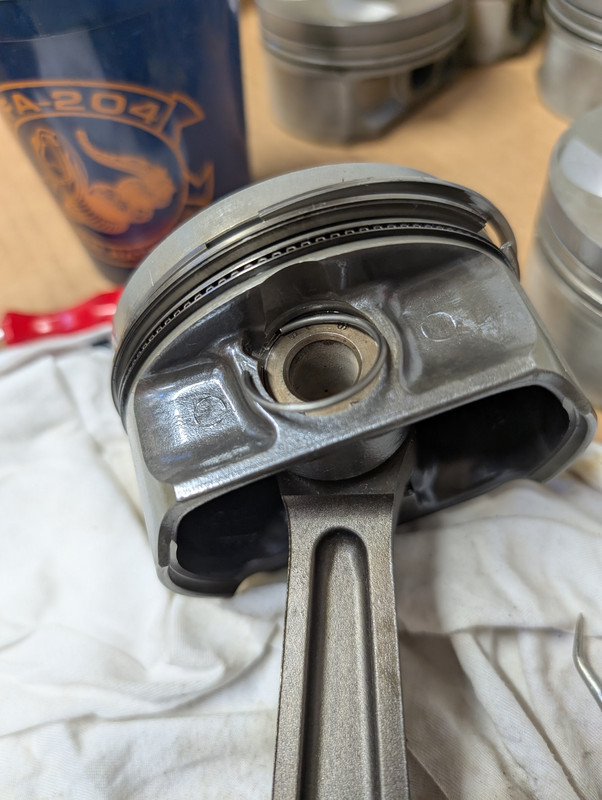
TIS wasnt too helpful at first with rod orientation, but after looking over some pics of the rod bottoms during disassembly, it did make sense. The rod bottoms have some numbers etched in them biased to the "front" (right side) of the rod. This allows you to match the forward side of the rod to the "forward" arrow on the top of the piston for assembly. Unlike the N62 rods, the M62 rods seem perfectly symmetrical at the bottom, but direction must matter somehow.
Below you can see the y84 on the right side of the rod bottom, which matches to the piston-top arrow facing right during assembly. I also put a sharpie arrow on each rod facing forward during disassembly, but had forgotten this.
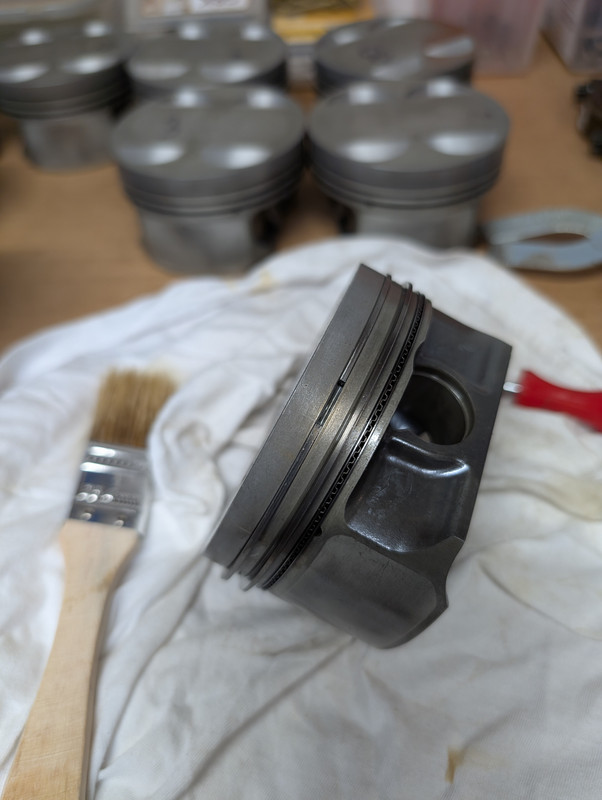
Pins, rod and piston bushings all got a light coat of oil and the pins slid in nicely. TIS emphasizes that no force should be used or needed to to get the wrist pins in. New snap rings went in to finish the assembly.
Two done, six to go.
Ill pull the rod caps off when get to stuffing them in the block but I dont want to risk mixing them up since each cap is "snapped" off the rod after the rod is manufactured. This creates a unique mating surface which doesn't allow for swapping caps and rods. Theoretically Im also supposed to plastiguage the new version rod bearings using the old bolts, so I didnt want to loose them.