Pistons went in this past week, with only a couple unforced errors (that I know about). Like most things BMW, the first one took some time and the last few went in quickly. The first problem I created was installing the oil pump before the pistons which makes it hard to get the caps at rod bolts for 1 amd 5 on. Not impossible though, just a tight squeeze for hands and tools.
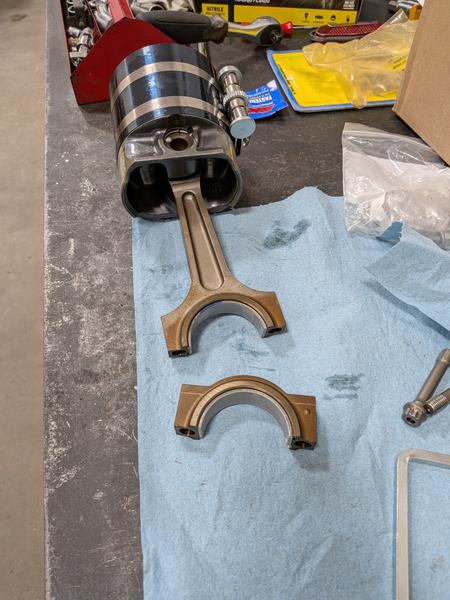
Additionally, I ended up with an extra Blue rod bearing shell at the end of the job, and as much as I wanted to believe that getbmwparts.com had thrown in an extra, years of observing my own work told me this was wishful thinking. Fortunately a rod (number 6 in my case) with only half a bearing in it has significant up and down play. Aside from being less expensive than BMW bolts, ARP rod bolts are not torque to yield so I was able to fix my mistake without having to order new bolts.
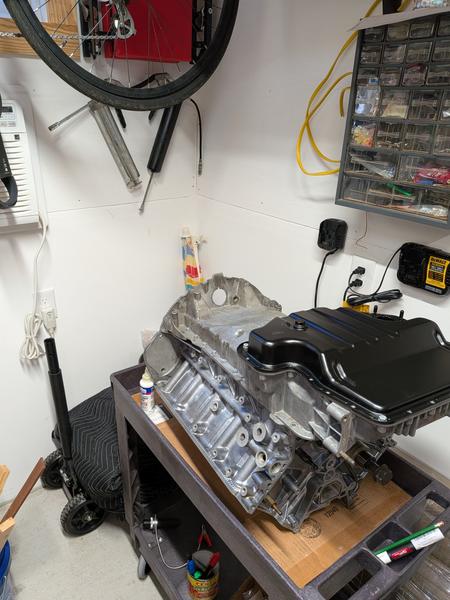
Ready to be moved from my small workshop across town to the Garage I belong to:
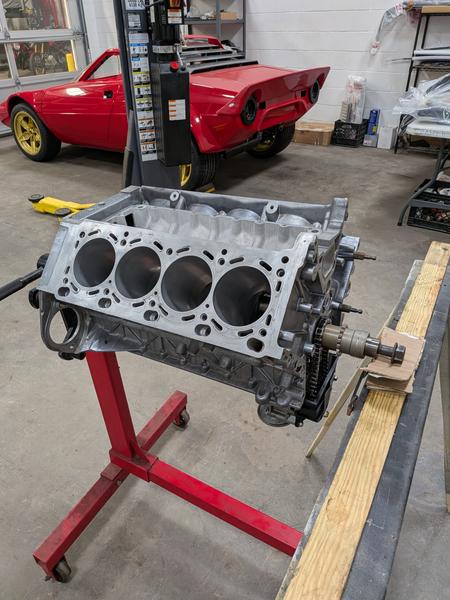
Oil pans off and ready for pistons and rods:
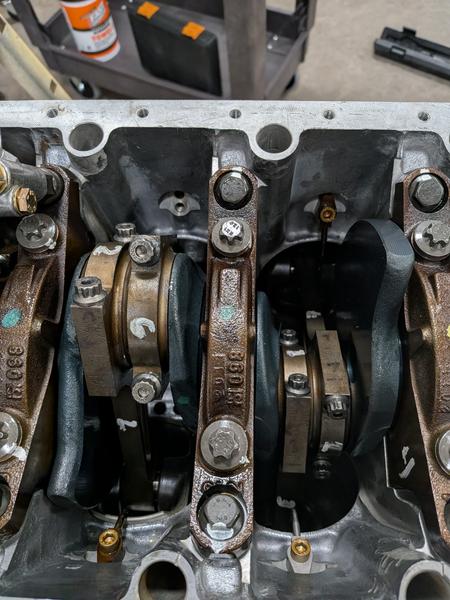
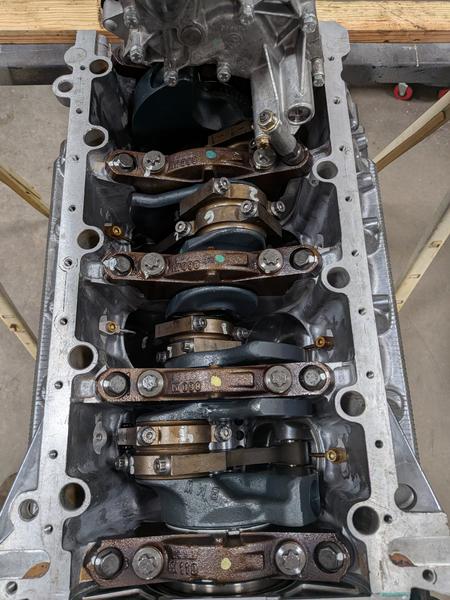
I brushed motor oil liberally on the pistons, the ring compressor and the bores. Then I checked the ring gap positions and rejiggered them as needed to look like a Mercedes logo, installed one red and one blue shell per rod (RealOEM, not TIS, tell you red shells go in the caps and blue in the rods:
The installation technique thst ended up working the best for me was to center the given cylinder crank journal under the cylinder and slide the piston in, making sure to not scuff the walls as they scratch very easily, or ding the journal. Then I placed the ring compression tool in place and tightened it slightly so that I could pushed the piston back up from below and it wouldnt fall back down. Then I fully tighted the tool around the piston. The tool must be absolutely flush on the deck and I found tapping it with a rubber mallet gently helped. Finger pressure at this point should pop the piston into the bore. Lots of oil on everything, the tool flush on the deck and holding it down with pressure as you push the piston in really seems to help. The slightest gap between the tool and the bore would allow a ring to expand ever so slightly and stop the process.
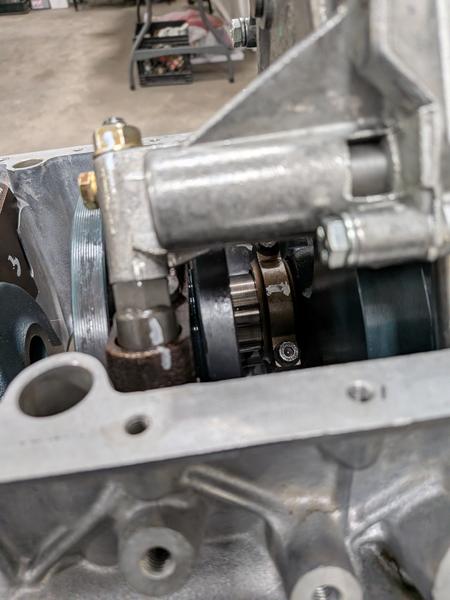
I installed and torqued each in turn. One and five were a pain because of the pump, but doable by turning the crank around until the bolt heads are (barely) accessible:
After the pistons, the oil squirters get installed to 10NM, per TIS. Since I was reusing all but one (I dinged one when I broke the block down) I blew thru each to make sure they were not clogged.
I finished the job by reattaching the oil pans, both for protection and so I could bolt the engine stand to those holes again and pull the sawhorse from under the hub (thanks JimLev), and spinning the rotating assembly with a big breaker bar on the old crank bolt. It spun freely and quietly, so hopefully I got it all right.
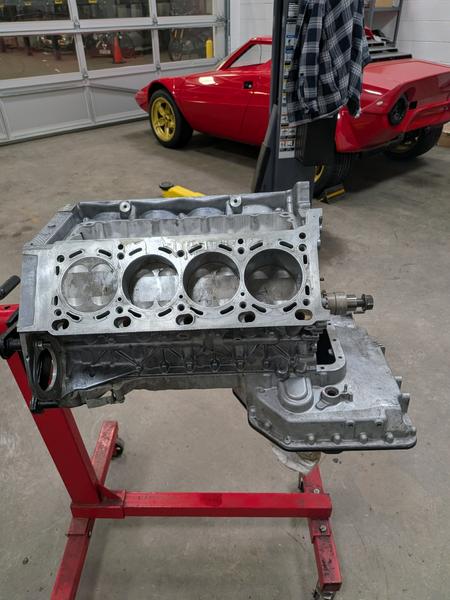
I'm still waiting on my heads so I expect more delay before I can get back to this project.
My x5 needs a new blower motor, an outer axle boot on the front right, a caliper rebuild on the same side, and new lower control arms as the boots are shredded on those ball joints. Frankly I just need to stick the car in the driveway or the Garage for a week or two and get it all done, but Im dreading pulling the dash for the blower motor as Im expecting lots of broken 25 yr old plastic.