Note that postimage is glitching this afternoon so Ill add pics as soon as its back up and running for me.
Sometimes a pig just needs a little lipstick!
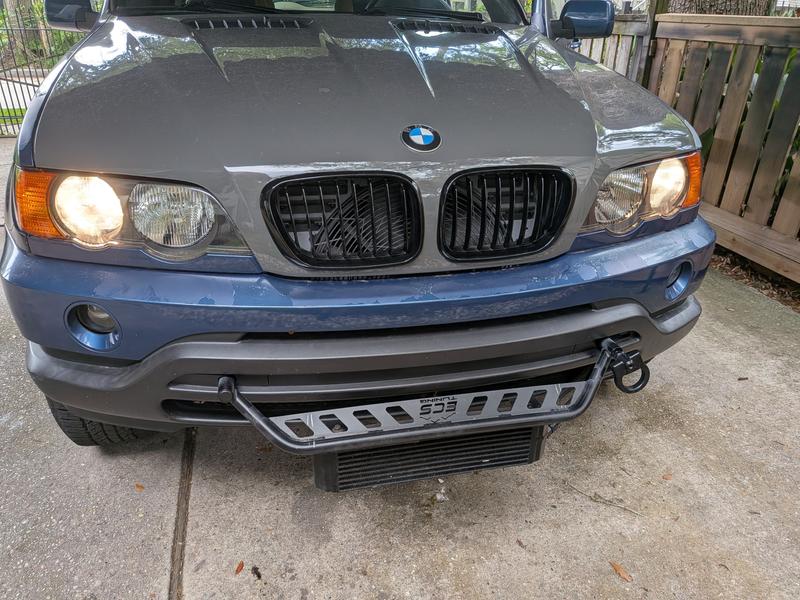
The new headlights went in today. All in all an easy job
much easier for me at least, than cleaning my old ones and trying to reseal them. That type of work is really not my strong suit.
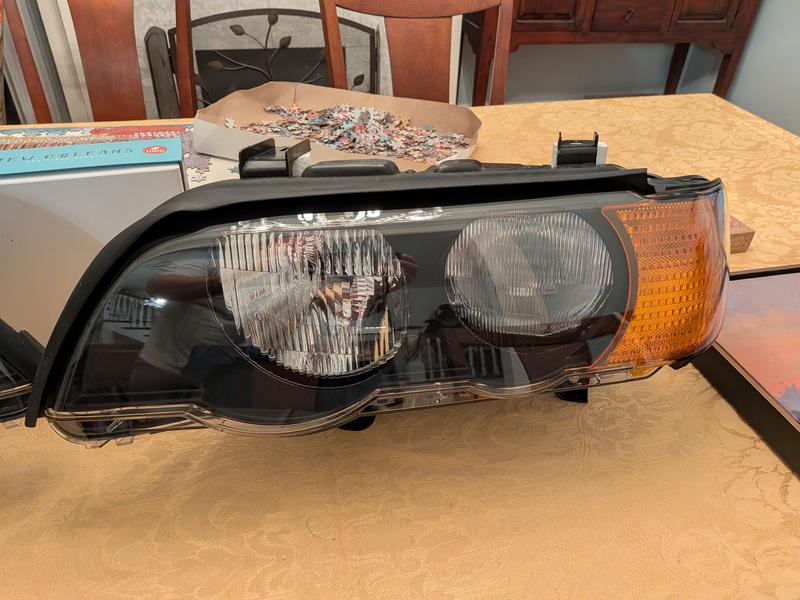
As I mentioned in another post, the new halogen OE headlights came from BMW with the top rubber seal, all three bulbs, and the mounting tray, all pre-installed. I either misinterpreted RealOEM or it was incorrect because in addition to the lights I ordered a seal and tray for the right side.
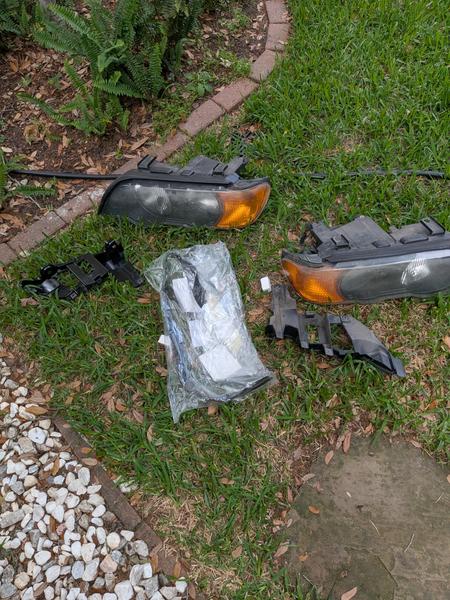
I had previously replaced the tray and seal on the left side about a year ago because they were both cracked and failing. Which is to say, now Ive got two extra trays, a right rubber seal (all new) and two gently used headlights if anyone wants them. Free to a good home:
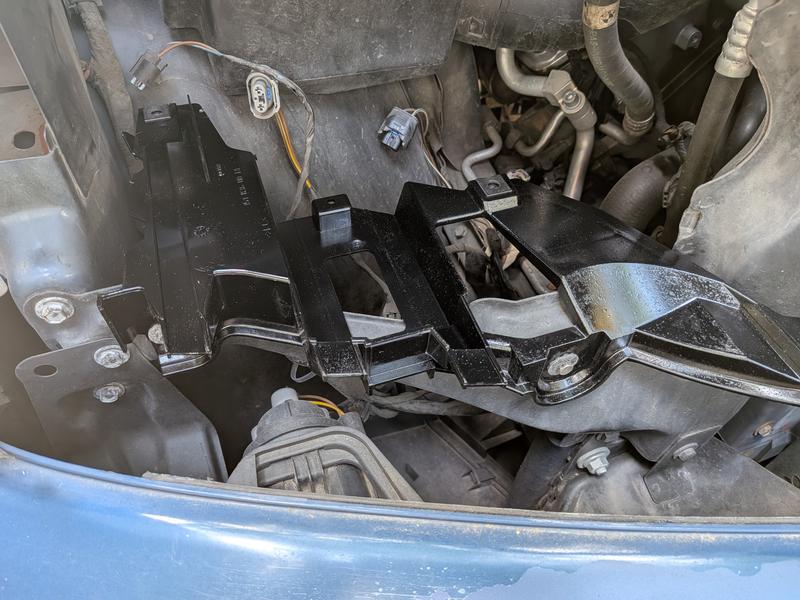
First the lower painted trim piece needs to come off, gently. Its plastic and cracks very easily, especially where it feeds into a tab on the outboard side. Then the two screws on the top of the lights and the two screws in the back holding the light to the tray can come out. At that point the light slides right out and you can unplug the harnesses from the bulbs on the way out.
This is a good time to note any leaks on the vanos, etc., clean years worth of leaves from the various nooks, and note that its a clear shot to the AC compressor thru the right headlight hole (I deleted my SAP system).
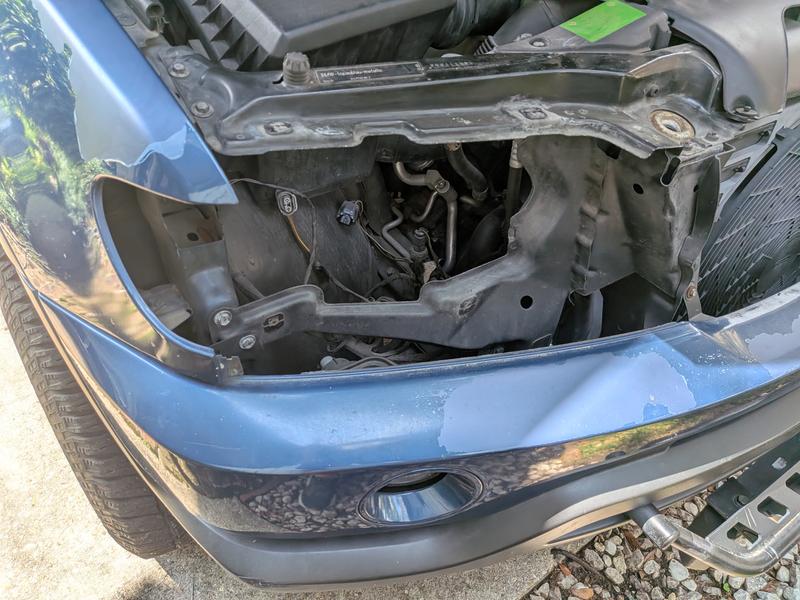
After this the tray is only held in by two screws on the front. The new tray pops right in, but be careful tightening the screws as the tray under the screw head will almost certainly crack under too much torque. As it turned out the right side tray was in good shape, unlike the left side that had multiple cracks. Regardless, I put a new tray in the right side to match the new one I put in the left side last year.
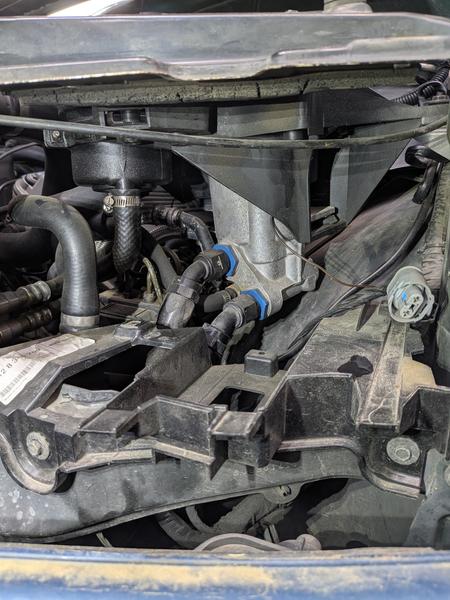
The view from the left side, showing the gulf oil filter housing tstat and plumbing:
The only trick to the headlight unit is getting the bottom tabs to properly engage the underside of the tabs on the tray. Youll know it isnt correct because the light will be loose if the lower headlight tabs are resting on top of the tray tabs. It isnt an exact science and a little massaging is needed to get all the holes to line up and the light to sit properly inside the fender cutout by the turn signal. Once secure and with the bulbs plugged in I tested everything and finally reinstalled the lower painted trim piece, gently.
The only thing left to do is to set their aim once the sun starts to go down. To facilitate this I noted where my wifes x5 50e low beam and high beam pattern fell on our fence, about 25 down range from the driveway. Ill try to set the new e53 lights similarly this evening.
Pics to follow.