Same post as on the wiring question thread I started, but wanted to update the overland thread with it.
Been a slow spring for the X5 projects. Its also splitting daily duties with the new G80, which is to say neither are getting a lot of miles. Its a well deserved rest for the X5 after several years of being my only car.
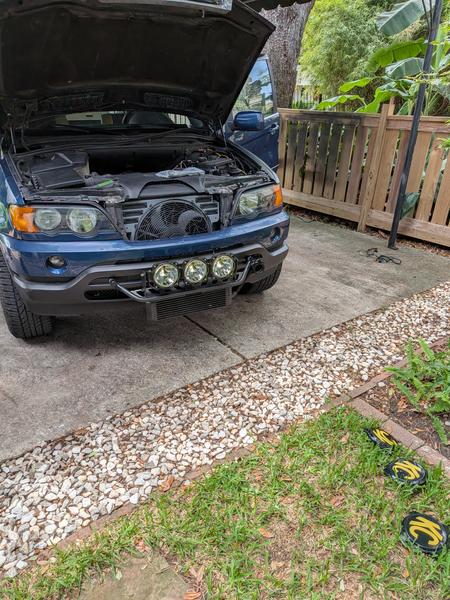
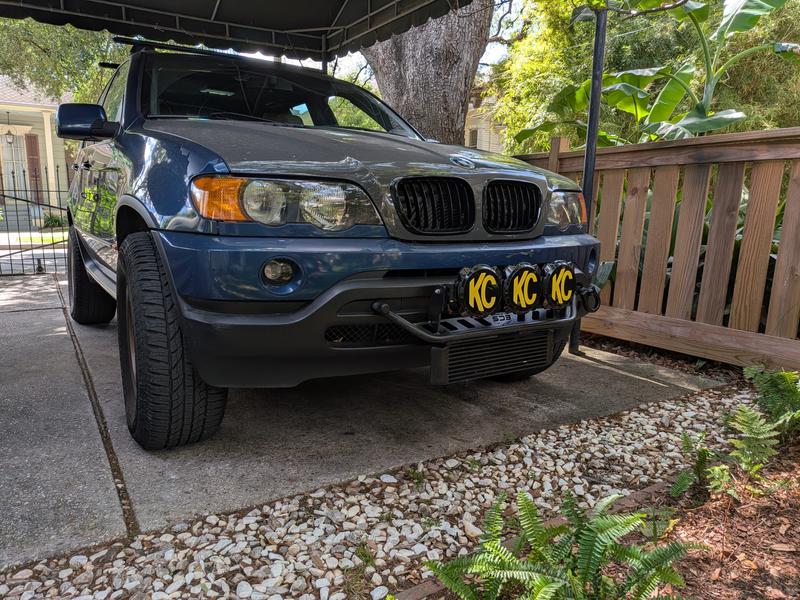
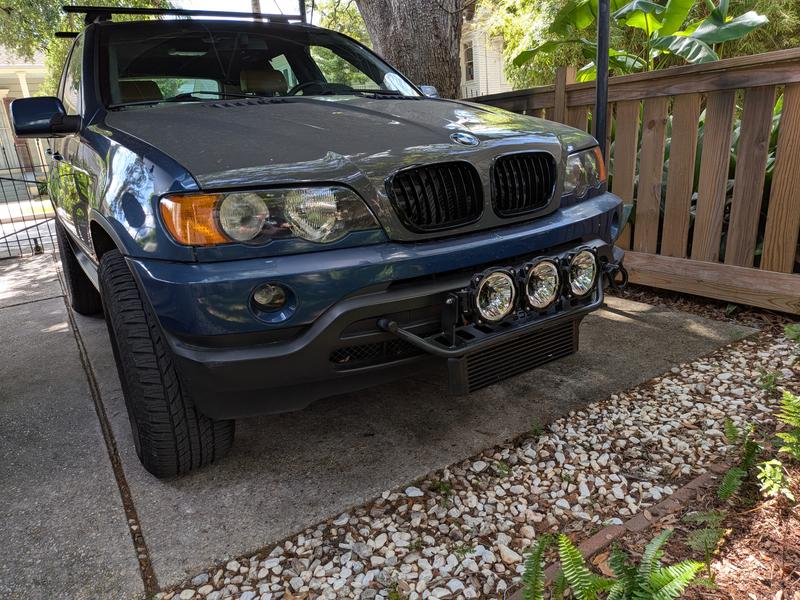
I was never very happy with the incandescent KC driving lights I added to the front bar - not very bright, not sized correctly for the X5 and the clamps I used looked wonky and cheap to me. I did like the old school KC round light look however so I went with EODGuys recommendation for LEDs and picked up a 3 light set of 6 diameter LED KC Gravity Titan HiLites and a set of bolt on brackets they make for the front bumper of a Ford Raptor (maybe?). They offer tons of premade mounting brackets for their various light systems, but obviously nothing for the mighty E53 X5. I made a template out of cardboard that had the right fwd tilt for clearance and took the car to a local welding shop to chop the brackets down down to size and have them welded to the front ECS light bar that Im using as an oil cooler mount.
The Gravity HiLites seem to be very well made, with aluminum powder coated housings and super weather proof wiring and connectors. They also have different lenses available (spread, spot, etc.) and can be adjusted across their span to add a slight radius which will spread the beams a bit. I took advantage of this which is easily done by backing off some set screws between the lights and adjusting them to a preset detent. All very beefy and durable hardware. Unfortunately I had to strip out the old harness and install the new one that came with the new lights, as they require a relay set-up, and the plugs at the lights are different.
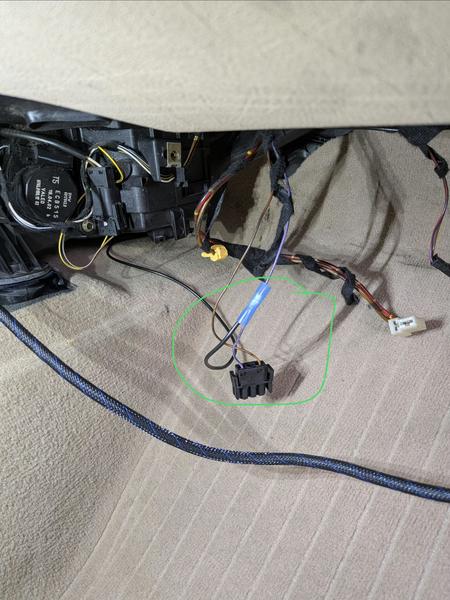
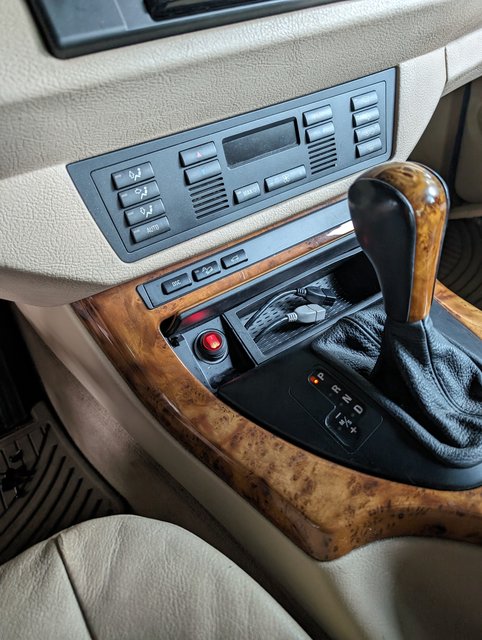
In the E53 there is a cigarette lighter style socket in the passenger footwell, for accessories presumably. When I was in the dash some time ago I had previously run a power wire for this possible upgrade, but I couldnt get it to poop 12v DC power, and one of the guys on X outpost also reminded me that the cig lighters likely pull too many amps for the switch side of a relay set-up. Therefore, I decided to first try to move it to the flashlight charger power, behind the glove box. The kick panel(s) came out quickly and from there its easy to reach behind and unplug the charger socket. A quick check for power (its powered at ignition position 1) and then the splice. I fumbled for a bit trying to plug it back in, but eventually got it. One more voltage check at where the wire comes out at the ash tray and I verified 11.8 V (engine off, key position 1).
Splice circled:
Next up was to route the load end of the provided harness to the KC lights and then pull the other end of the harness through the firewall. The plug end went under the oil filter bracket and behind the left front light, secured with a couple of zip ties to convenient wire bundles. The plug on the lights is just long enough to extend into the bumper a bit via the cooling slot, where it plugged into the harness.
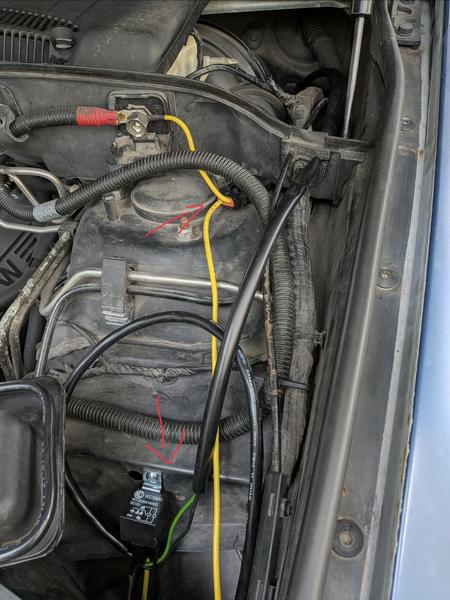
Initially I wanted to keep the relay and load power fuse/wiring on the cabin side of the cowl, with the brake booster, etc., because it is a bit messy and I thought it would look cleaner. However, I eventually decided putting it all under the hood on the engine side would be less moisture prone. The relay mounted with a self tapping screw and the fuse assembly mounted to a convenient threaded stud on the strut tower. Not sure what it is for, but it has a plastic nut on it.
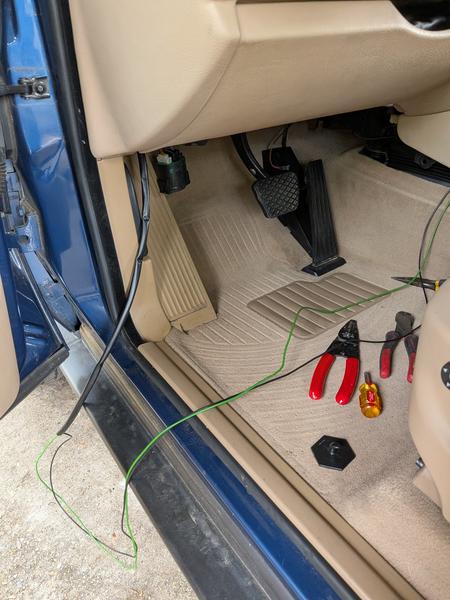
I pulled the switch wires through the firewall by taping it to the old light wiring and gently pulling it all the way through and out of the cigarette lighter hole, to meet the relay power wire I had run initially. The harness from KC already had spade connectors for the switch on it, and I put one on the relay hot wire I ran.
Way too much wire included on this side of the relay for the switch wiring:
I chopped it down to an approximate length, and spliced it back together with some crimped in-line wire splice pieces.
After that I cleaned up under the hood and drivers side footwell with cloth electrical tape and a few zips, tested it successfully, and buttoned the beast up.
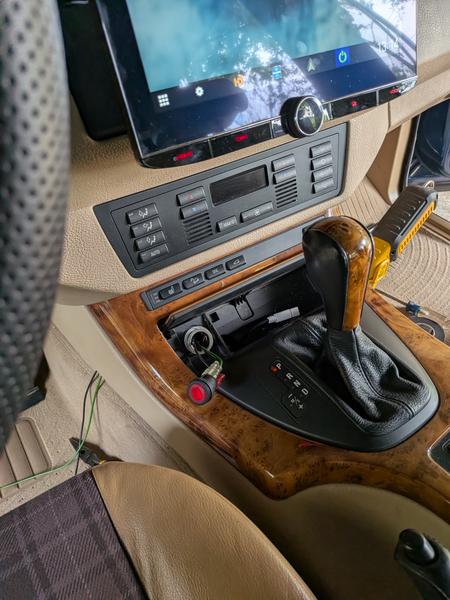
Im excited to see how bright these things are, and get them aimed properly. They are very focused it seems. If I lowered my head a few more inches in the below pic, they become blindingly bright.