The final step in this audio upgrade is the bezel. I have basically 3 options, black plastic, wood, or dash material. You can get the plastic look from Rich for $250,
http://www.mybimmer.net/. My only concern with this bezel is that it is vertically centered. If you look back at my pictures you can see that the Z1 is close to the opening bottom. Maybe Rich can adjust the bezel to fit this off center location.

I want the wood look. I agree with dr. jay that it looks the best. I'll have to get around to custom ordering it in the near future.
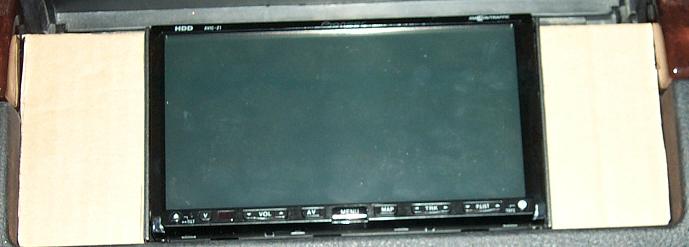
So I ended up with material that is similar to the dash for now. Actually you can get any material you want, leather, vinyl, or whatever. I ended up getting some very inexpensive material that was similar to the dash (not quite a perfect match) to hold me over until I get the wood.
Here are the materials I used:
1. Cardboard
2. Plastic grid plate
3. Black vinyl
4. Foam
5. Special foam glue
6. Velcro
7. Stapler
8. Very sharp scissors and other cutting tools
Start by cutting the cardboad into rectangles so that they can fill the space between the radio and the sides.

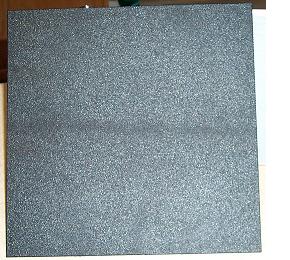
I purchased a Metro ABS Blank GridPlate, part #89-00-9030. This plate is 12" X 12" and is textured black on one side with a pre-cut grid on the other. It is very easy to cut this to almost any shape you want.

I cut the shape I wanted and placed velcro on it. The grid is cut so that it holds in place with friction. I then cut the foam into the shape that I wanted. The foam is cut so that I can tuck the top of it into the dash. I purchased the foam from JoAnn's Fabric and it is 3mm thick (thanks to my wife for this as I had no clue) (the grid is on the top and the foam is on the bottom).

The velcro has a sticky back but it does not stick well to the foam. So I use the stapler to help these stay in position. I also find that the foam glue works well for securing the velcro in place. The glue is made by the company that make liquid nails and is called "perfect glue 1". This glue is designed to work with foam.

Now that the velcro is in place I then cut the vinyl material (purchased from JoAnn's Fabric also, again thanks to my wife) in the same shape as the foam and then glued the material to the foam.
The final step is to assemble the pieces. First place the grid into the dash, velcro side up. Then place the foam\vinyl on top of it. Tuck the top into the dash. This picture does not show how it really looks. The material is very close to the dash in color and texture.

Another option is to just use the grid for a bezel (no velcro and cut a full frame instead of the 3 sided frame pictured above).
