Quote:
Originally Posted by X5Flyboy

am I forced to buy new? I would like to upgrade to angel eyes, but using the present assemblies would just bring more comments how scratched they are.
any suggestions on what options I have?
|
If it's only scratches and/or oxidation on the lenses, DON'T waste your money on new assemblies as you can renew your's with minimal effort.
I finally got around to working on my set, and all I can say is the results are phenomenal. Here's an overview to what was done.
1. Open the hood and remove the upper headlight rubber molding. It's just clipped on so pull towards the front to remove. Remove any existing polish/wax with denatured alcohol and a cloth.
2. I used 3M Blue painters tape to mask off the painted areas surrounding the headlights.

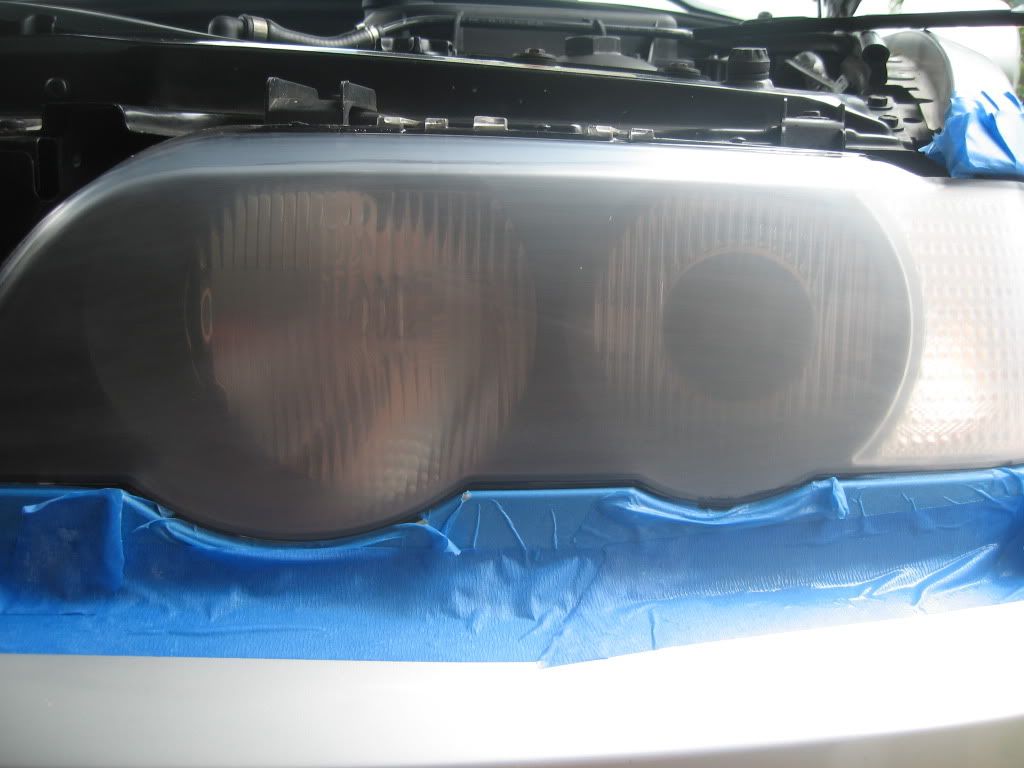
As you can see my lenses were in pretty bad shape. The hazing is due to scratches and oxidation.
3. It really depends on the condition of your lenses. I consider mine being on the slightly worse side, so I chose 3 different grits of sandpaper. I started with 800, then on to 1000 then finishing with 2000 grit. I used 3M branded paper. Make sure to use lots and lots of water during the sanding process. Always keep the lenses nice and wet.
So, started with 800 grit. I've read that you should alternate sanding direction between each grit of paper. I'm not sure if that is necessary, but I do believe that you should always sand in one direction. Do not sand using a circular motion.
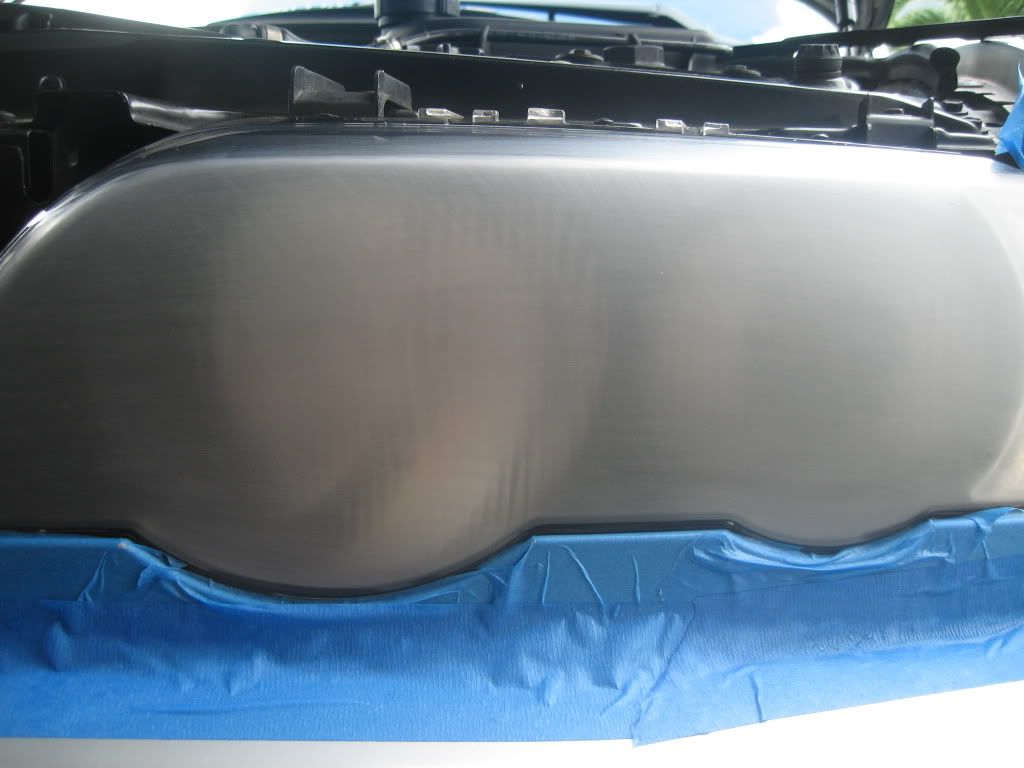
After sanding for 8 minutes or so, and wiping the lens dry.
Did the same with 1000 grit, here's the picture.
Finished off with 2000 grit. Sorry didn't take a picture.
Now for removing the scratches left behind from the 2000 grit paper. I used 3M Perfect-It II Foam Polishing Pad Glaze along with their Foam Polishing Pad.
I used my Makita 9227CX3 polisher, not exceeding 1800RPM. Within 2 minutes all scratches were gone. Finished it off using my PC7424 with a closed-cell foam pad, and Black Magic finishing polish to remove the last of the 3000 grit scratches. And last but not least gave it a good coat of paint / plastic sealant. The results speak for themselves.
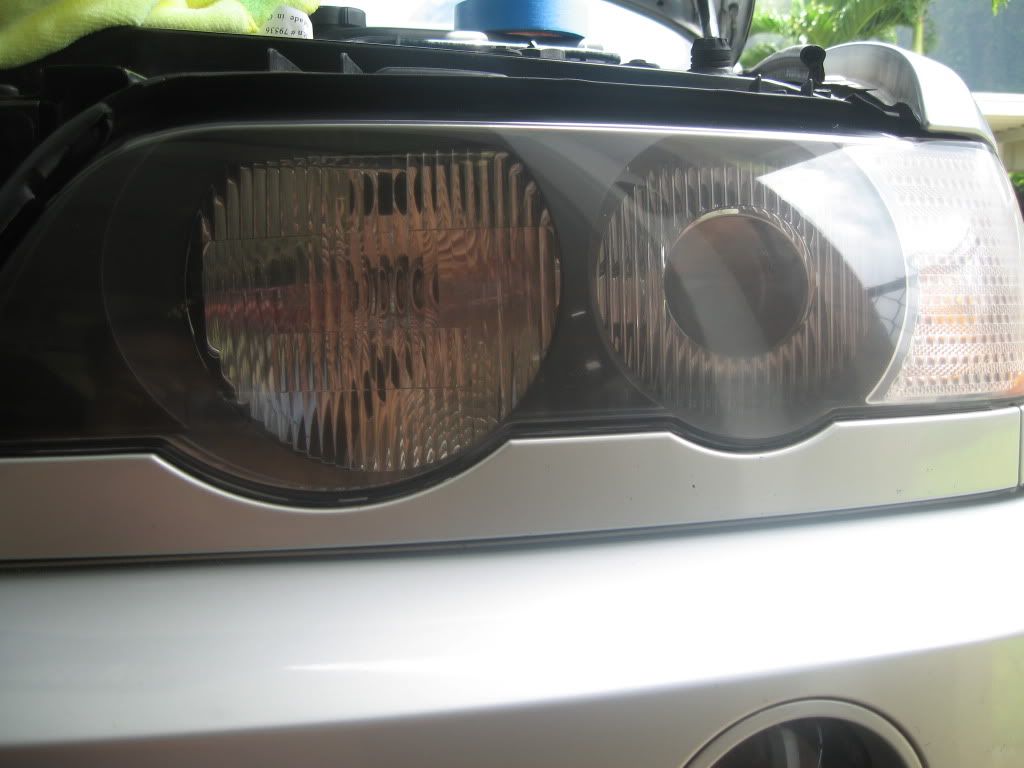
All together spent no more than 1-1/2 hours to complete. Very productive morning. Now it's time to tackle the paint. Can't wait for next weekend.
