OK, so I got around to doing this today. It really is pretty straightforward.
First, remove the panel under the glovebox which is held in place by three black phillips head screws.
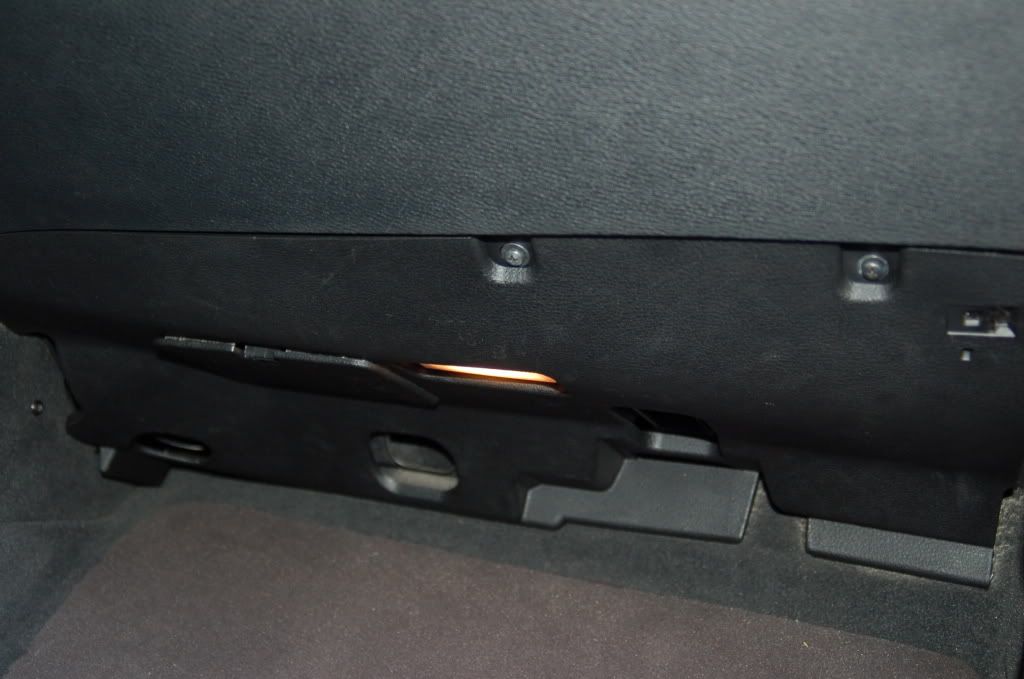
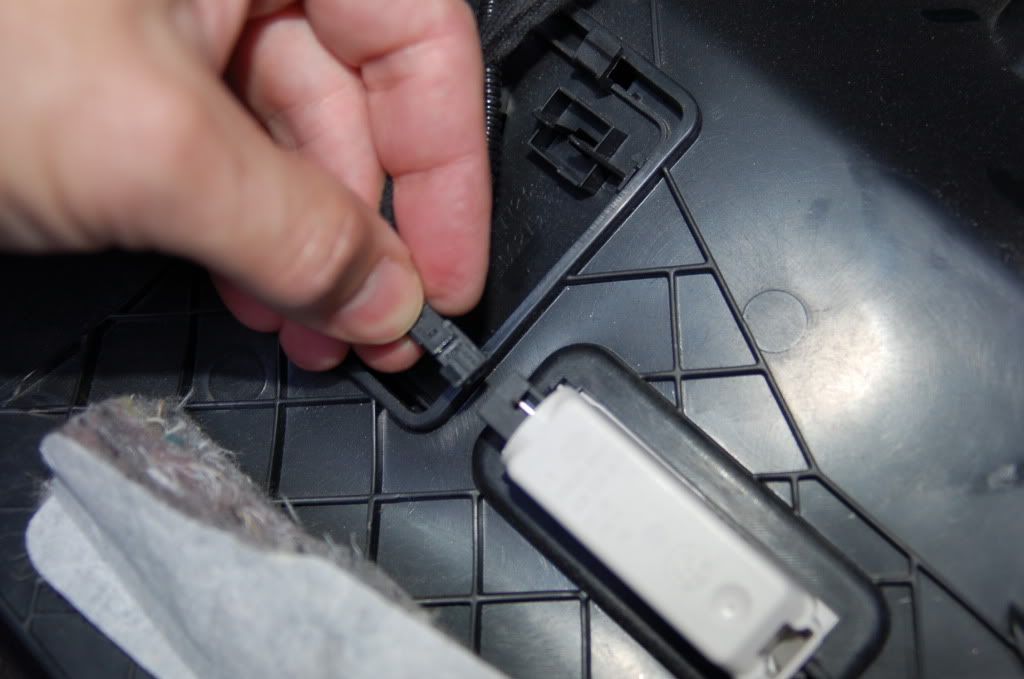
Pull the panel down and undo the harness to the light by pulling straight out.
Now you can move the panel out of the way against the center tunnel. You will now see a long air duct that is held in place by two silver T-20 screws. After releasing the screws, pull the duct down and it will unsnap out of the main duct near the center of the car.
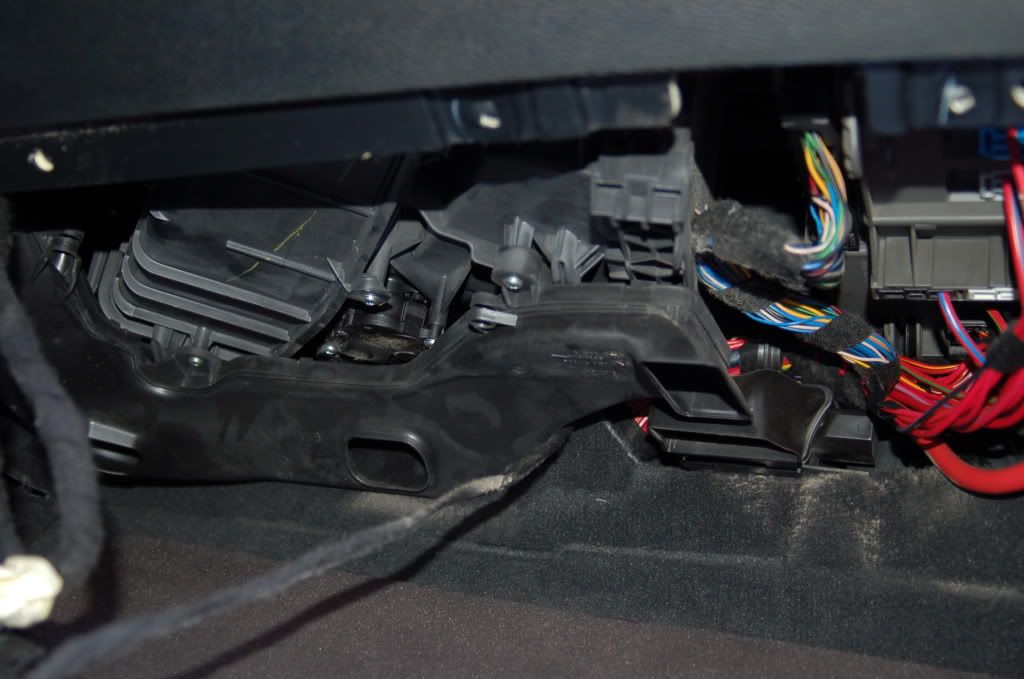
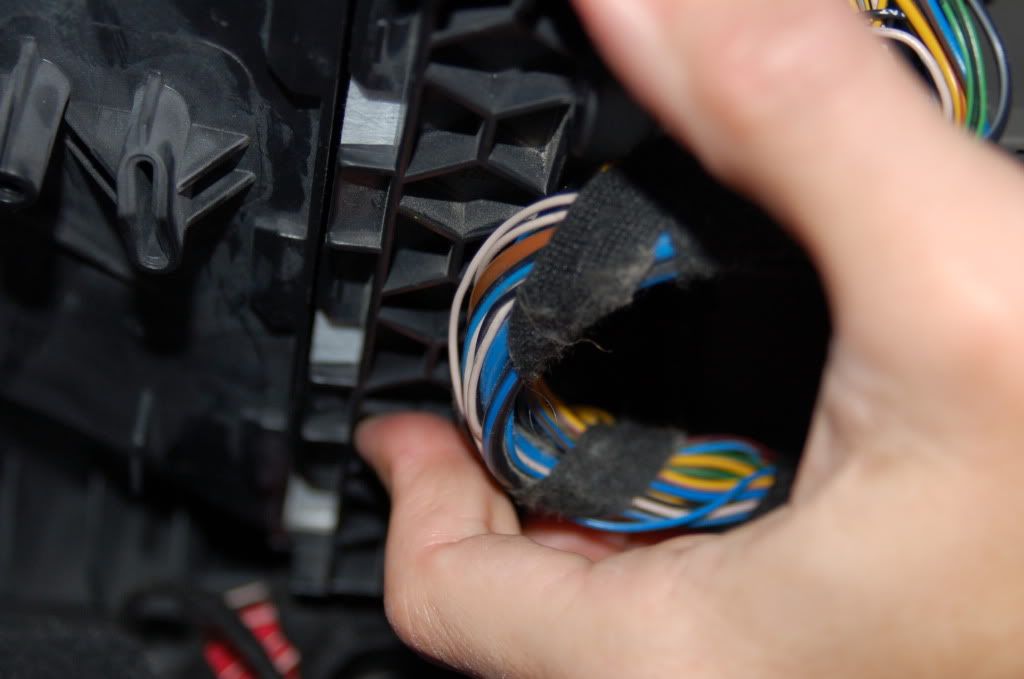
You can now look up and see the side of the filter next to a large wire bundle.
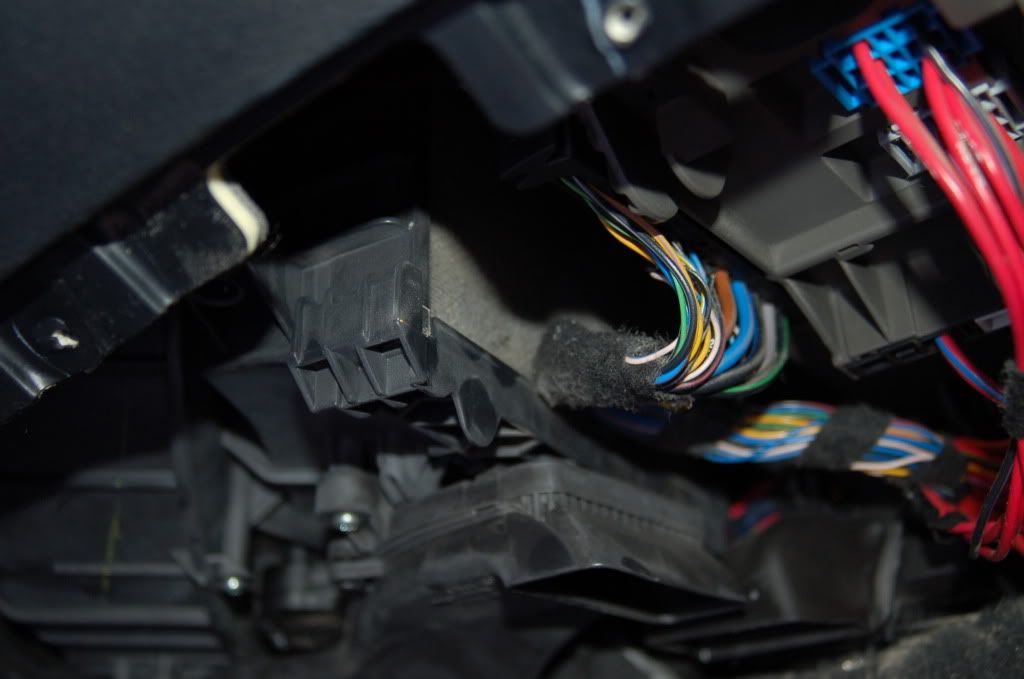
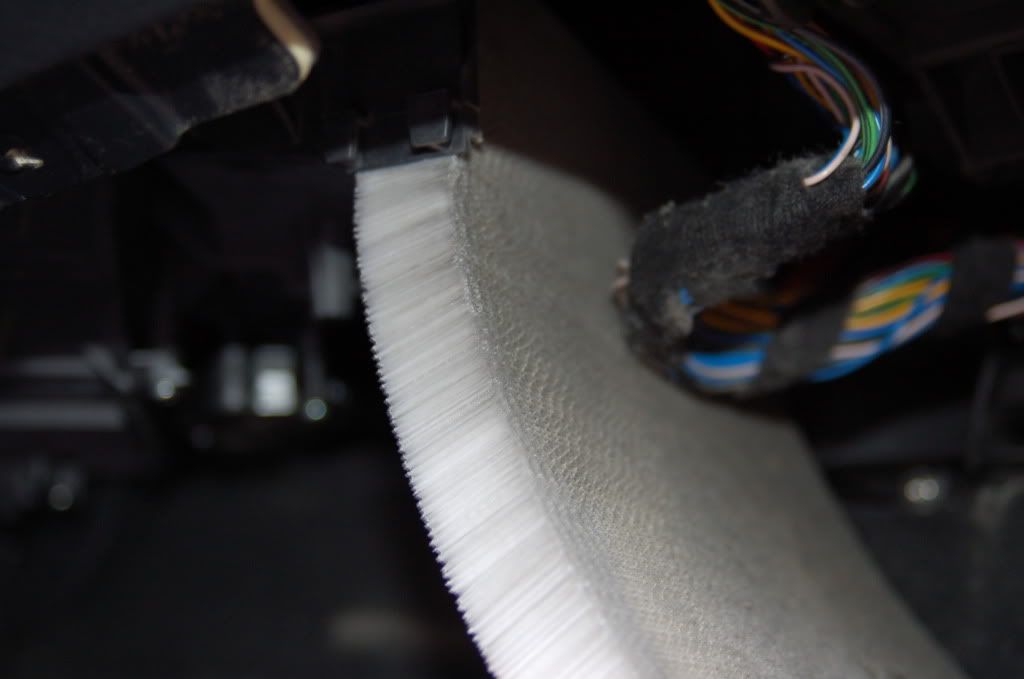
Next, you'll have to remove a small piece of duct against the firewall that would otherwise keep you from being able to pull out the filter. Just pull on it and it will snap out of the other piece it connects to.
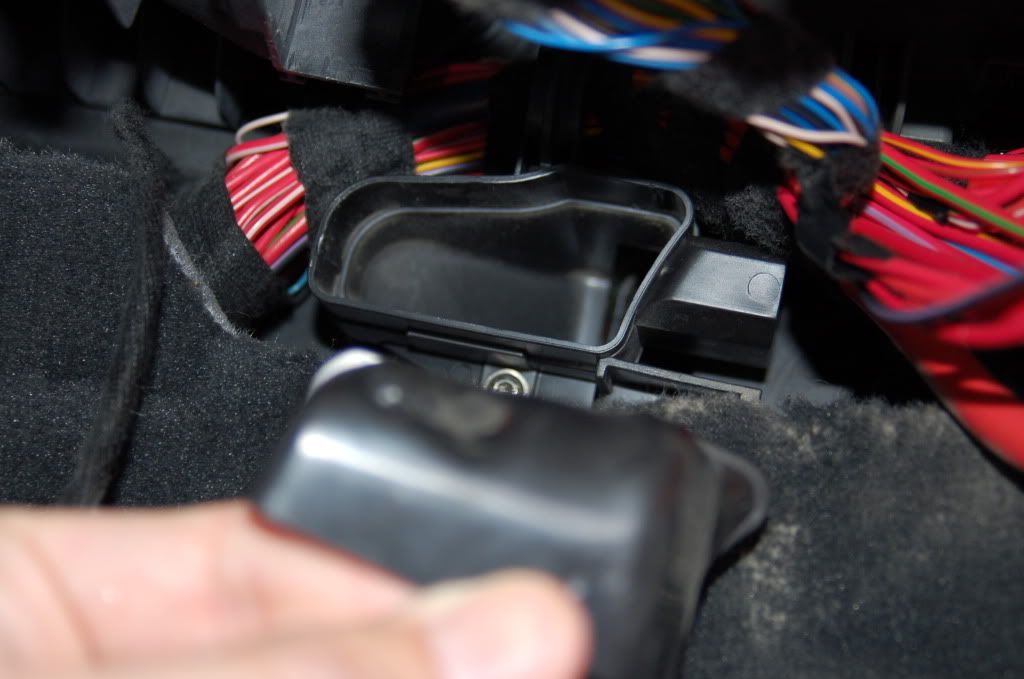
Now you need to slide the bottom of the filter housing about an inch towards the right and then you can pull the cover down releasing the filter which just slides down towards the carpet. Try to take note of how the filter's bottom cover is oriented when you remove it. It will make it a lot easier when it's time to replace the cover after you install your new filter. You will have to bend it slightly to get it completely out of the housing.
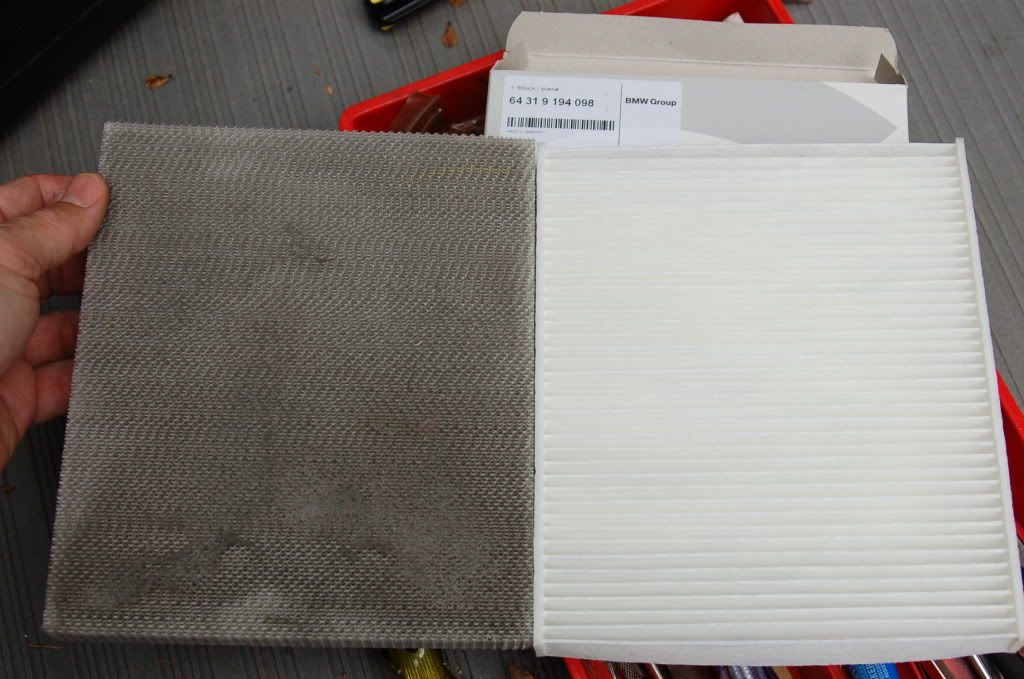
My old filter was not awfully dirty, but it had a nice layer of dust on it. The new filter I bought was a different material from the original.
Slide the new filter back up into the housing, replace the bottom cover and the slide it to the left to lock it in place. This picture shows the cover before sliding it to the left. You can see some of the bottom of the filter from below.
Replace the two ducts, plug the light back in, and replace the cover and your done.
Hope this helps.