Cooling System DIY
Note: In this DIY I will be replacing the upper and lower hoses, thermostat, water pump and the aux fan o ring on a
2006 BMW X5 3.0 (M54) Automatic. I did not replace or disconnect the heater hoses. I will also "flush" coolant from the radiator and engine block as much as possible.
Note: This is a pretty straight forward DIY and one of the easier but involved ones. I would suggest reading through this before getting started. This might seem long-winded but that doesn't mean this job is long. I wrote as much detail as I could for your benefit.
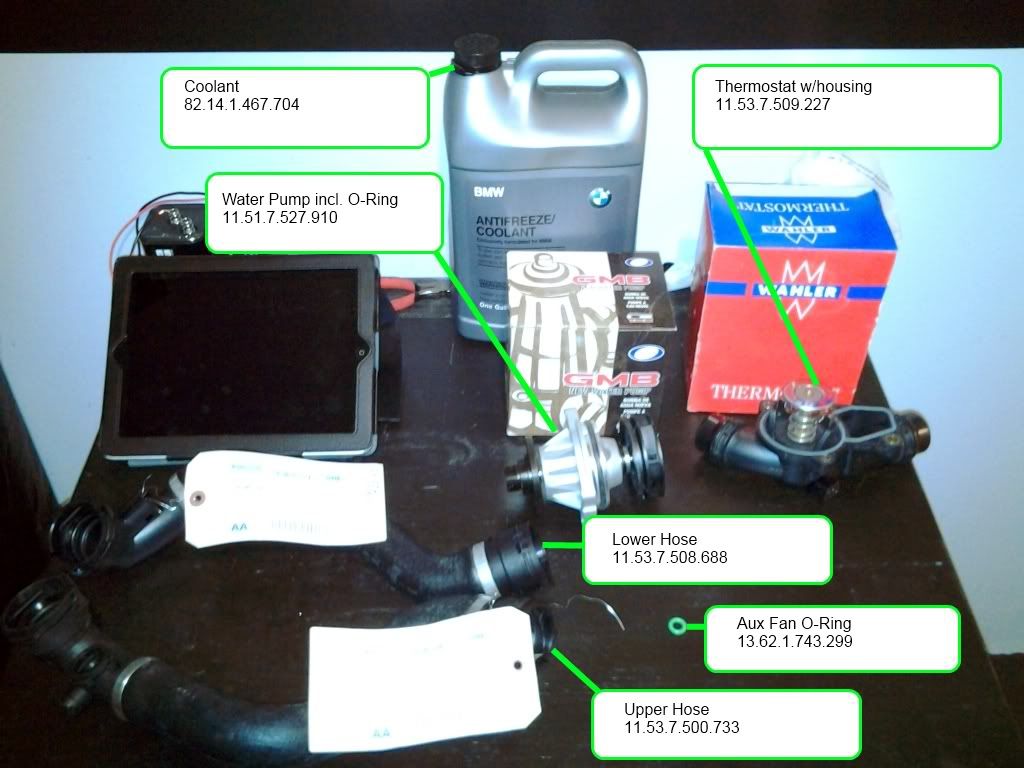
Start by gathering all parts and tools. I used:
8mm socket
8mm box wrench/spanner
8mm/#8 Allen key
10mm socket
13mm socket
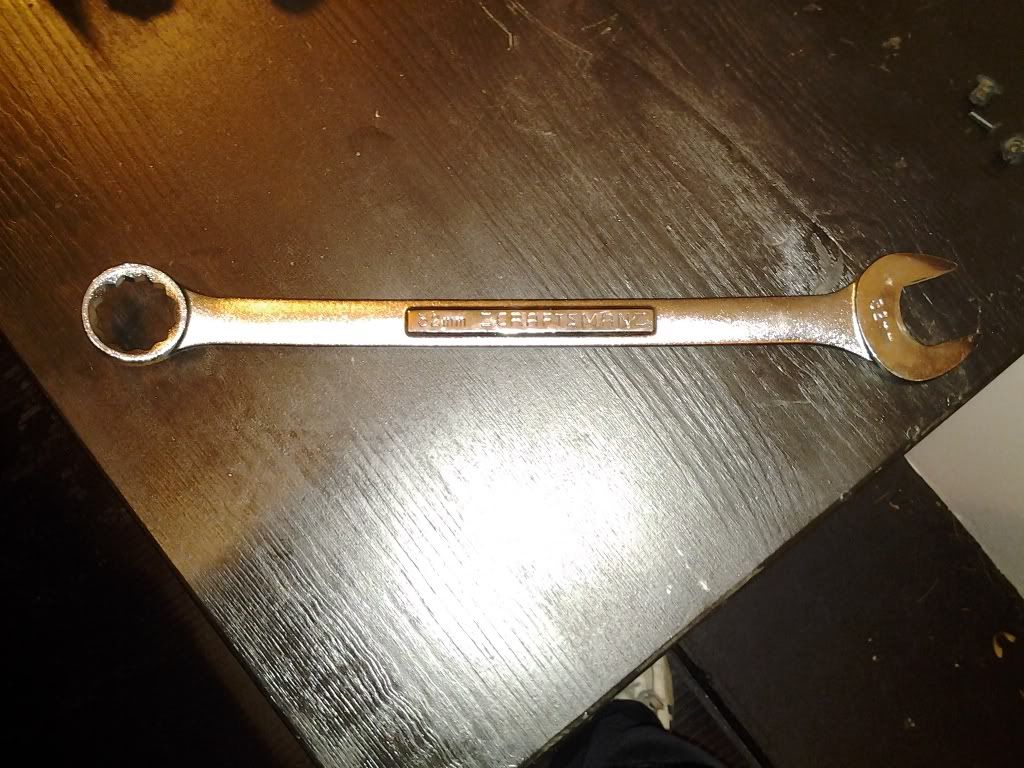
32mm box wrench/spanner
Needle nose pliers
Large scissors (sheet metal shears)
Long flat-bladed screw driver
Rubber mallet
Catch pans
White lithium grease (optional)
Not pictured below is a gallon of distilled water which you will need to mix the coolant with.
First thing first is you don't need to use ramps for this project as there is already significant clearance under the vehicle.
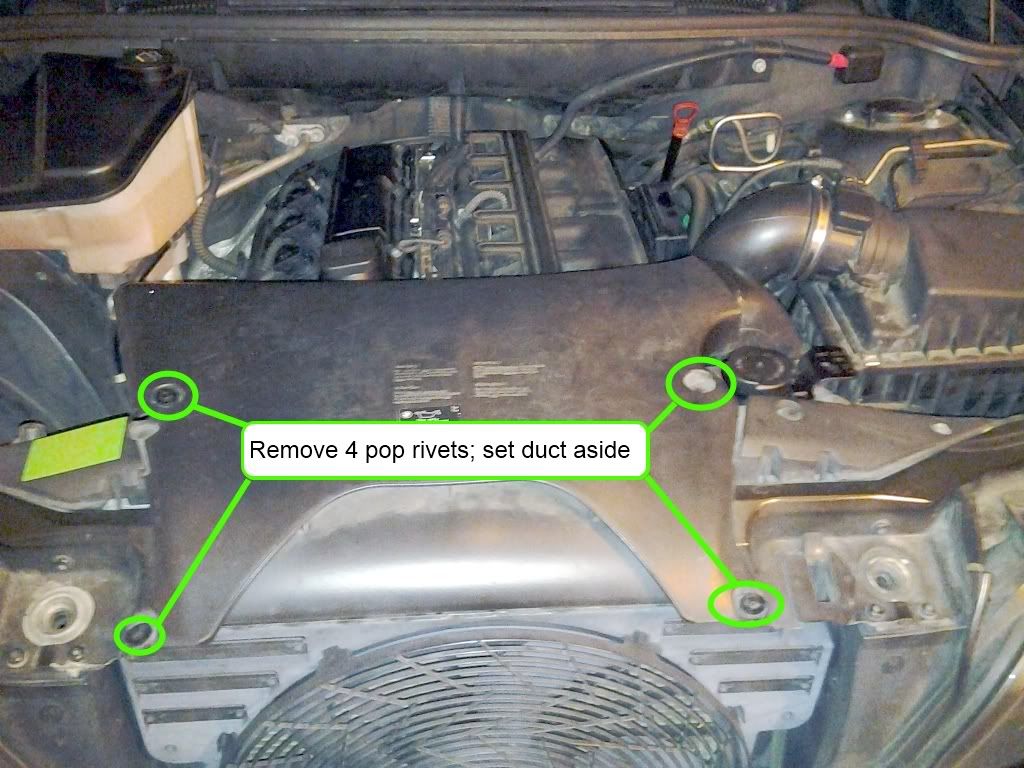
Remove the air intake duct from the center. Use a plier to remove the 4 pop rivets and set the intake aside. Pull the center pin up and out then remove the rivets.
Next disconnect the electrical connector on the passenger side of the radiator and set it aside by unhooking the larger connector from the fan shroud.

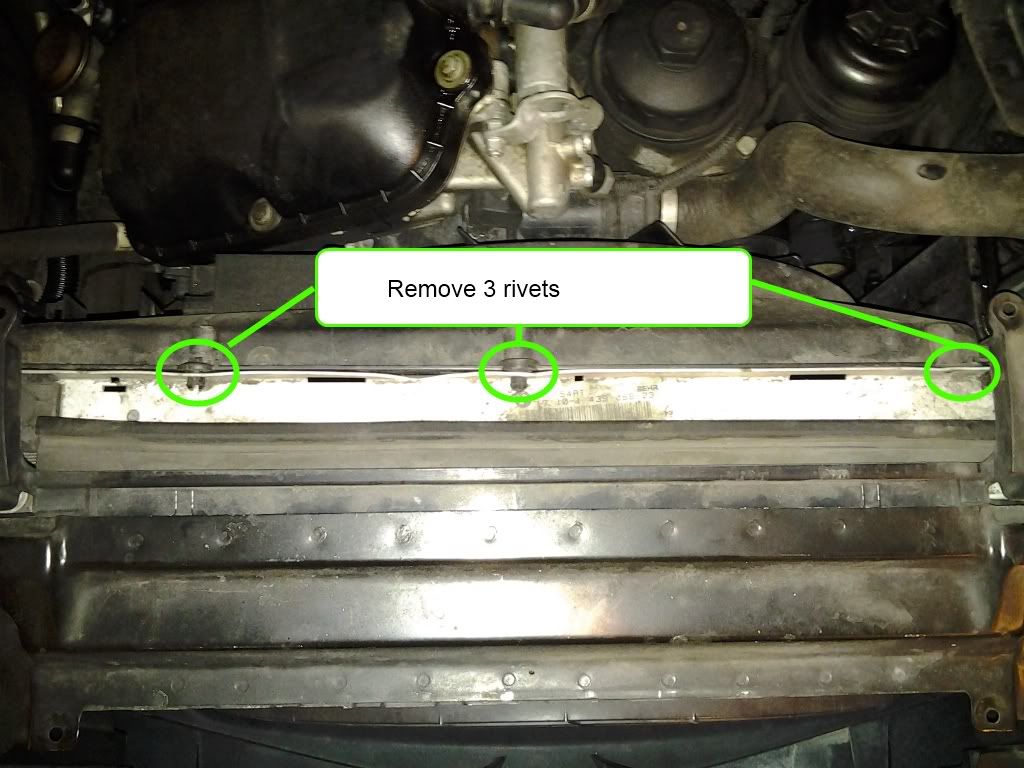
Next remove the 3 pop rivets holding the fan shroud to the radiator.
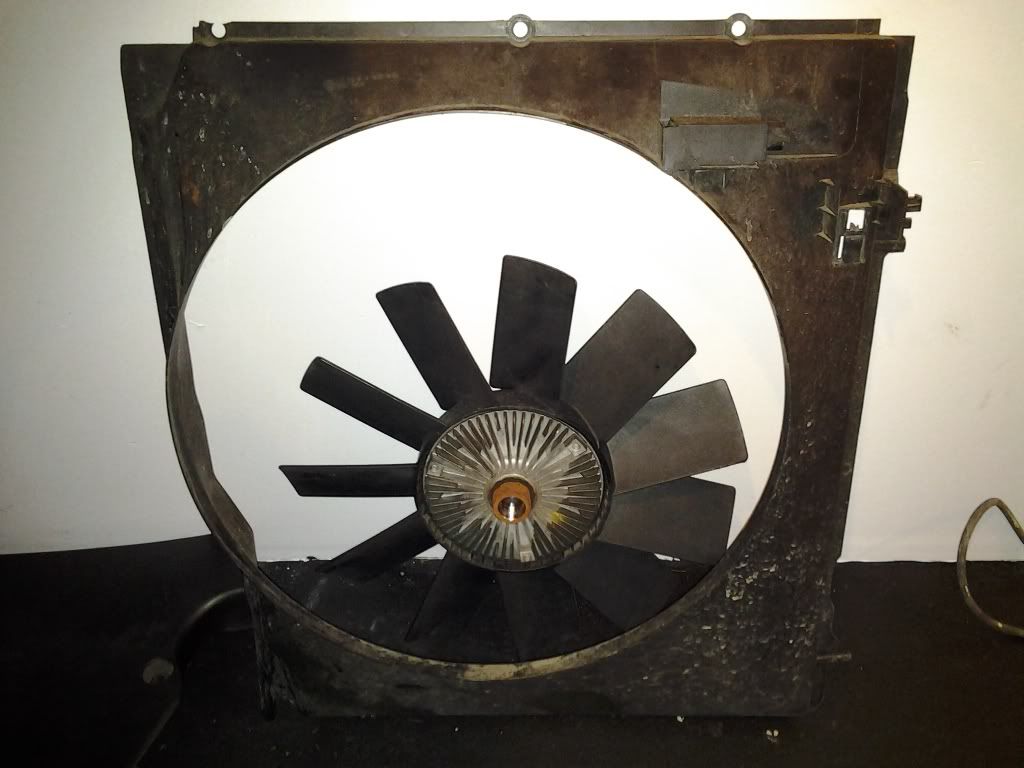
With the shroud loose, grab your 32mm wrench and secure it to the fan clutch nut. Center it and using something solid like a breaker bar or a large torque wrench strike it (with a motion from left to right) as hard as you can. A couple times and you should feel the nut loosen. There won't be as much resistance when turning it.
Continue to turn the nut loose until you feel the fan drop off the threads. Grabbing both the fan and shroud, wiggle it out of the engine bay, set it aside. Set the fan upright.
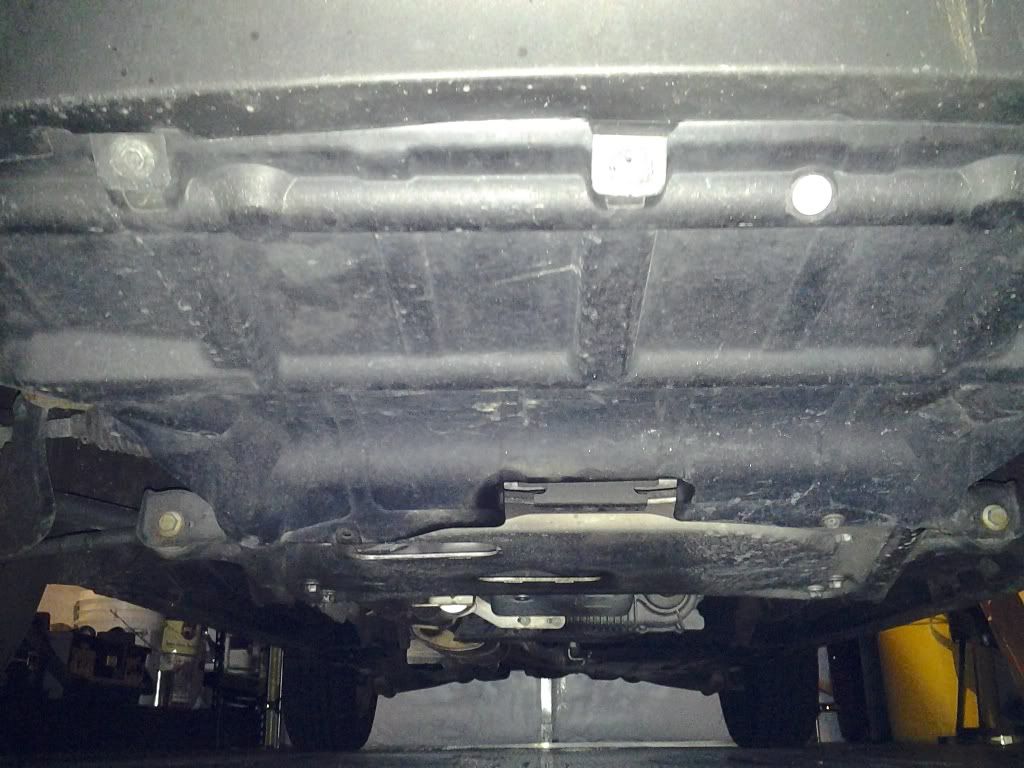
With that removed, next remove the plastic under tray. You will need a 10mm socket and an 8mm socket. With all screws removed set it aside leave it on the floor and push it towards the rear of the car.

Now look on the driver underside of the radiator locate the
blue drain plug.
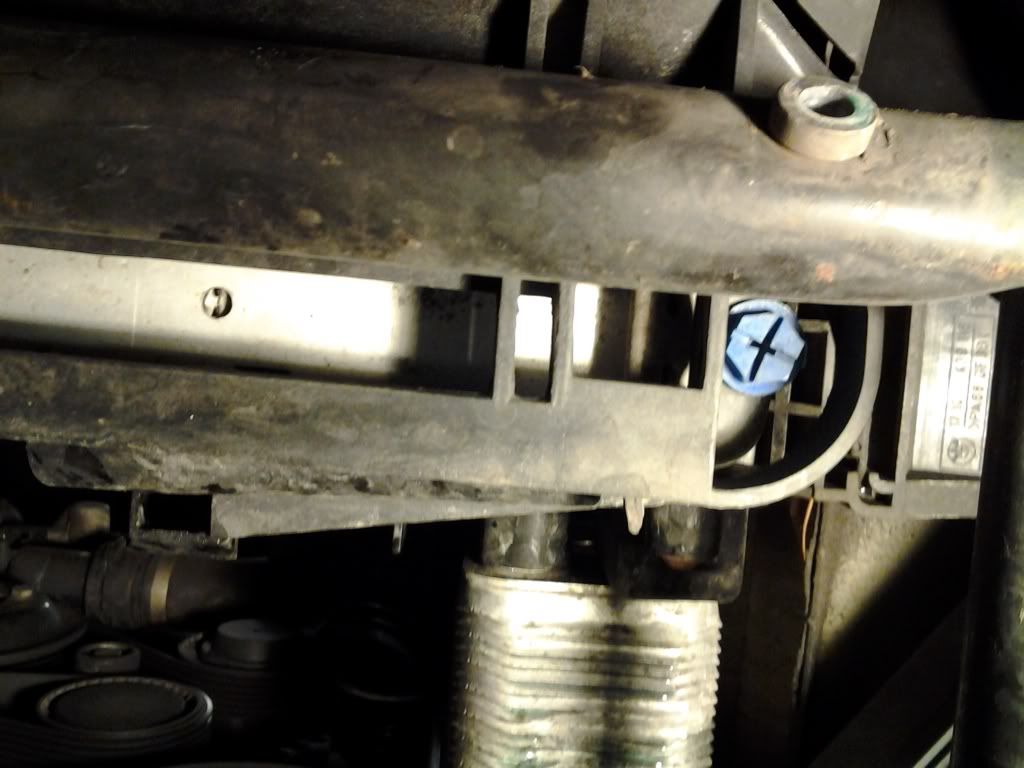
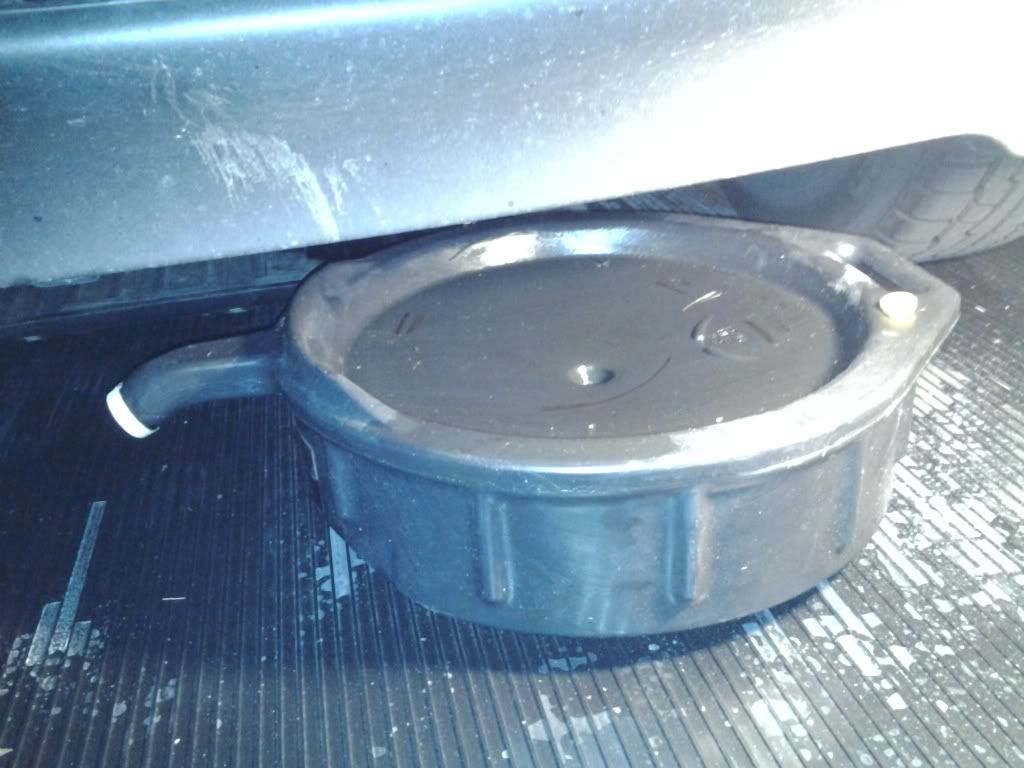
Put a tray or pan of some sort underneath to catch the coolant.
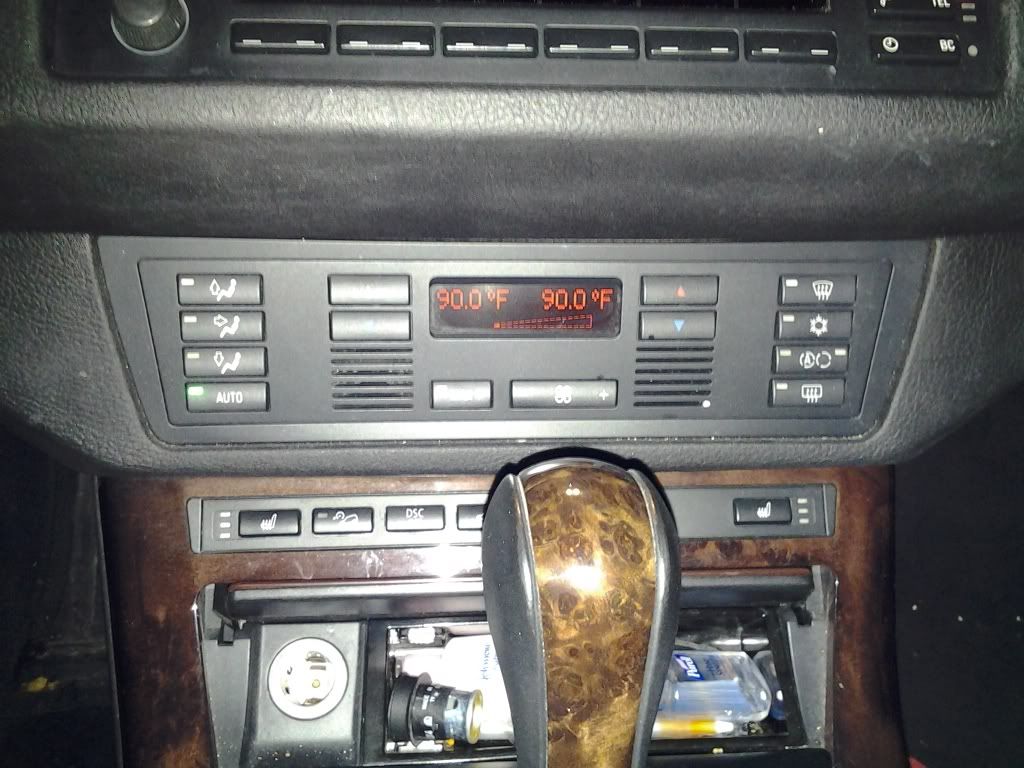
Turn the ignition on and set the temperature to 90f on the lowest fan setting. This will get the coolant flowing through the heater core to circulate and come out as well.
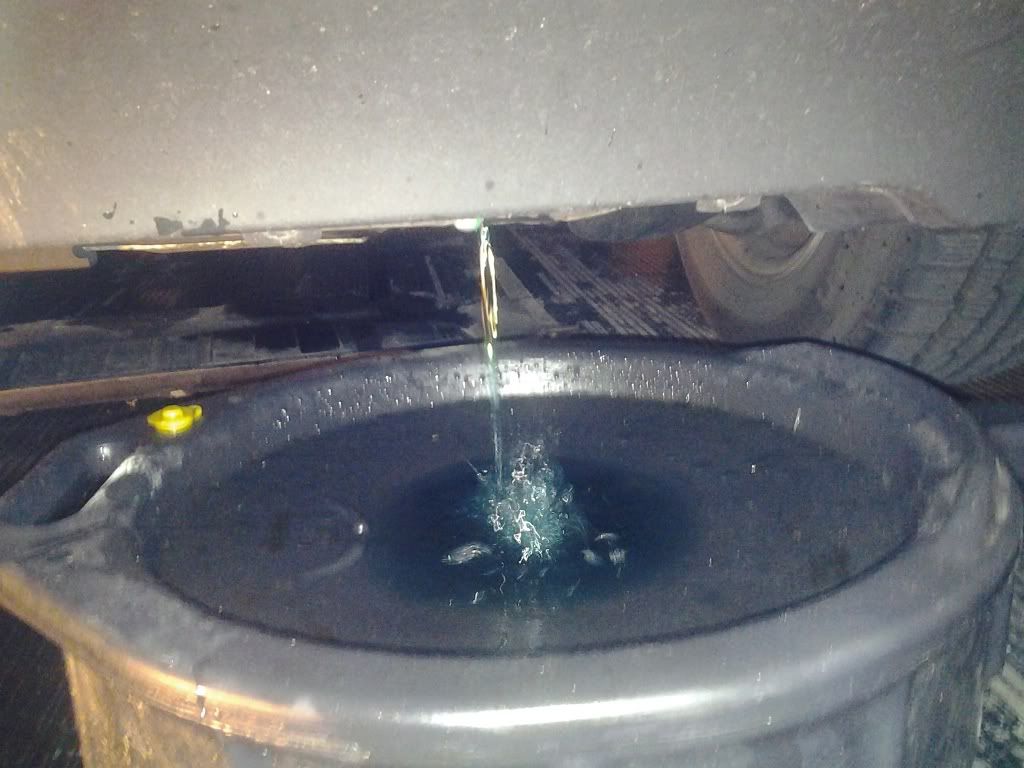
Back under the car, start to back the radiator drain plug out. After a steady stream is under way, remove the coolant fill cap from the expansion tank and then the bleed screw and set those aside. Coolant should now be gushing out. I will not be removing the engine block drain plug because it is at the same level as the water pump and therefore when I remove the water pump any coolant that would have come out via the block drain plug, will.

Clip the zip tie holding the wiring harness to the thermostat end of the upper hose.
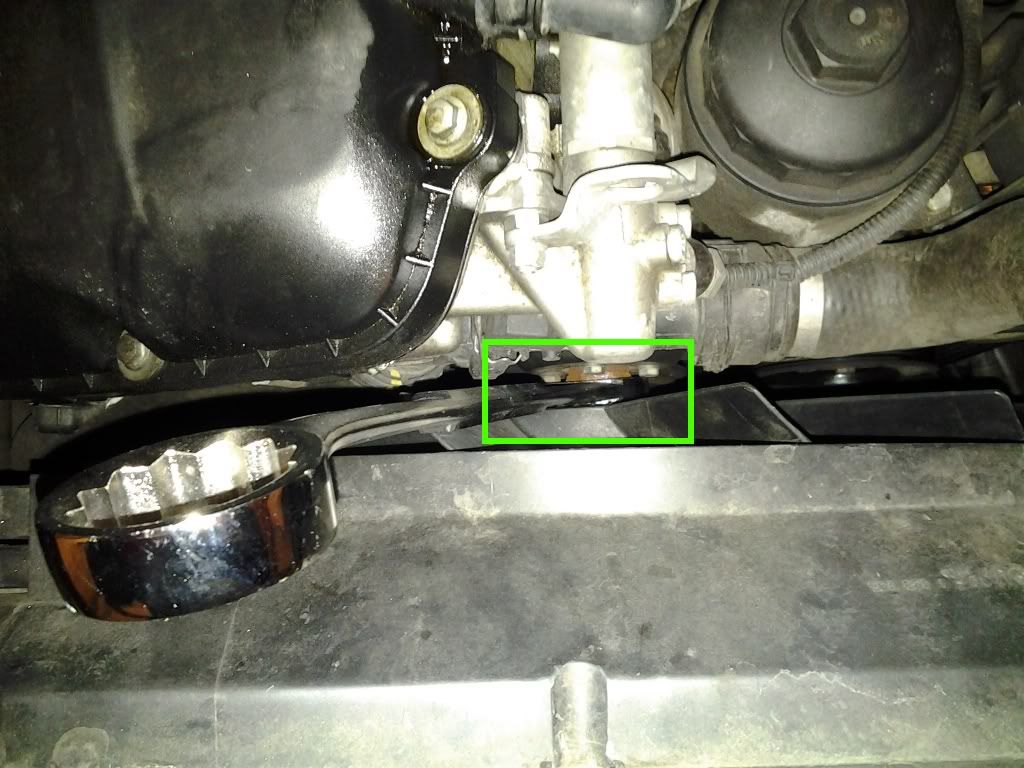
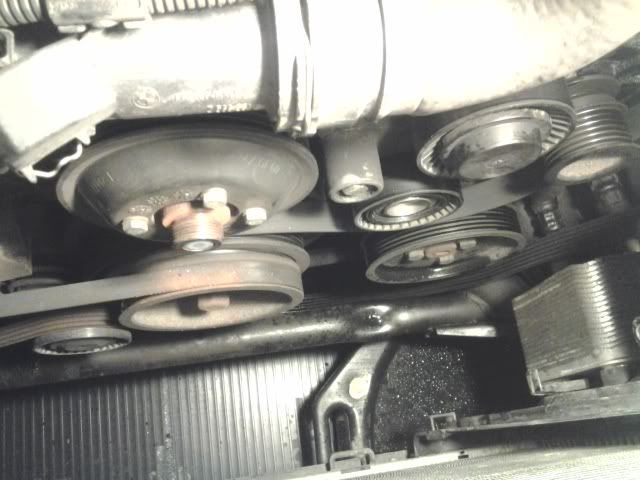
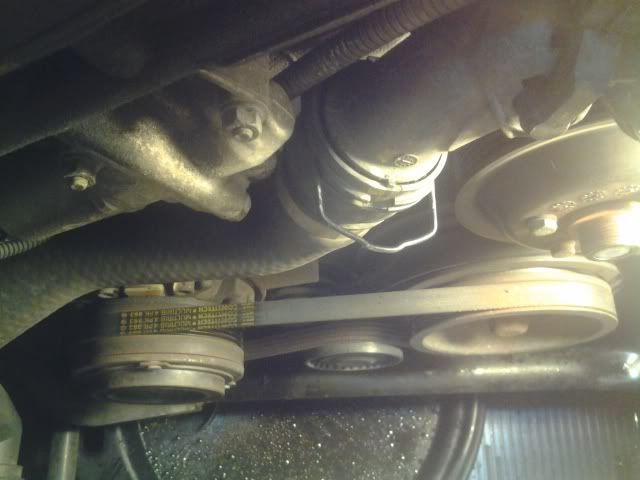
Next task is to get the drive belt off of the water pump pulley.
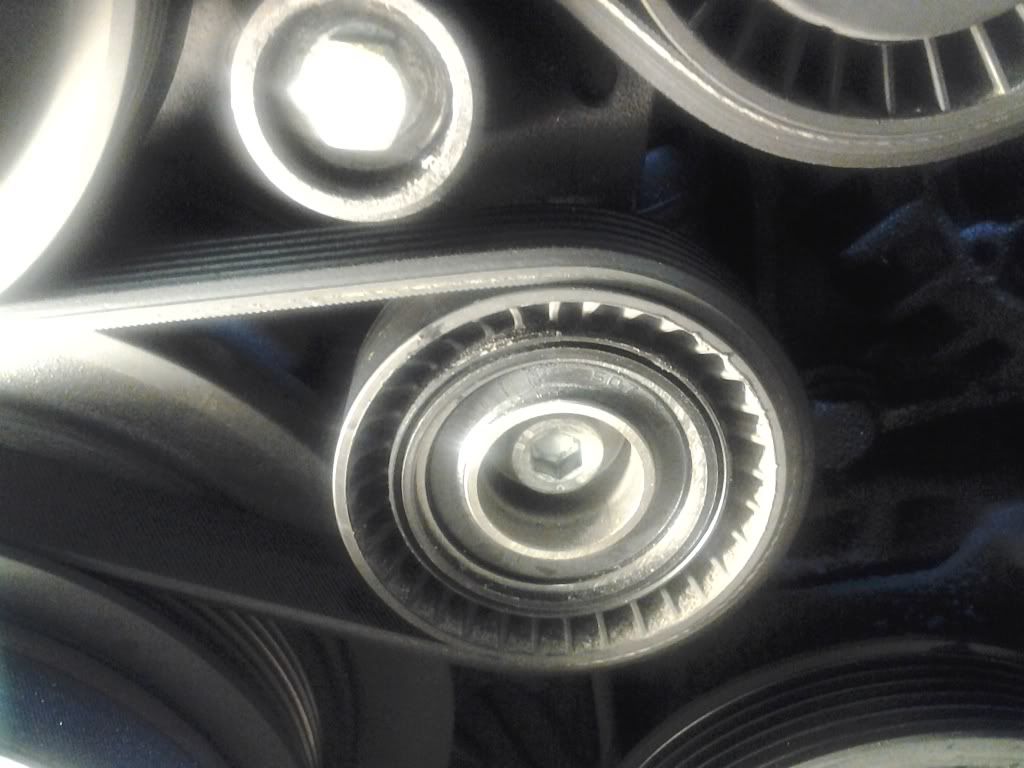
At this point, take a picture or draw the belt routing scheme if you can't remember it. You will want to pop the dust cover off the tensioner.

This bolt, from what I have read, can vary. It can either be a standard bolt head or something like this that requires an Allen wrench.
The wrench I used is a #8.
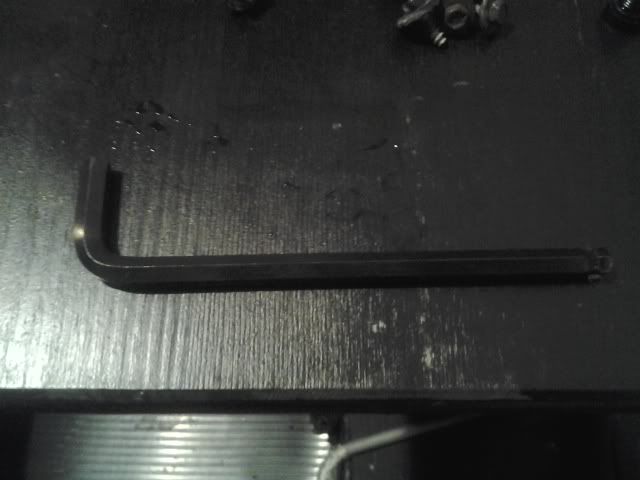
I also attached a pipe I had for some more leverage. Turn counter clockwise.
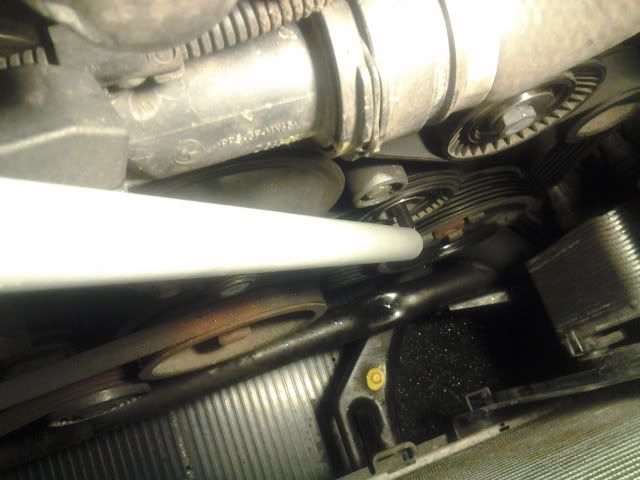
Once you see the belts slacken, pull them off and set it aside. It will still be behind the AC belt but that's ok, we don't need to remove it completely.
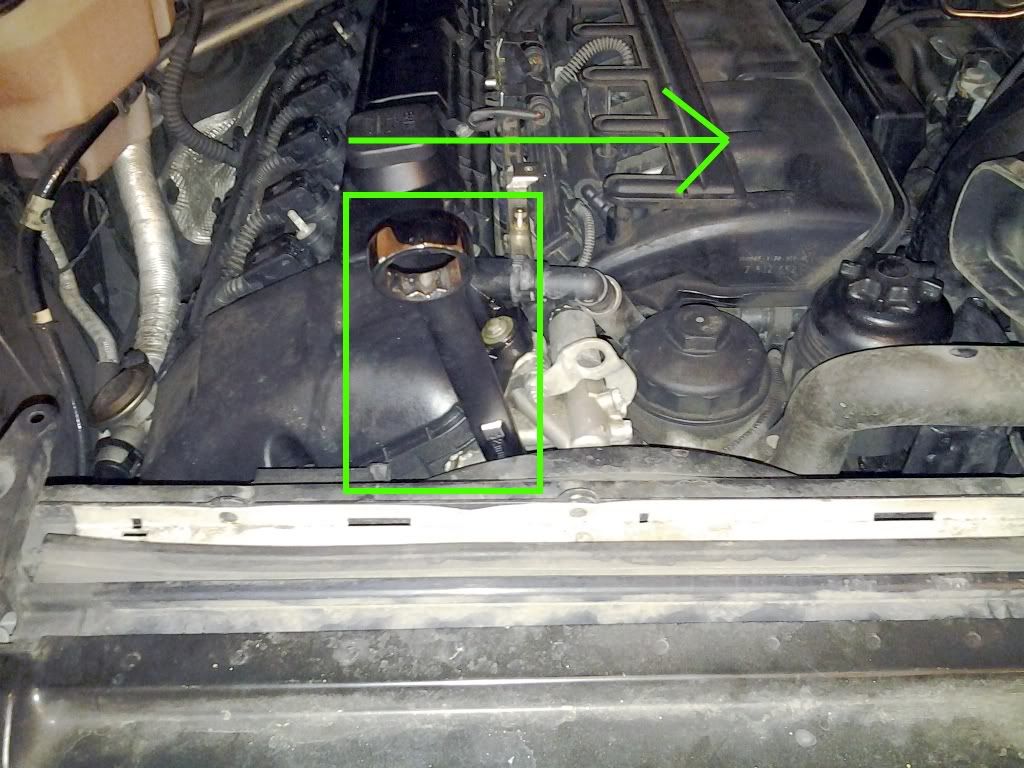
With most of the coolant out of the radiator and expansion tank, you can turn the car off now then start removing the hoses. I started with the upper hose at the radiator. First pull the clip up using a plier and I also removed the clip entirely by pulling on one side and bending/stretching it a bit.
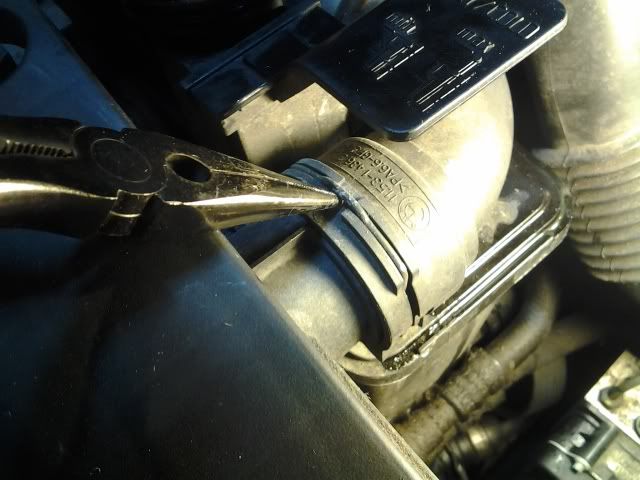
Do this for the upper hose at the radiator and the smaller one at the expansion tank.
Then use a screw driver to pry or twist away the hose from the neck of the radiator.

Get creative but don't use excessive force as damaging the plastic neck of the radiator could suck. I wiggled the plastic bit that has the embossed 'KALT' mark on it off the expansion tank to give myself some more room to work.
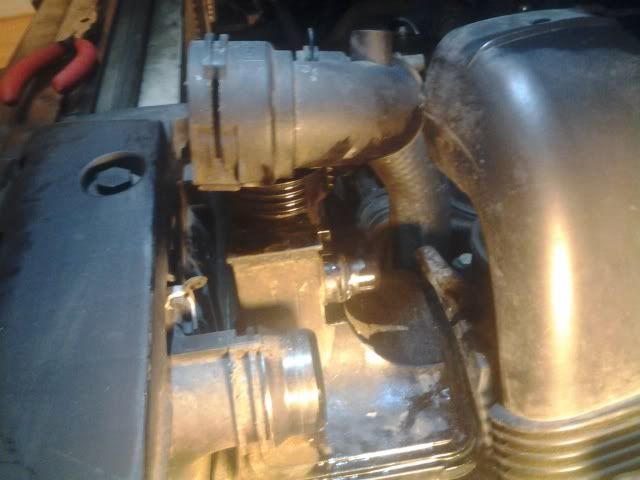
With the top out, unplug the wiring harness at the thermostat and repeat the process for the upper hose at the thermostat and set the upper hose aside.
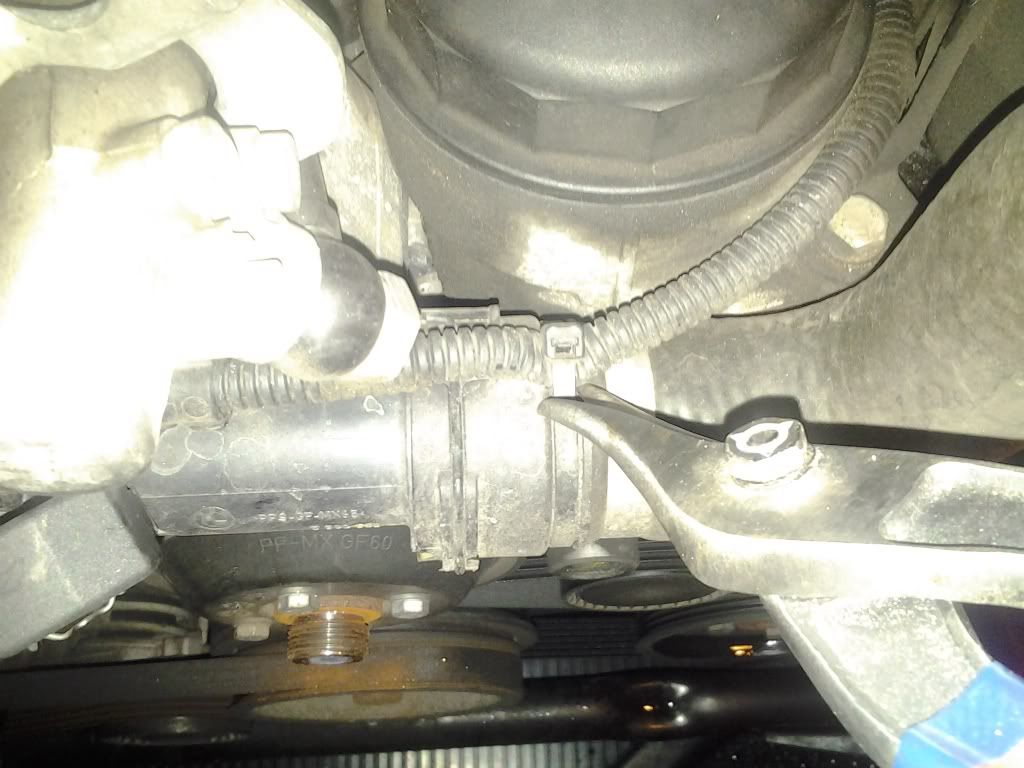
Move onto the lower hose and repeat the same process for removing it from the thermostat end but leave the lower hose attached to the radiator and leave the aux fan switch in place.
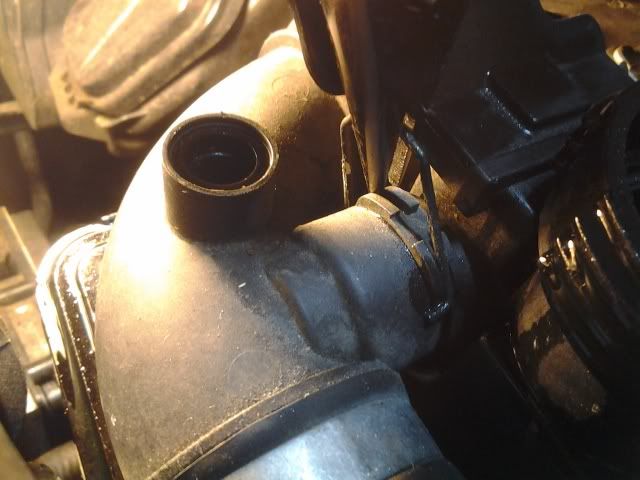
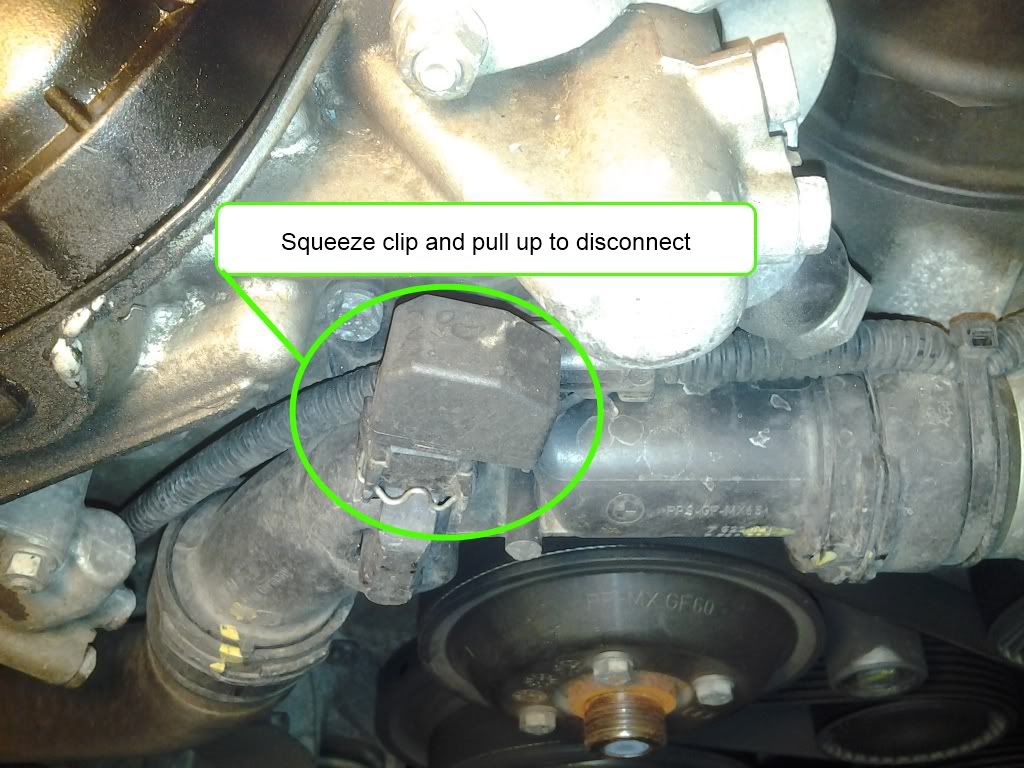
Next disconnect the auxiliary fan switch wiring harness. This is similar to the harness on the thermostat where you push/squeeze the clip in and pull the harness up to release it. Set it aside.

At this point I decided to
not disconnect the lower portion of the hose because as I was fiddling with this hose I saw more coolant coming out of the drain as I squeezed or put air into the hose so I was going to use the lower hose to flush the radiator.
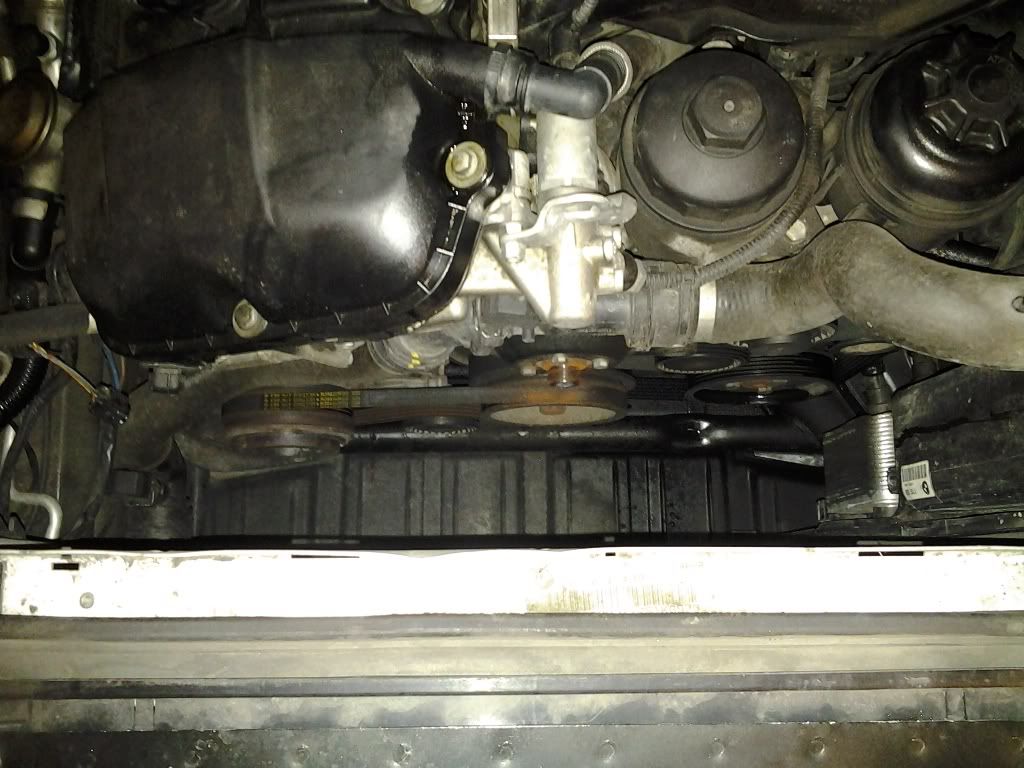
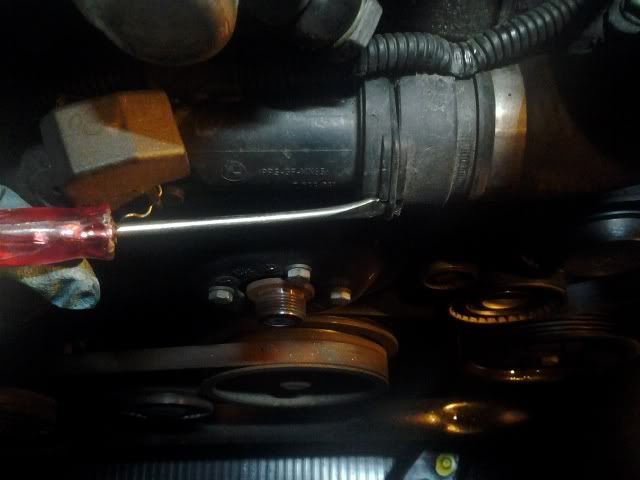
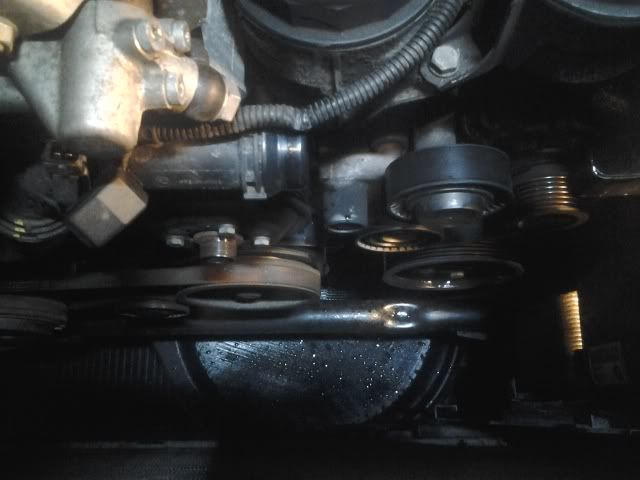
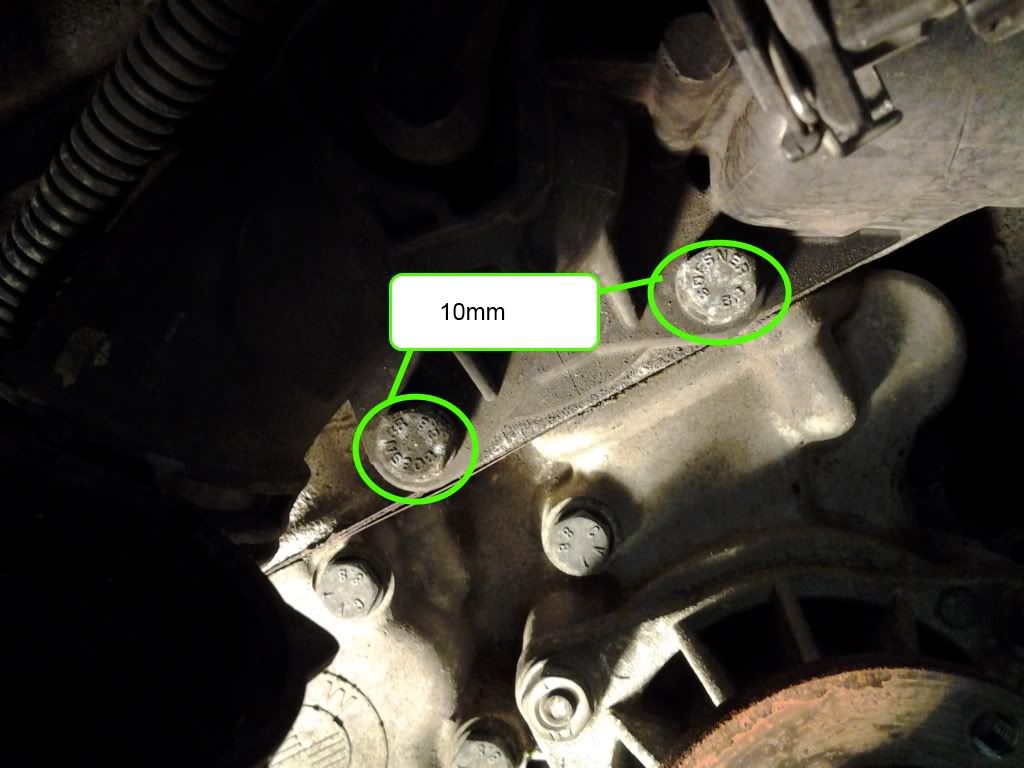
Move onto removing the pulley from the water pump. I used a 10mm socket and box wrench. I put the box wrench on one of the nuts and chocked it against the nearest solid part of the engine. I then used the ratchet to loosen the other 3 bolts. Then I held the pulley and loosened the last bolt. They weren't on very tight. I then had to take a rubber mallet to the pulley and gently tapped it all around to loosen it from the pump. It fell off.

Inspect the pulley for cracks of any sort as this is a known weak point. Replace if you feel it's necessary.
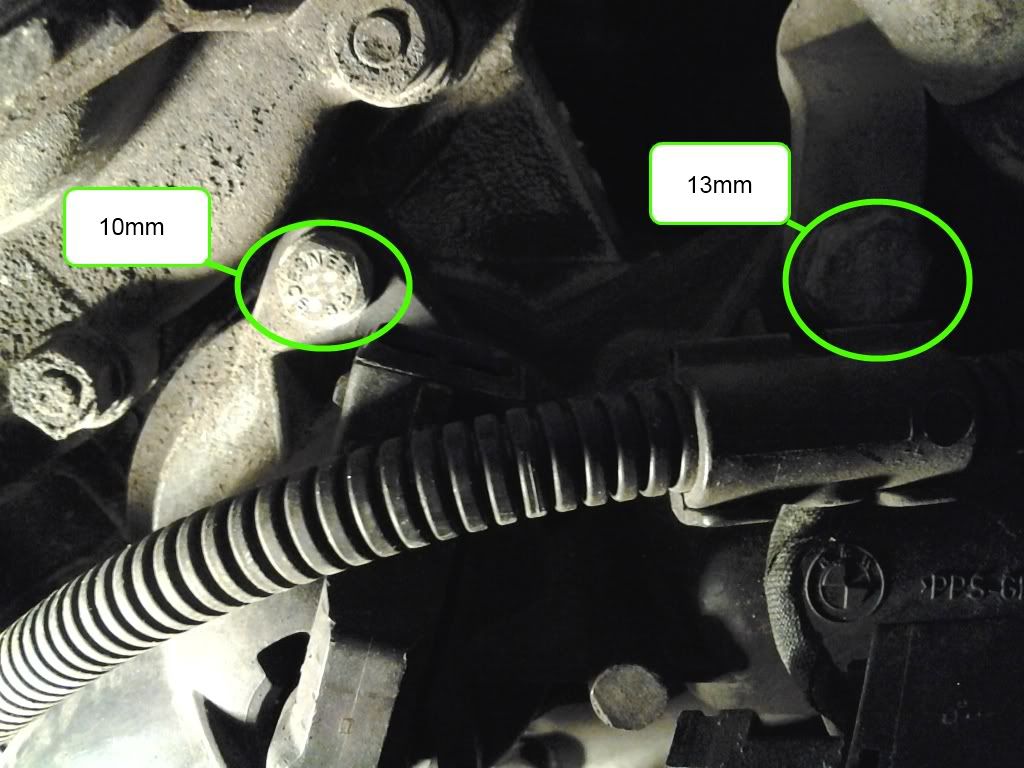
With the pulley off you can either work on removing the water pump or the thermostat as there is lots of room. This requires a 10mm socket but 1 bolt on the thermostat is a 13mm. I found that the water pump was somewhat sealed to the block and a gentle nudge with a rubber mallet did the trick. Place your catch can under the area as lots of coolant will pour out.
Now time for the flushing.
I then took my garden hose to the lower radiator hose and let it run until the fluid coming out of the radiator drain was clear and not the blue-green color. Naturally, move your catch can back under the radiator drain. I also chose to put the hose into the thermostat opening as this circulates through the block and will pour out via the water pump so have something ready to catch that. Repeat the process putting the hose into the expansion tank. It will also empty out via the water pump by way of the heater core hoses. I used a small rag and wrapped it around the expansion tank and thermostat opening to minimize water spray to the rest of the engine bay.
Not many pictures here because I was working solo and didn't want to get my phone wet.
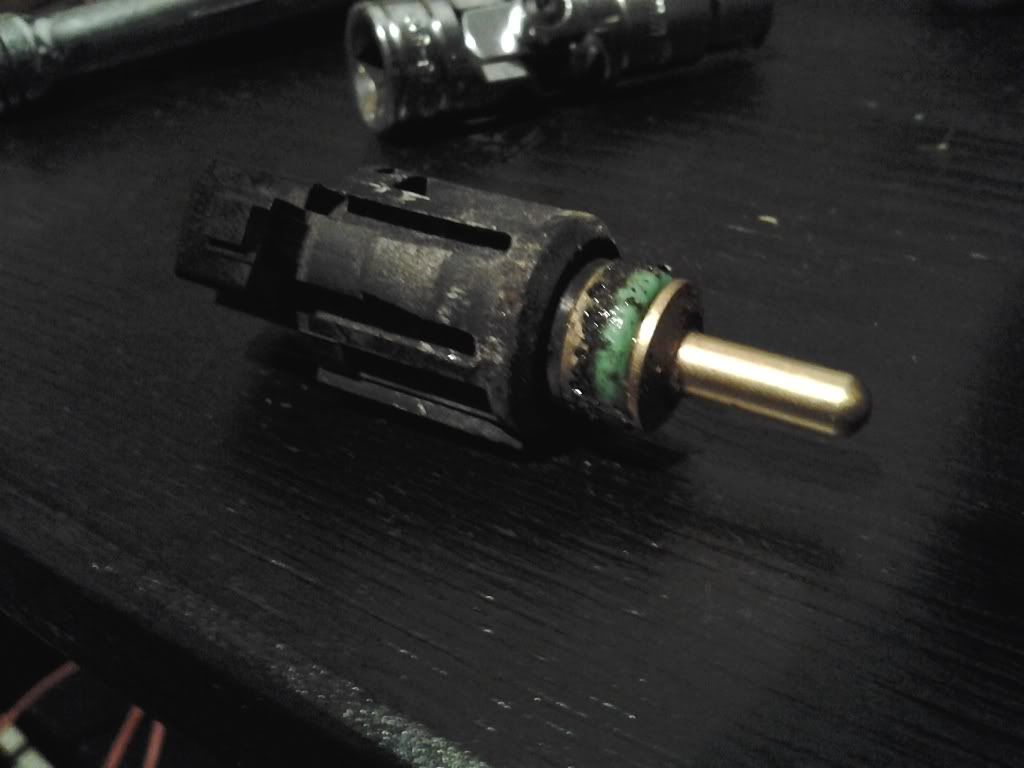
After I got done flushing i removed the aux fan switch that's in the lower hose. This is done by squeezing the clips on the side and pulling up.
Then I removed the lower hose. This one was a real PITA for some reason. Lots of cussing and I took a break. Then came back like the incredible hulk and just started breaking the hose ends off using a screw driver. Eventually I exerted enough force so the top of the hose exposed the lip of the radiator neck and I was able to slip the tip of the screwdriver at the top center position and then by twisting it popped off just like I did for the upper hose. Remaining on the neck of the radiator was the o-ring and an inner collar that belonged to the hose. Check for these as when I tried to re-install the lower hose, I pulled and banged on it until I realized the collar was still on the radiator neck.
From here on out its smooth sailing and reassembling is straight forward. Note that for all connections and o-rings i put a light coating of white lithium grease to aid in sealing.
I first put the water pump in then the thermostat. There are torque values as to how tight these should be but I believe they are low and judging from how loose they were I simply tightened them enough that I didn't have to use a large amount of force.
Next put the pulley on the water pump. Again these don't require a terrible amount of force so I held the pulley in one hand and tightened the bolts using my socket wrench exerting the same amount of force I used on the thermostat and water pump.
Slip the belt back on. I found the best way to do this is to snake it back on all the pulleys except for the alternator. Then release the tension on the tensioner pulley and simply slip it over the alternator pulley.
Now attach the hoses. They will require some effort to secure them all the way in. Raise the clips before pushing them on. Note the upper hose comes with a new bleed screw.
After the lower hose is secured remove the aux fan switch o-ring and replace with the new one. I cleaned it off using some electrical contact cleaner and a paper towel. I also put a tiny bit of white lithium grease on that o-ring as well. Reinsert into the lower hose and secure.
Reattach the thermostat wiring harness and the harness for the aux fan switch.
Now reattach the fan and shroud. You can do this a few ways but I always slip the shroud in first then without securing it, I slip the fan in front of it and then slip both of them further down after some wiggling. To secure the fan initially spin it counterclockwise to try to get it seated on a thread or two. Once you have it there use your 32mm wrench in one hand and with your other hand, hold a blade to the side (left) then tighten. Once this is tight you should feel some resistance from the belts and even see your accessories moving. When you start the car it will tighten the nut some more. The shroud has a few points where it attaches to the radiator. Down below there are 3 tabs that it needs to slip into and on the top left (passenger side) there is a hook of sorts. Once it is seated properly the 3 holes for the rivets will line up at the top. Reinsert the rivets by pulling the pins all the way out and then slipping the rivets in. Then push the pins back in.
Now screw in the radiator drain plug but be VERY gentle as I have had one break on me. And when it breaks, half of it remains inside the radiator so this would easily become a more difficult task. It needs only 1 or 2 turns after you feel it give you some resistance.
Reattach the 'KALT' plate to the expansion tank.
At this point you are ready to fill with coolant. Go ahead and mix a 50-50 batch of coolant and distiller water.
Turn the ignition on and set the temps to 90f (highest) on the lowest fan setting. Then back out the bleed screw on the upper hose just a bit, maybe 3 turns.
Start pouring coolant into the expansion tank. Some will come spilling out of the bleed screw as you are pouring. Keep pouring until the level is correct. Tighten the bleed screw. Allow the coolant to continue to run through the system until the flow coming to the expansion tank from the upper hose is not sputtering with air but is instead a smooth flow. Screw on the expansion tank cap but do not over tighten. Start the car up and let it idle for a period of time, maybe 10 mins. Keep an eye on the temp gauge. Squeaky belts are normal as they are wet.
I chose not to reattach the lower shield or the air intake duct so I could monitor for any leaks over the next few days. Today everywhere will be wet so that's a moot point.
After the car had some time idling I brought up my OBC on my high cluster and pulled up Test7 which reports the coolant temp.
Then I took it out for a spin, taking it easy on the local roads until I got on the highway. Carefully monitor the coolant temp and shut it off if it appears to be getting too hot. Let it cool and make your way back home slowly. If that isn't the case, take it on the highway and assuming the temp is midway on your gauge, really get on it or at least take it to higher engine speeds. I did a 10 mile round trip and the temps were now between 91C & 93C.
After returning home I put my tools away like a good boy and called it a night. In the AM when the car had cooled completely I checked the coolant level and it was perfect.