
|
|
|
|
||||||||||
| Xoutpost server transfer and maintenance is occurring.... |
| Xoutpost is currently undergoing a planned server migration.... stay tuned for new developments.... sincerely, the management |
|
|
LinkBack | Thread Tools | Display Modes |
|
#1
 01-02-2016, 12:03 PM
|
||||
|
||||
|
DIY: Modding Spyder headlights & projectors
This is a video I made detailing what I did to modify my Spyder headlights (eBay brand) for a prefacelifted X5. The main takeaway should be how to modify hot spot, rotation and high beam alignment, as I haven't seen that covered around here. Spyder headlights have the same projector mounting bracket as OEM prefacelift xenon headlights.
Headlight specifications: Hella RS6 projectors w/ clear lenses, custom foreground limiter and tuned hotspot/rotation VHT Nightshade spray tint on all the chrome Morimoto 35W D2S ballasts and 4300k bulbs LED halos: Click here for the link. You need 125mm full-circle and 145mm semi-circle rings, mention it in the ordering comments. 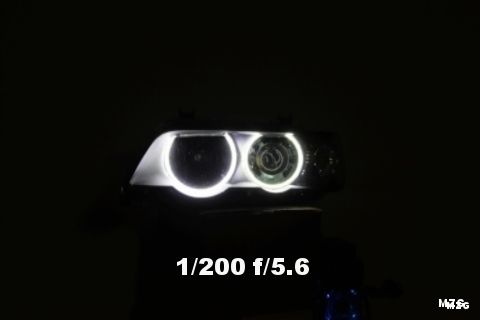 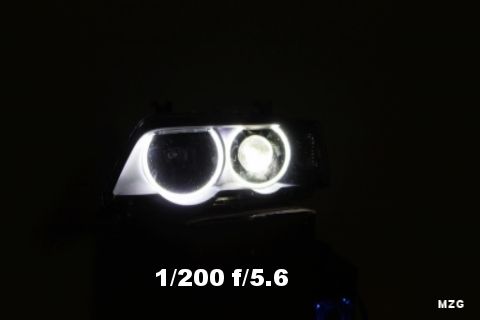 Foreground limiters: I didn't mention the custom foreground limiters I had on there, since most popular replica projectors will have them on there already. What foreground limiters do is redirect the foreground light back into the bowl so that it can be projected elsewhere in the output for more distance intensity. Cut a piece of aluminum that mounts onto the extra mounting holes of the projector and hangs down from the top part of the bowl. I used a Coke can as a template since the aluminum is thin, but use non-colored aluminum flashing from the roofing section of a hardware store as the final design. You must test on your own how much the limiter hangs down to see how much foreground light you want to limit. 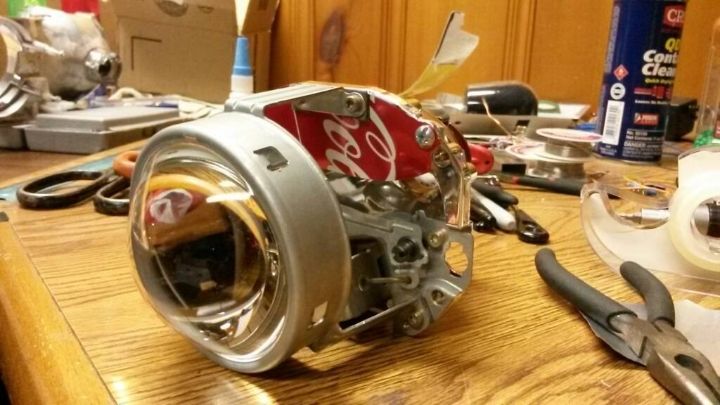 Hotspot: Note the yellow hotspot is right on the step of the cutoff. 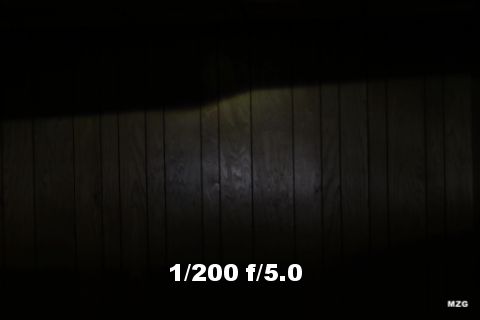 Aftermarket 125mm halos (low beam application): You can reuse the original halo bracket to mount these with minimal modification. 1) Cut the inner ring of the bracket off but leave the legs so the halo has a place to sit on. Tie fishing string at the bottom and top of the halo to secure it. 2) Sand down the black halo housing so that the fatter ring can fit through without getting crushed between the bracket and housing. 3) Sand the top part of the bracket down since the aftermarket ring will be fatter than the original CCFL halo. 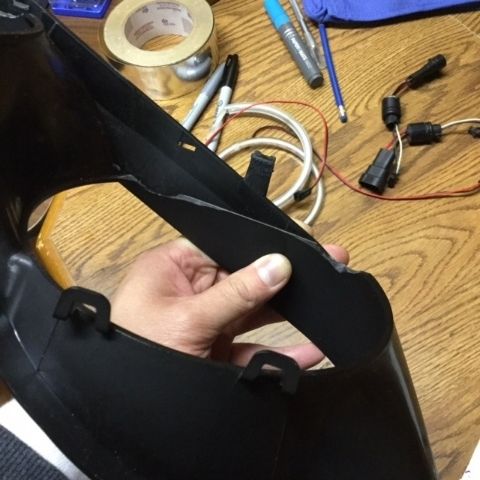 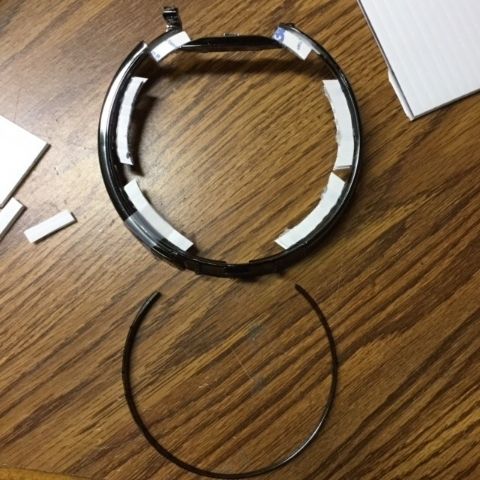 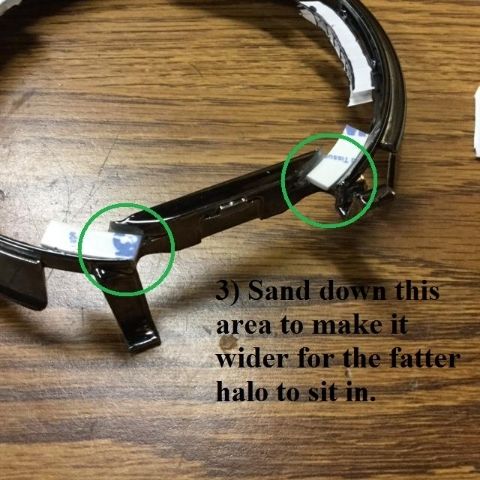 Aftermarket 145mm halos (low beam application): You do not reuse the original halo bracket. 1) Sand down the black halo housing so that the fatter ring can sit flush in the housing. 2) Drill 4 small holes at 4 corners for fishing string to go through and make secure knots. This will hold the halo in place. 3) Tape up the perimeter of the halo to make sure the knots or ring do not loosen up over time.  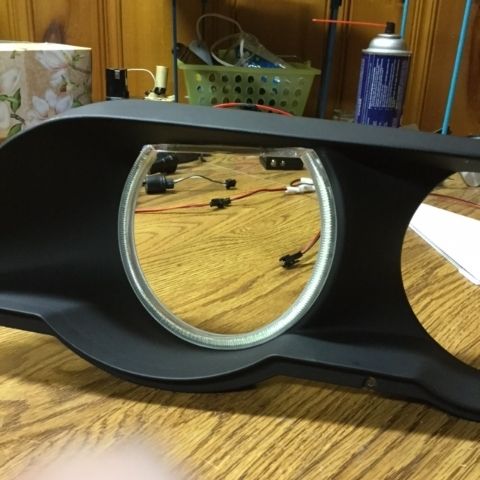 If you guys have any questions or comments, post them up. Subscribe to my channel for more cool DIY/racing videos!
__________________

Last edited by MINIz guy; 01-03-2016 at 09:50 PM. 
|
| Bookmarks |
|
|
|
|


 Threaded Mode

