
|
|
|
|
||||||||||
| Xoutpost server transfer and maintenance is occurring.... |
| Xoutpost is currently undergoing a planned server migration.... stay tuned for new developments.... sincerely, the management |
 |
|
|
LinkBack | Thread Tools | Display Modes |
|
#1
 09-19-2021, 12:41 PM
|
|||
|
|||
|
E70 Rear Soft Close Actuator/Latch Replacement
Soft close is a pretty pointless feature and when I brought the car I knew it was going to cause trouble with parts failing in the future, but the rest of the spec was as desired so there had to be some compromise. I have used a cheap Chinese replacement rather than a genuine BMW part (£150 vs £400+) Tools needed - Trim removal tool. Torx 20 bit, Torx 30 bit, 8mm socket or spanner. On the whole the process is pretty self explanatory. Remove the door card as per the instructions on this video: https://youtu.be/sEczfTNSgE8 The blue speaker connector is a real pain to remove so take your time working it out rather than breaking it. If anyone knows the specific trick for releasing these plugs please do share. 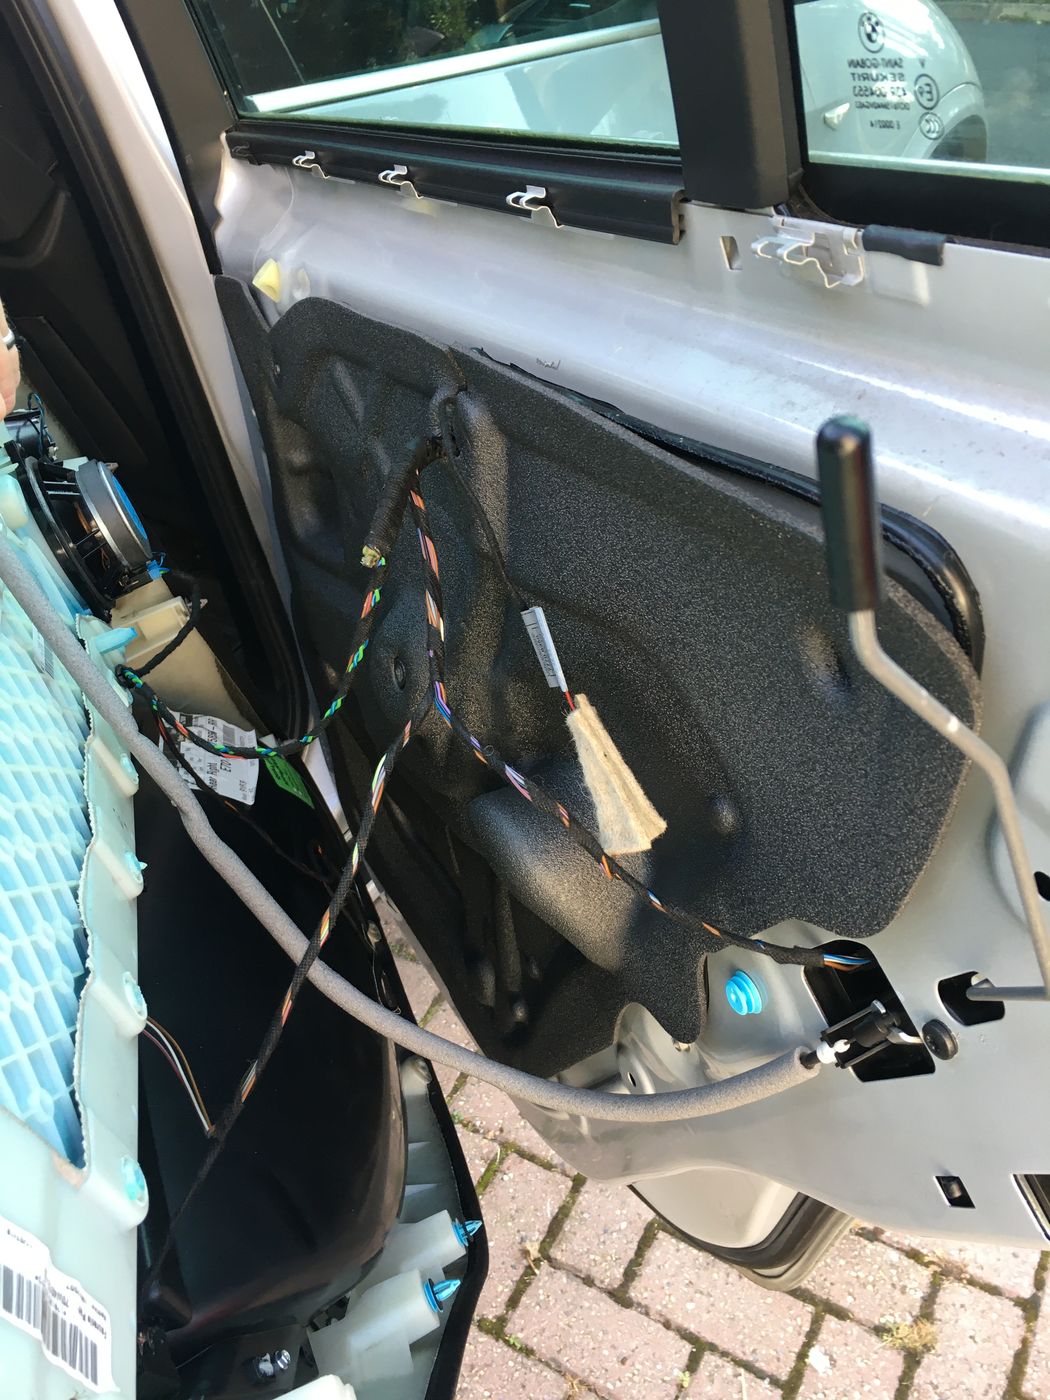 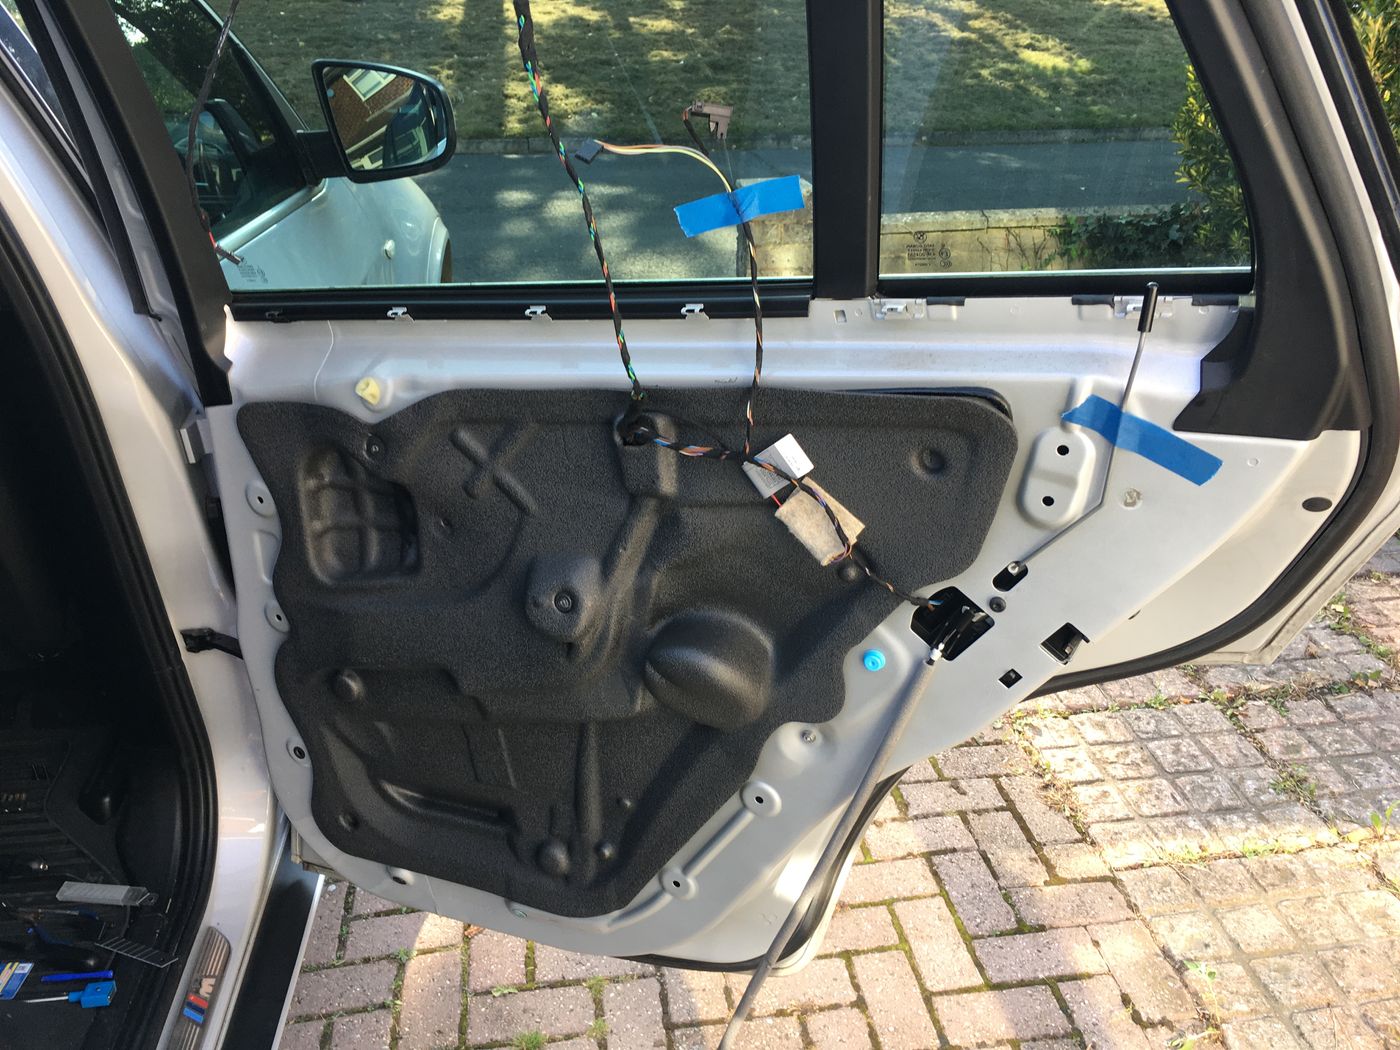 Peel back the internal cover (cut sealant with a sharp blade). Remove the manual locking knob wire and internal handle cable.  The part I found tricky was accessing the outside handle cable for removal, and removing the unit itself would have been difficult. The solution I found was to remove the rear window guide piece which is attached to the rear part of the opening in the door. This gives you enough room to get your hand in and remove / re-attach the outside handle cable with no trouble. It also opens up a big enough gap to remove the rather large door latch assembly.  Swapping out the latch is easy, remove the remaining wiring (one large weatherproof plug/socket on the lower actuator unit). Remove the outside door cable connector. Unscrew the three 8mm nuts attaching the lower actuator unit. Unscrew the three large #30 torx bolts holding the main latch unit in place. Slide unit down inside the door and out of the opening, being careful to avoid snagging any other wires in the process. Take note of the orientation for reference when slipping in the replacement. 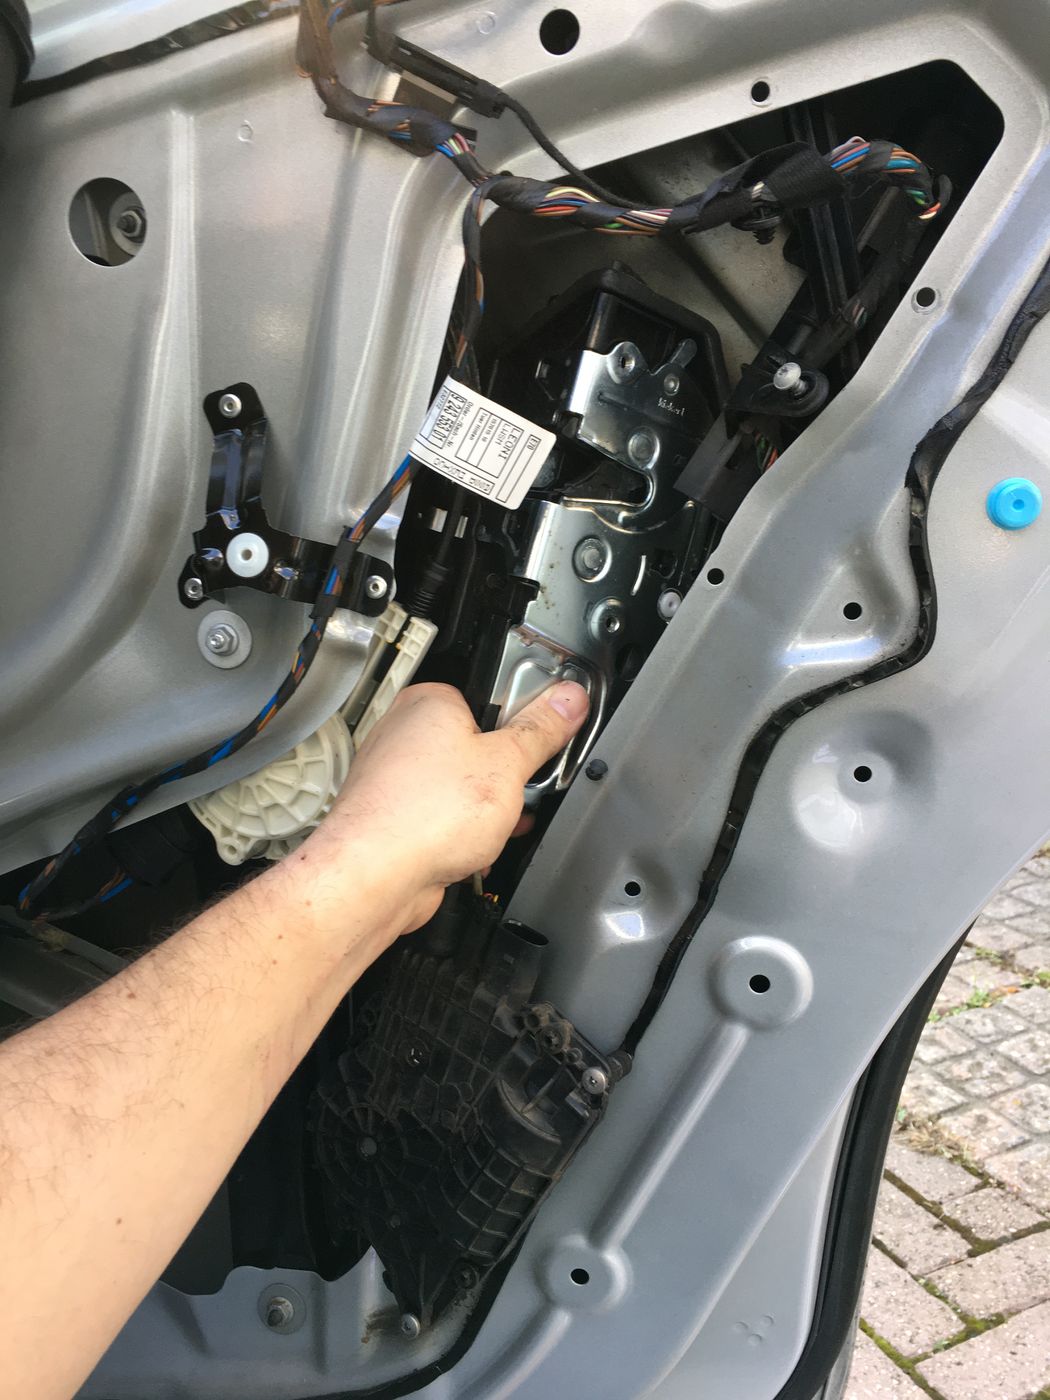 Fitting the new unit is the reverse of removal. Take a bit of time to make sure the latch is well aligned in the centre of the space. I took a photo of the original before removal to ensure I could get a similar alignment with the new unit. Once the latch assembly was replaced I reattached the rear window edge support piece loosely, wound the windows down (carefully) using the switch on the drivers door - to make sure everything was well aligned and nothing would bind. Then tightened it up with the window down, and tested operation a few times. Then it's just a matter of replacing the internal door handle cable, internal knob and finally the door card. It took me about 2 1/2 hours - approaching it cautiously and taking photos along the way to ensure I could get things back together correctly. With experience, if I were to do this again I think it would be complete within an hour.
__________________
2012 x40d w/Toys 

|
| Sponsored Links | |
|
|
|
|
| Bookmarks |
|
|
|
|


 Linear Mode


