DIY: Replacing DMTL Leak Down Pump, LDP EVAP System
Problem: Check engine light is on. Code P1434 Manufacturer specific code.
Enjoy.
What you need:
- e70 x5 (my 2008 X5 E70 4.8i, N62), or a BMW X5
- basic tools to include: 10mm socket, 8mm socket, 17mm socket, t-20 (solid core) star socket, few ratchets, breaker bar to remove wheel bolts with, flat screwdriver, dikes, plastic rivet gun
- hydraulic jack
- fuel tank at less than half full
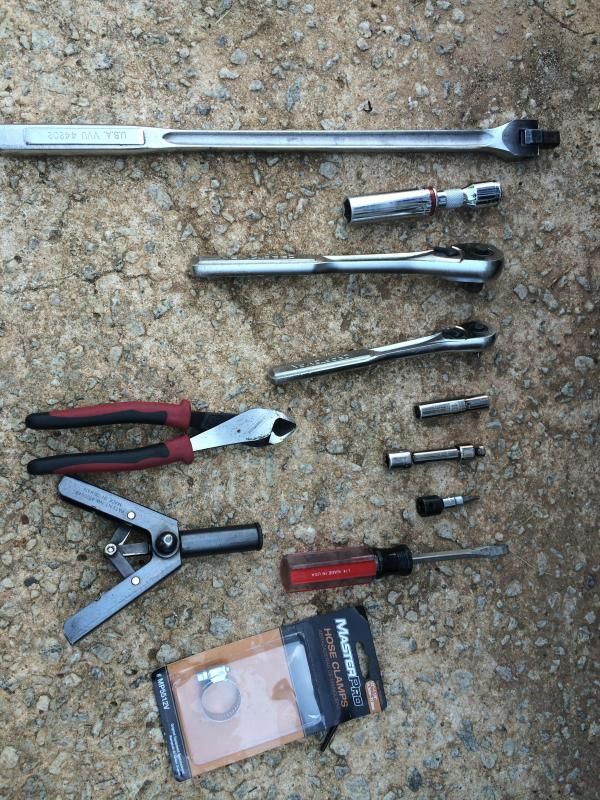
Replacement Parts:
- new DMTL module, also called Leak Down Pump
- new hose clamp (I used 1/2 -> 1 1/4 clamp)
- wheel arch plastic rivets (either 5-longer, 2 short; or 7 longer)
(you can get some of your parts from import auto parts store that is local to you, ecstuning.com and your local bmw dealer)
Disclaimer: in no way does reading this post authorize you to do this repair yourself. You should always service your BMW at an authorized BMW Service point. Death and injury may/will result if you undertake this repair.
Things to know:
- this project should take about 60 minutes.
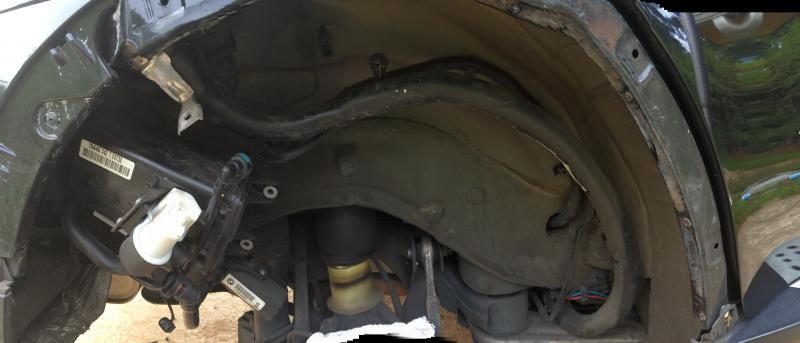
- pump is located on passenger side, rear wheel, above wheel liner, next to charcoal canister (the E53 Pump is on the Driver Side Rear, just so you know)
- you are working on a fuel system
- Fuel Vapors Are Extremely FLAMABLE!
Work To Be Performed:
- park on level surface and engage HAND BREAK
- loosen passenger side rear wheel bolts, lift the car up and remove the wheel
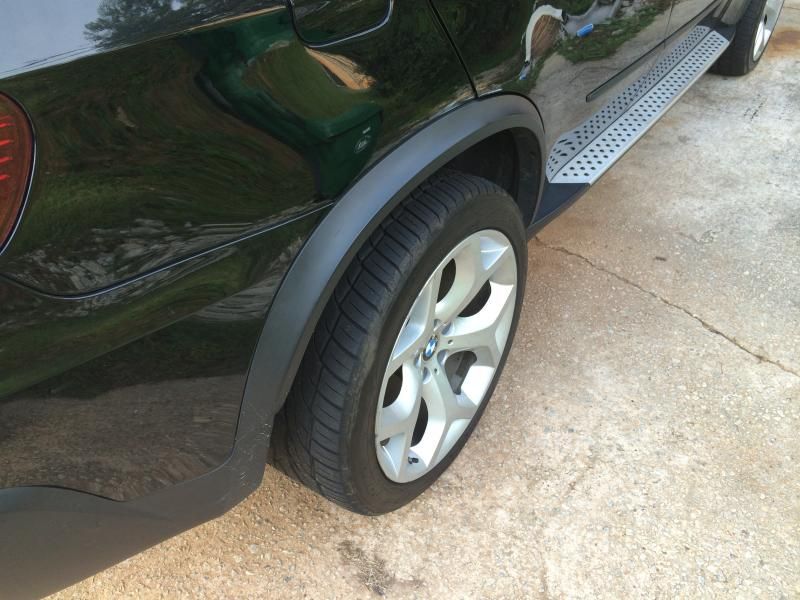
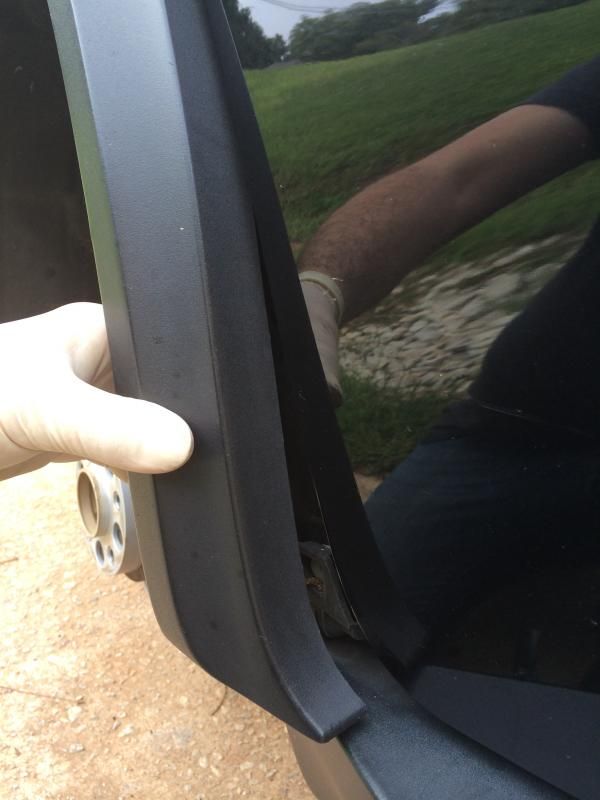
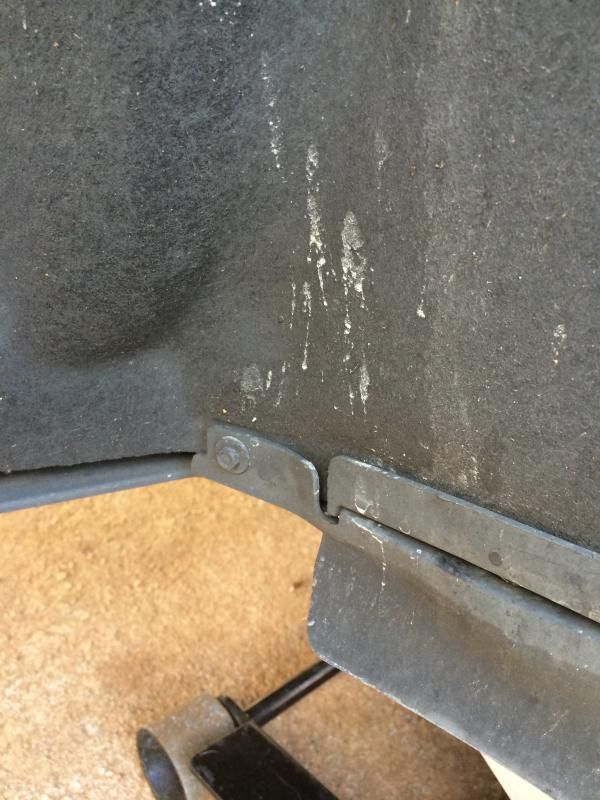
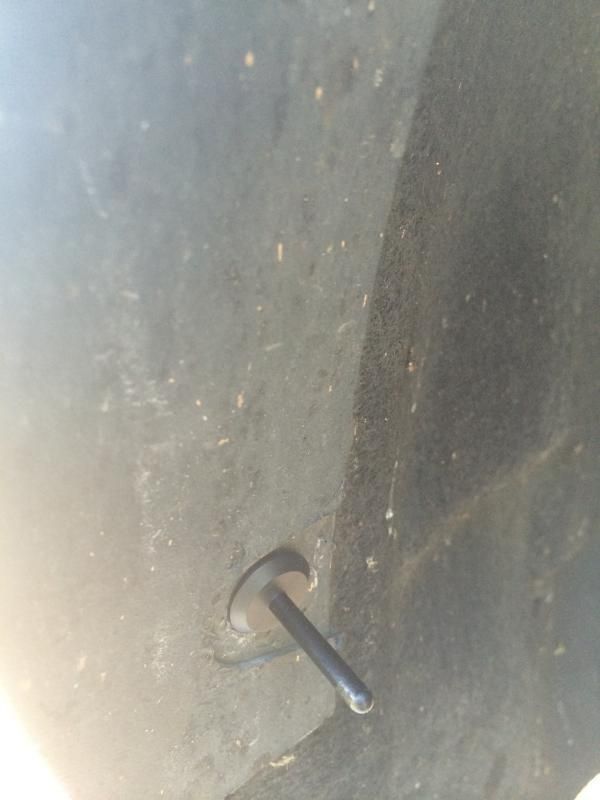
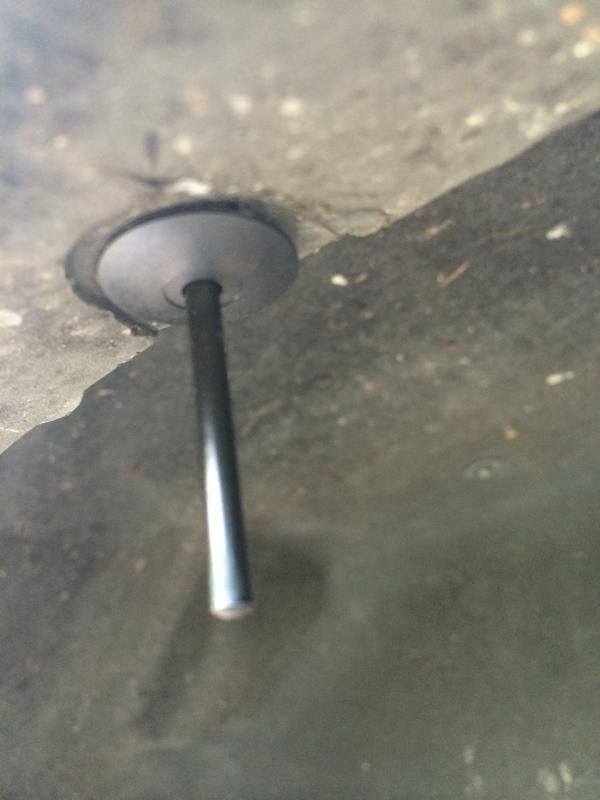
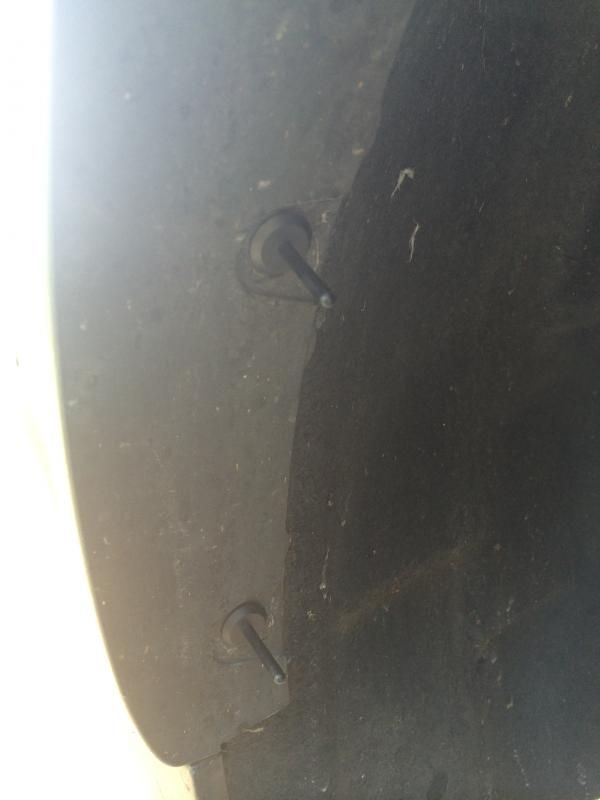
- remove plastic rivets holding the wheel arch
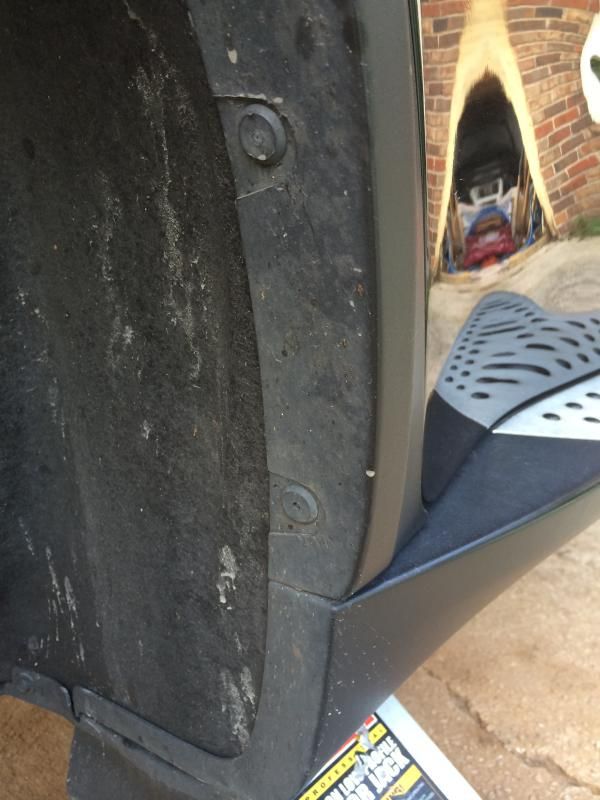
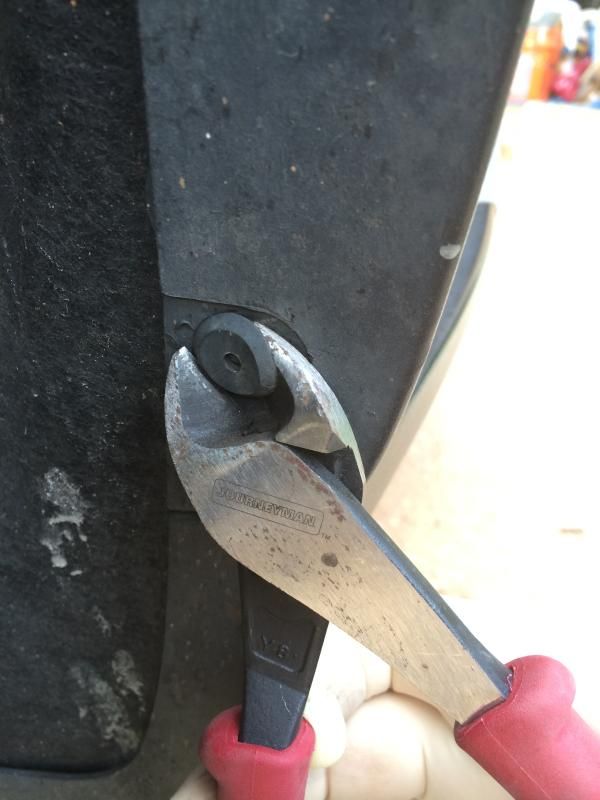
- remove the wheel arch, start by pulling from front of the car towards the back. Be careful, there are plastic clips holding it in about three places
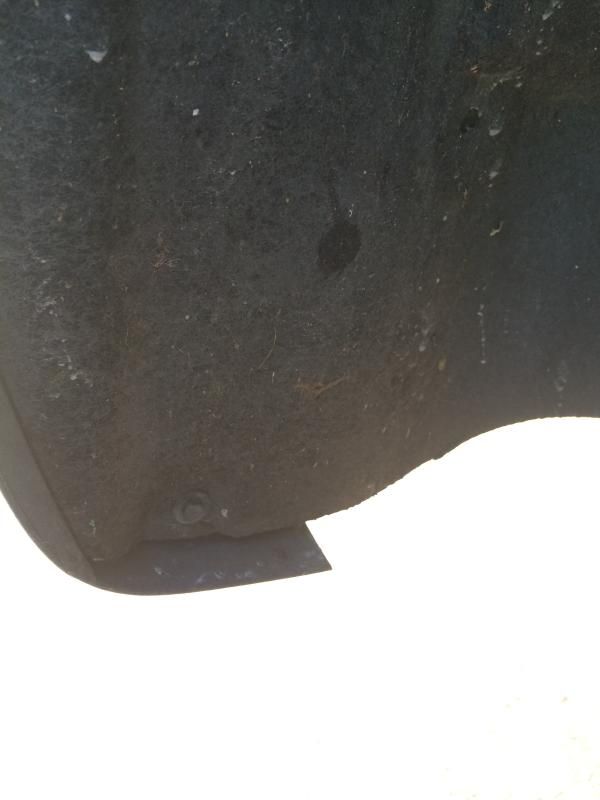
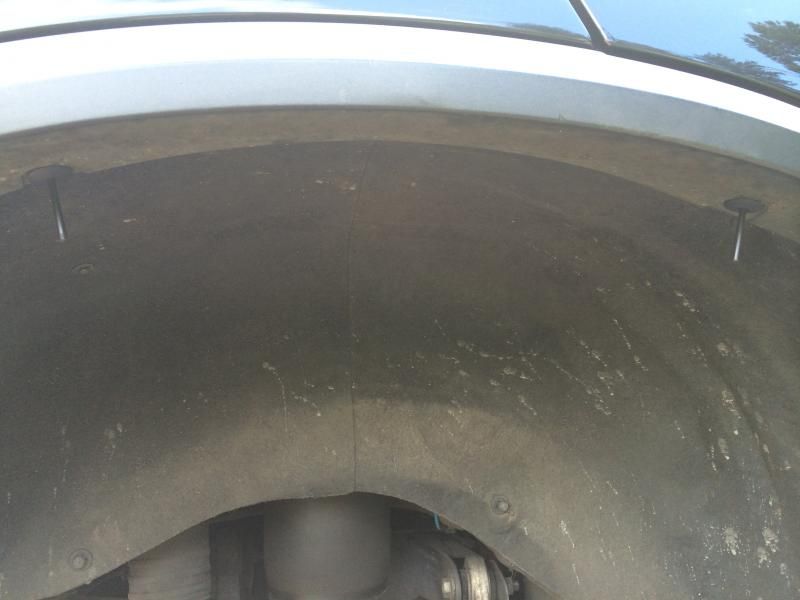
- remove two 10mm plastic nuts next to shock and air spring
- follow by removing 8mm screws holding the wheel liner
- two in the top of the liner

- three holding the air damn at front of the wheel (two are under the car)
- two at back of the wheel (one of these is under the car)
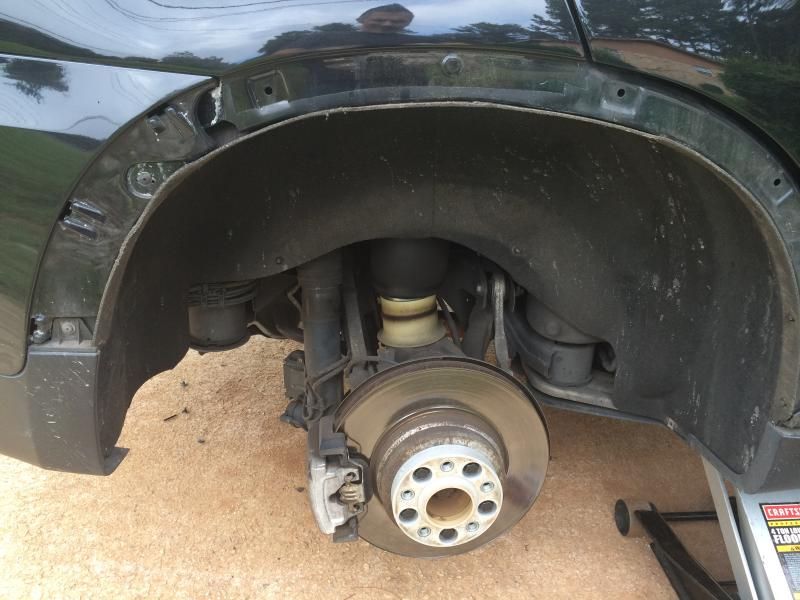
- remove the liner by pulling it off the studs that the 10mm nuts were holding, pull pack out and down first, then work it out of the space
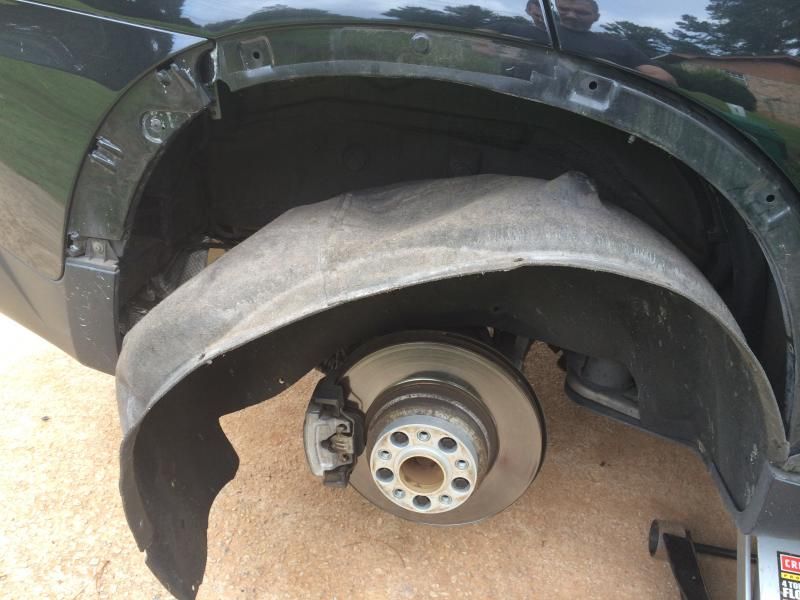
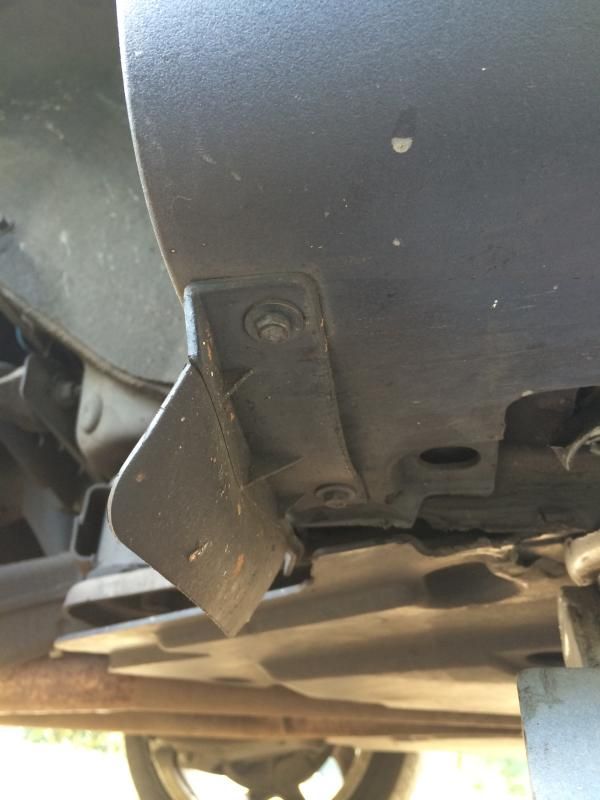
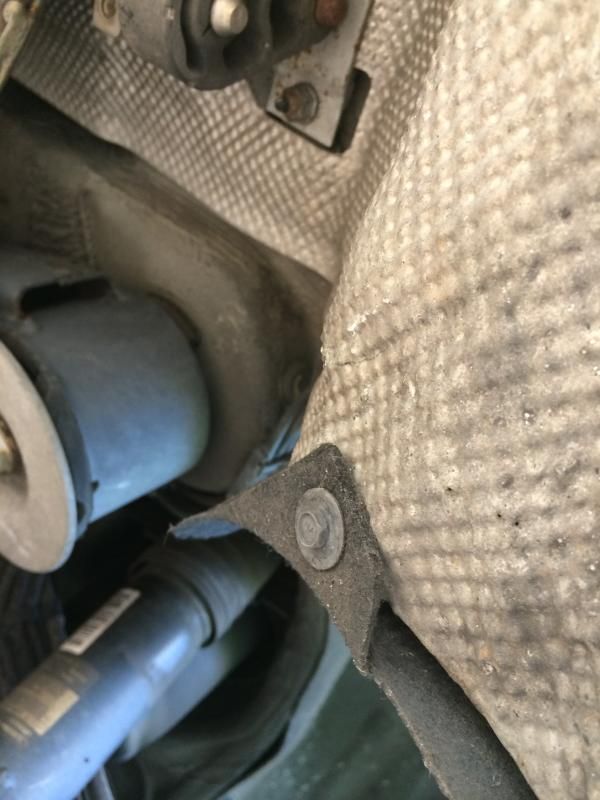
- look up the wheel well; you will notice the charcoal container and Leak Down Pump mounted right on the side of it
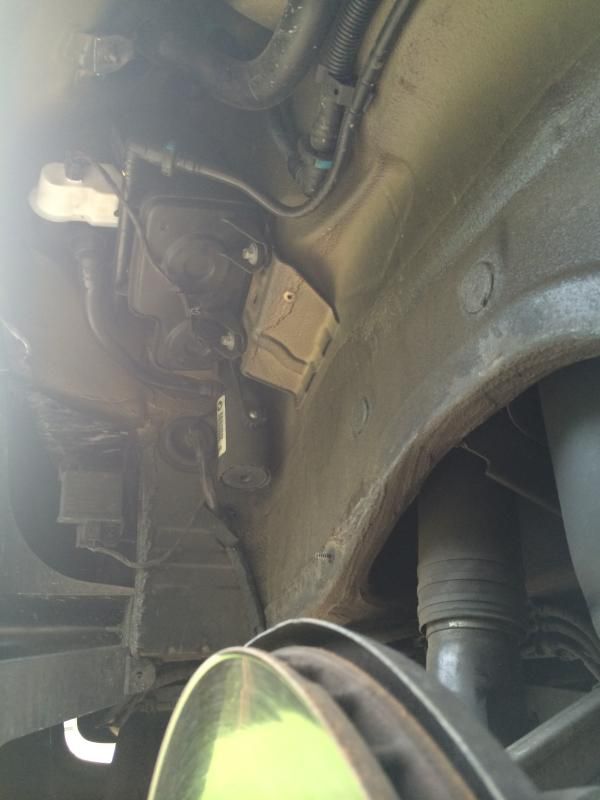
- remove the two nuts holding the charcoal container
- remove the bolt holding the filler neck
- disconnect the electrical connector to the Leak Down Pump
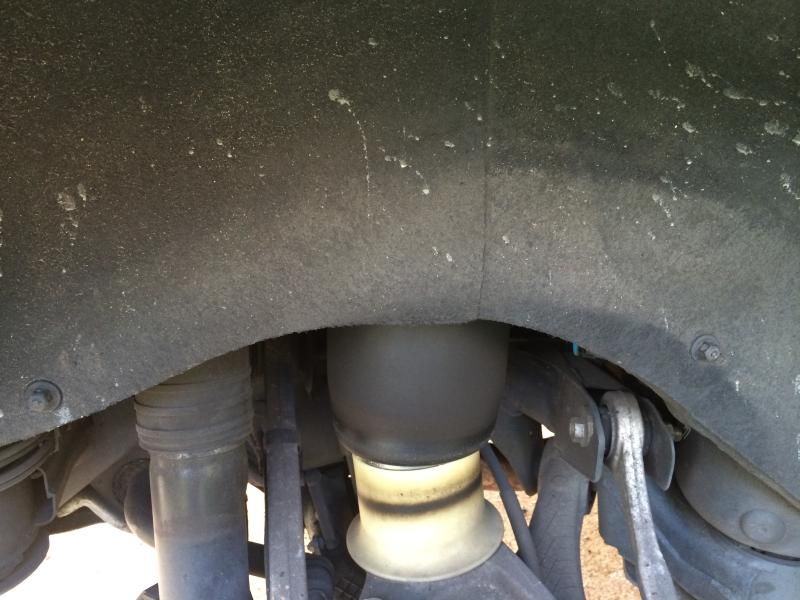
NOTE: you will have to lower the charcoal container down, in order to do this I have unclipped the filler and vent lines from the body of the car. This was necessary as three star bolts, holding the Leak Down Pump, are not accessible otherwise.
- remove two plastic nuts holding the filler neck line to body (located center right of the wheel well and bottom right)
- remove gas cap
NOTICE: Fuel Vapors Are Extremely FLAMABLE!
- pull the lines out of body mounted clips as needed
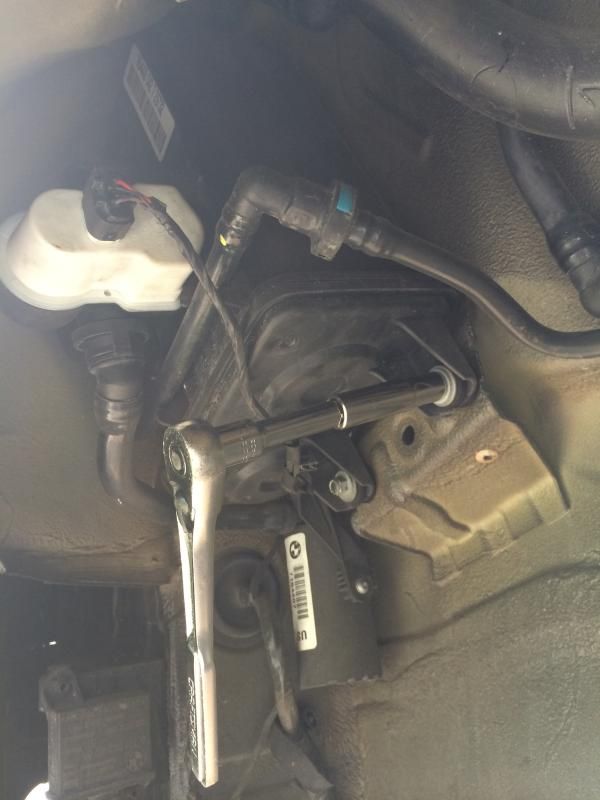
- disconnect the Leak Down pump lower hose by compressing the fitting
- remove the clamp holding back side hose (use dikes)
- unscrew the three star screws using the T-20 socket
REINSTALLATION
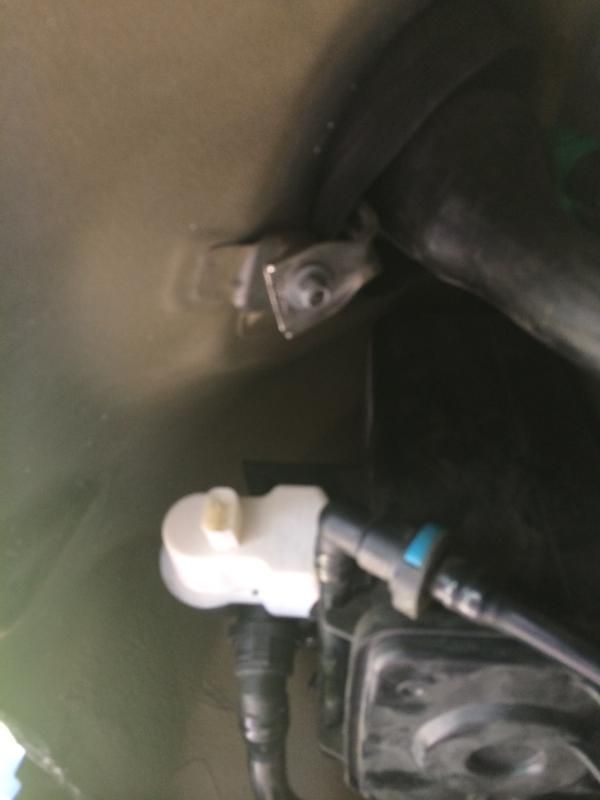
- replace the Leak Down Pump
- install three star screws
- clip in the lower hose to the new LDP
- install back left hose, secure using the new hose clamp (do not over tighten)
- slide the charcoal canister assembly back in place (notice there is a key-way at the top of the canister)
- reinstall filler tank nut
- reinstall the filler cap
- reinstall charcoal canister nuts
- reconnect LDP electrical connector
- reinstall wheel liner, start by sliding the front of the car end in first
- reinstall remaining 8mm hardware, and the two 10mm plastic nuts next to shock and air spring
- reinstall wheel arch, start at back of car and work it forward
- key in plastic rivets
NOTE: The dealer lists two part numbers for the back of the car. In reality you can use the longer rivet for all of it. I used a mix of two shorter (flat head), and five of taller (tapered head)
- back side of car
- front side of the car
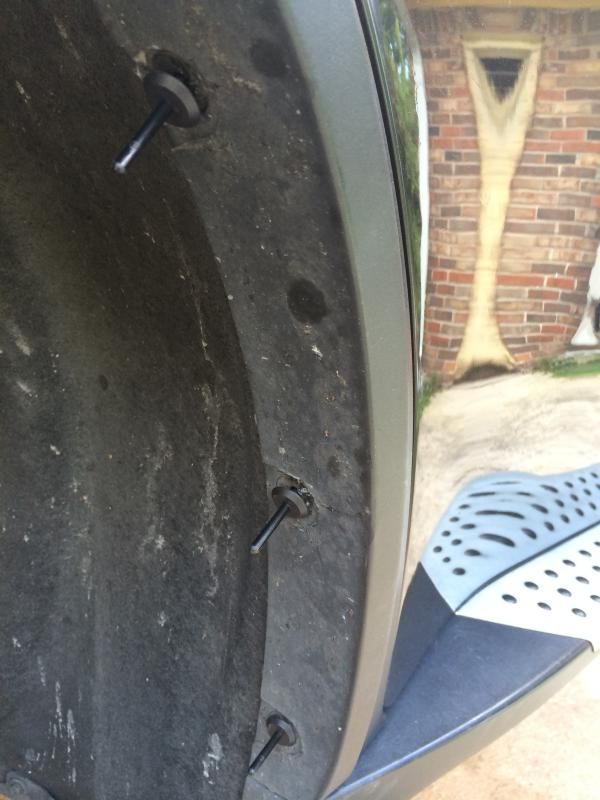
- center of the wheel arch
- using the plastic rivet gun, install the rivets
- reinstall the wheel
- lower the car and retighten the wheel
Drive It Like You Stole It!