
|
|
|
|
||||||||||
| Xoutpost server transfer and maintenance is occurring.... |
| Xoutpost is currently undergoing a planned server migration.... stay tuned for new developments.... sincerely, the management |
 |
|
|
LinkBack | Thread Tools | Display Modes |
|
#1
 04-17-2009, 08:03 PM
|
|||
|
|||
|
BMW X5 SUSPENSION REWORK.
Being a 4x4, many people think that the car is supposed to be an off road utility vehicle, I do not believe this to be so. I see the car as a large, comfortable, 4-wheel drive road car with the potential to go on unmade or poor quality roads, not off-road like a true 4x4 such as a Land Rover Defender. BMWs own X6 has taken this even further with a 4x4 Coupe on stilts that is rather taking my conception a little too far in my opinion. I found that there was very little available in the way of modifications for the X5 until I found that Phoenix Motorsport, a BMW 8-Series specialists were developing a set of stage by stage modifications to transform the handling of the X5 with a bias towards how 99% of owners use their cars, on the road. The full stage 5 package included lowering springs, anti-roll bars, front camber adjustment plates, uprated dampers and a front strut brace, (as well as polyurethane front thrust arm, anti-roll bar and rear subframe bushes, all of which have a poor reputation for longevity and performance). There is also a brake upgrade available with drilled discs and stainless braided hoses which retains the stock calipers and pads making future servicing easy and reasonably priced. With the car having done 50,000m I had it checked over thoroughly and found that wear was evident in the thrust arm bushes and the rear subframe was already knocking. Luckily, the dampers were all still in excellent condition and function so I opted for the Stage 4 kit, excluding dampers. Discs were badly lipped, although still within minimum thickness but they looked awful, were badly corroded, as were the brake hoses , and as I was due for a brake system flush anyway, I went for the new discs and hoses too. THE KIT: As the car has self levelling, the lowering springs consist of just a pair of front springs that are designed to lower the car 35mm, the springs drop the front and the car automatically re-levels itself with the pneumatic rear springs. Next the camberplates which bolt to the top of the front struts, reset the camber settings more for a high performance road car and are designed to fix the camber to eliminate the understeer on the car and improve steering feel and accuracy. The new anti-roll bars, which are substantially thicker than the standard Sport roll bars go a long way to controlling the body roll of a still top heavy, 2.5 tonne motor car. Finally, the strut brace is there to help reinforce the bodyshell from the additional forces imposed on it from the new stiffer suspension settings and the added capabilities of the cars handling. THE SPRINGS: 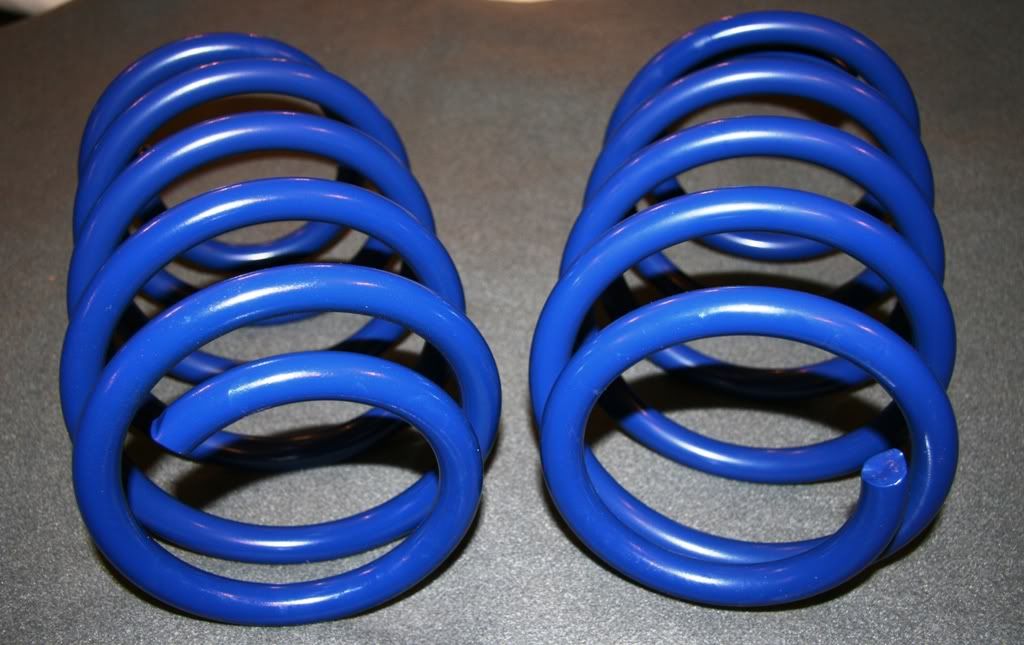 These are the Stage 1 modification and like all lowering kits, improve handling by lowering the center of gravity of the car, but also by careful selection of spring rates, do not adversely affect the driving comfort of the car, and by also increasing the spring rate, help in controlling adverse body roll. THE CAMBERPLATES: 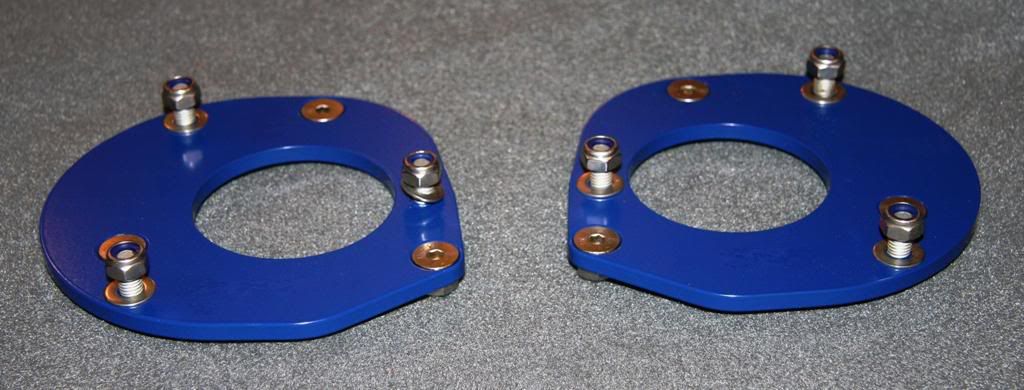 Increases in camber greatly improve steering response and touring race cars are seen with extremes of negative camber. For the road however these extremes would badly effect tyre wear so a setting that reduces understeer whilst at the same time improving handling and steering response and self alignment will actually IMPROVE front tyre wear and these Laser cut, alloy plates do just that, adding just the right amount of negative camber to a sporting cars setting whilst not adversely effecting tyre wear. THE ROLL BARS: 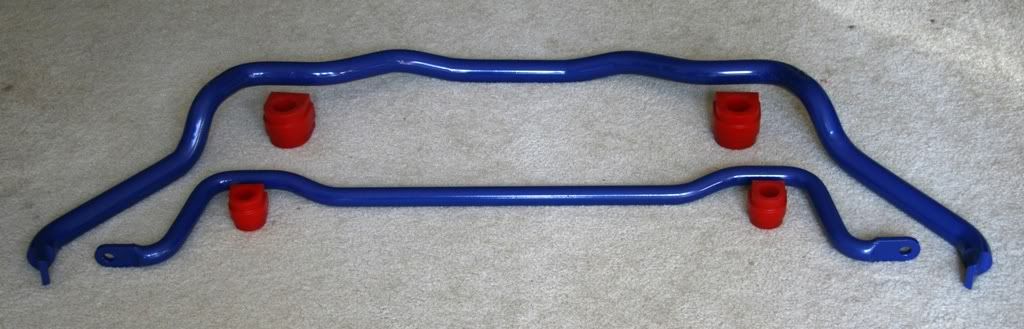 Weight transfer on a vehicle from side to side during cornering de-stabilises the car and whilst lowering the center of gravity helps, anti-roll bars, also known as sway-bars in N America and sometimes as stabiliser bars, directly control the vehicles body roll, and hence weight transfer during cornering, keeping the car more stable. These bars come with stiffer polyurethane bushes and this, the Stage 3 component of the kit, with much larger diameter bars, stiffens the undesireable bodyroll, reducing it to a minimum for a 2.5 tonne car that is still very tall and top heavy. THE STRUT BRACE:  With my shock absorbers being in good condition, I bypassed the Stage 4 part of the kit and went to the Stage 5 Strut Brace. This simply supports the tops of the strut mounts on the turrets, bracing the bodyshell between these 2 stress points. THE POLYURETHANE BUSHES: 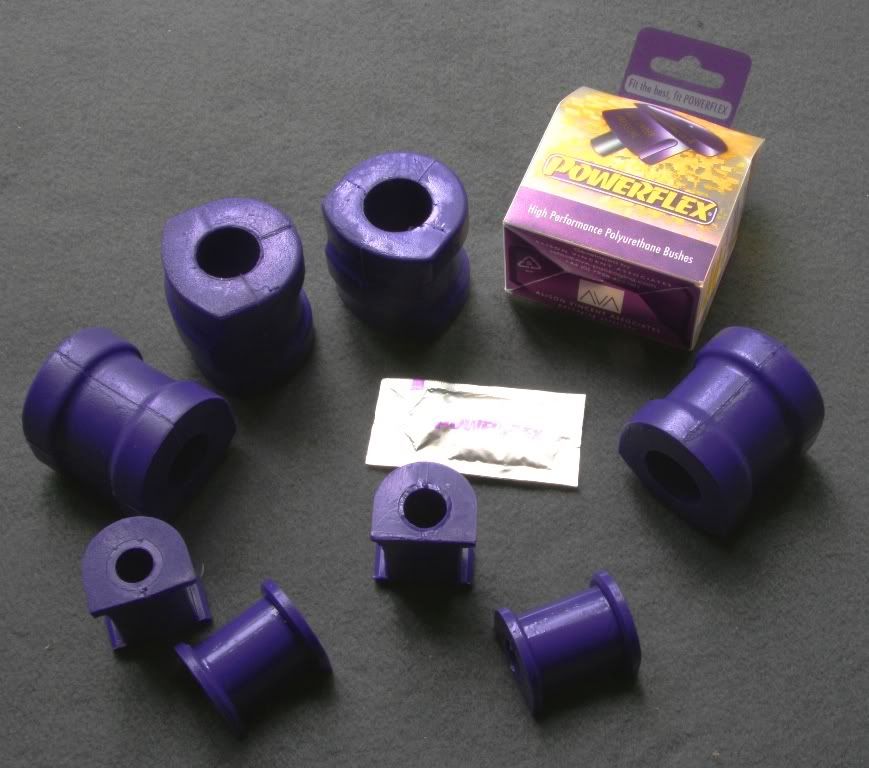 With the well known failure rate of the front thrust arm bushes and rear subframe bushes on the X5, these were replaced as a matter of course anyway. THE INSTALL: With four of the 6 items to be fitted being on the front suspension, this is where we decided to start. Firstly, the car was jacked-up at the front, secured on axle stands and the front wheels removed. We then removed the top nut retaining the roll bar drop link from the strut, followed by the two bolts retaining the knuckle to the strut. The caliper was then diconnected so there was no stress on the brake hose. Pic 3 shows the position of that pesky front thrust arm bush. 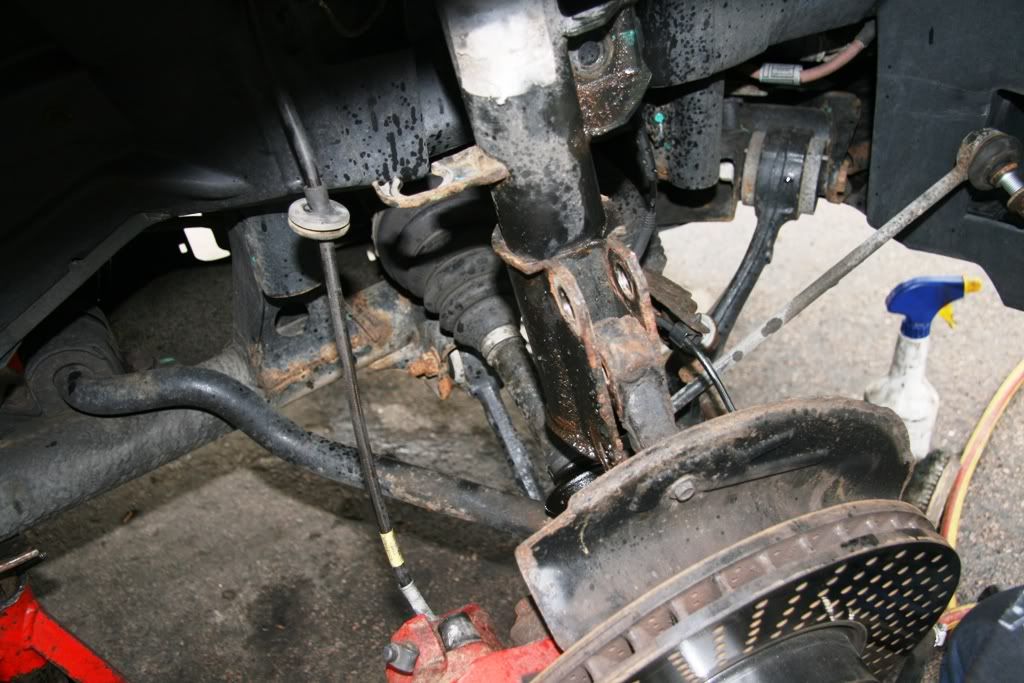 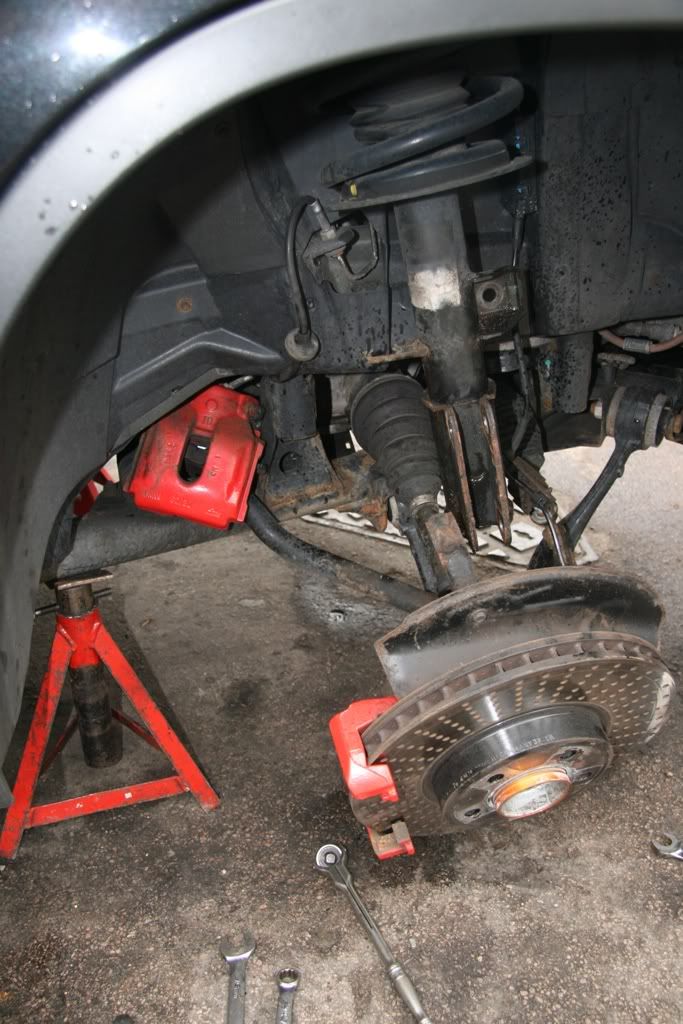 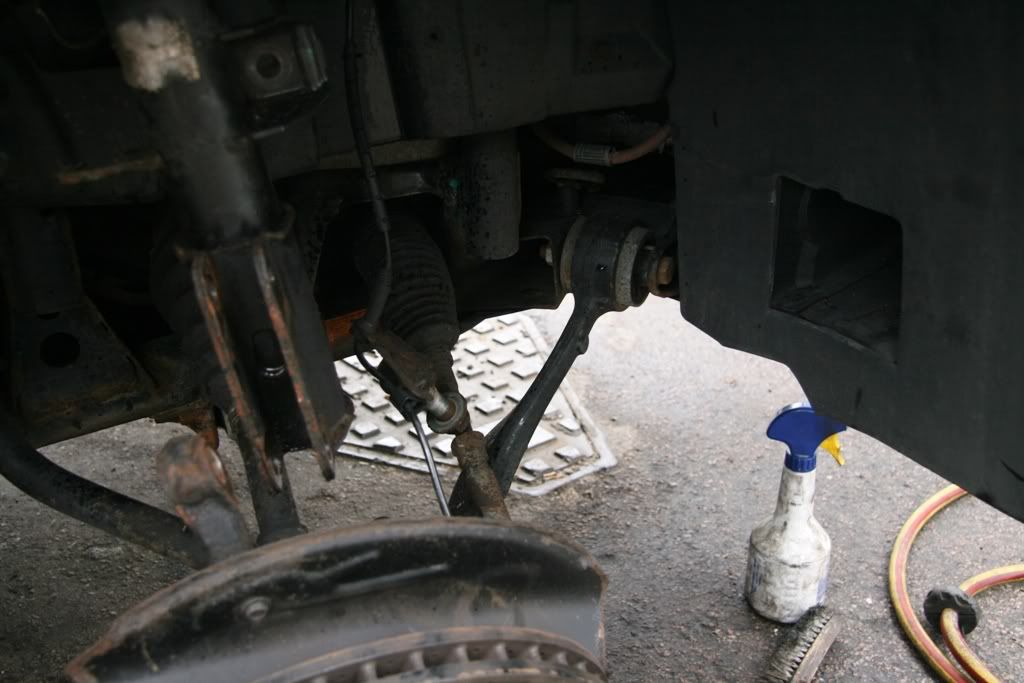 With the lower end of the strut now disconnected, the three 13mm nuts retaining the strut on the left hand leg cane be removed and the srtut removed from the car. On the right hand side, the washer bottle needs to be detached and swung inwards to gain access to these 3 nuts, then this strut can also be removed. 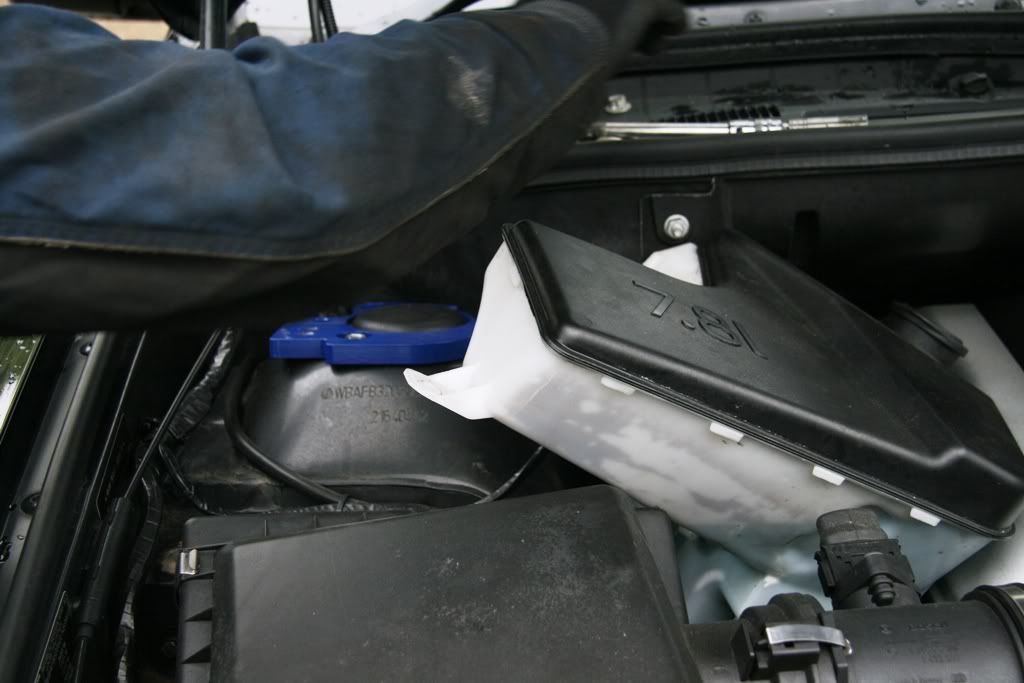  Next up is the disassembly of the strut. Using suitable spring clamps, compress the springs so that the top plate becomes loose then undo the top strut nut. The top plate will then lift off followed by the bearing plate and then finally the spring. 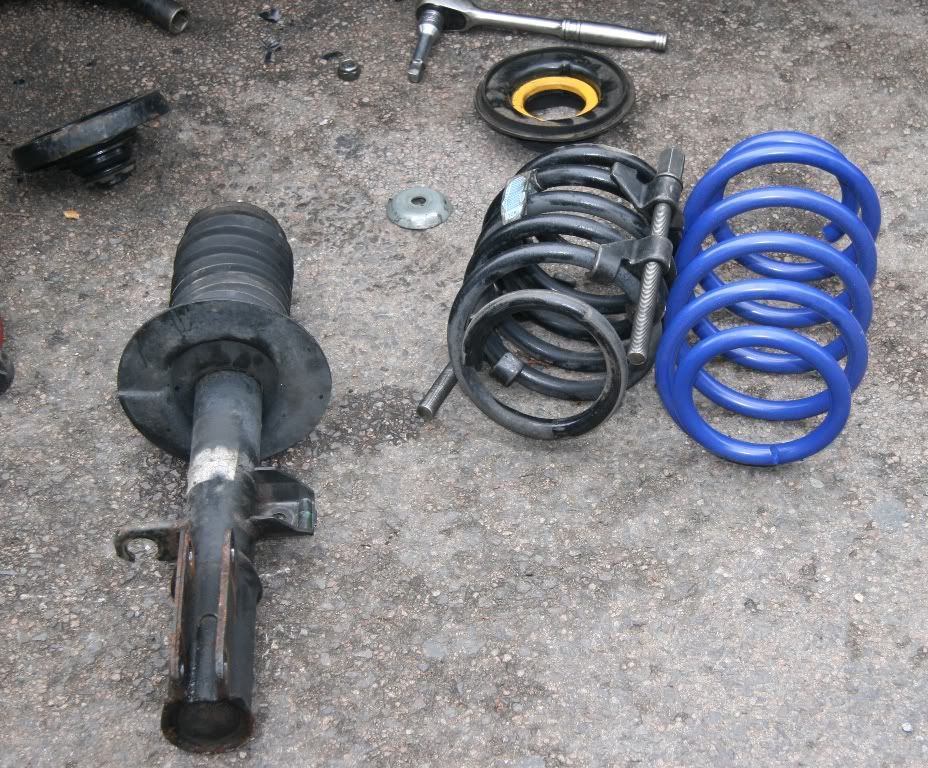 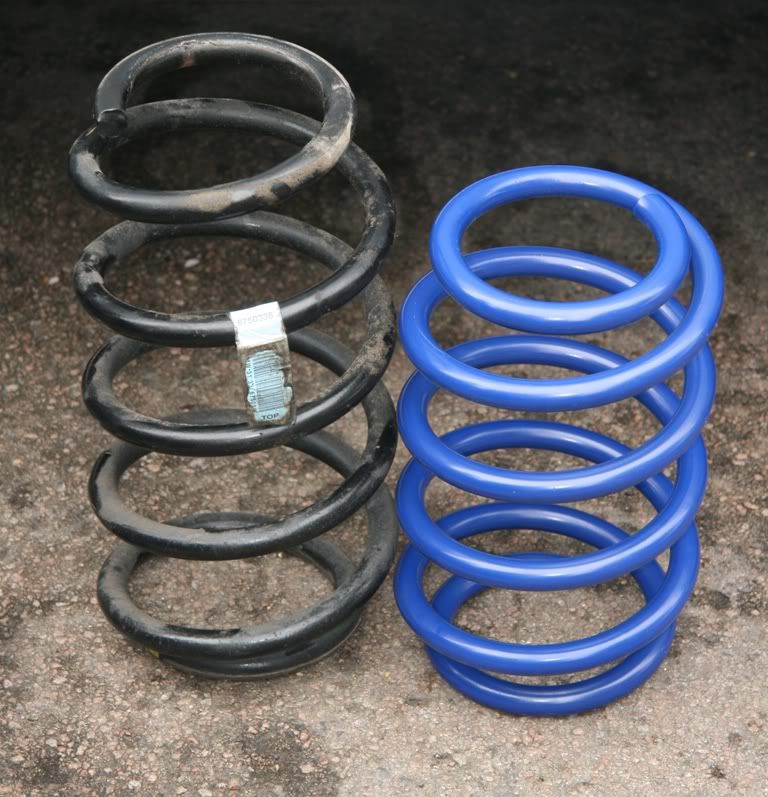 Next, we fit the camber adjustment plates to the top strut mounts. Tap out the original three studs in the plate and then using the new stainless countersunk Allen screws and nuts, fit the camberplate to the top plate, locking the nuts with a permanent threadlocker fluid. Make sure you get the plates orientated correctly ready for refitting as they are sided. The top plate should now resemble pic 3 below. 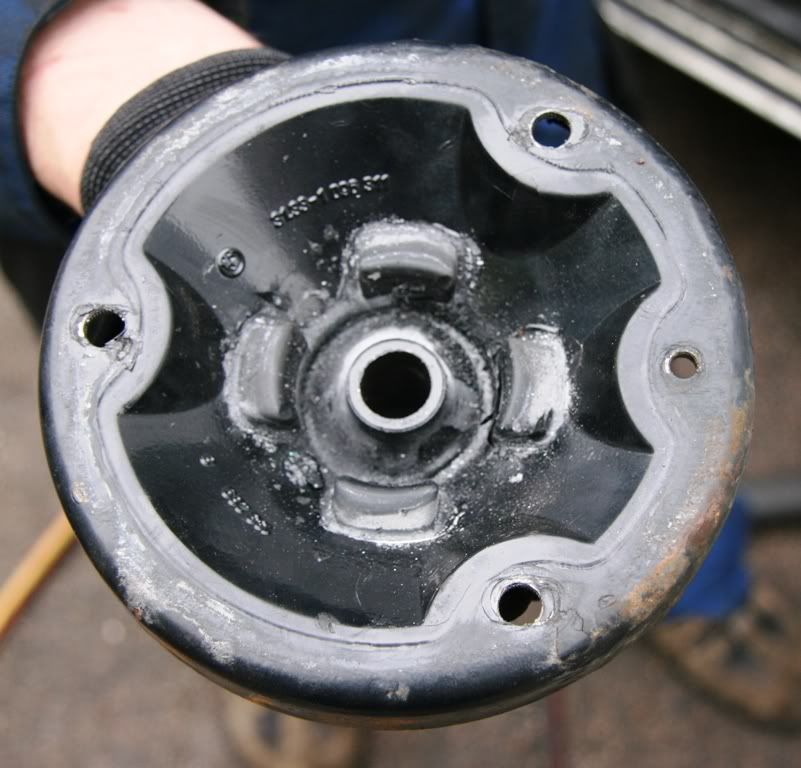 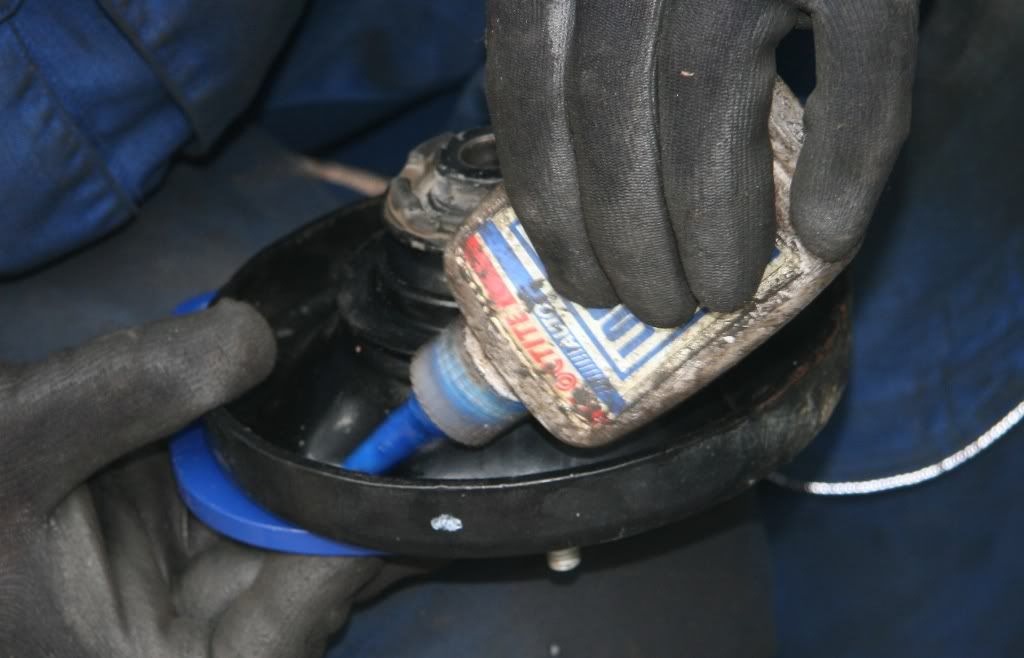 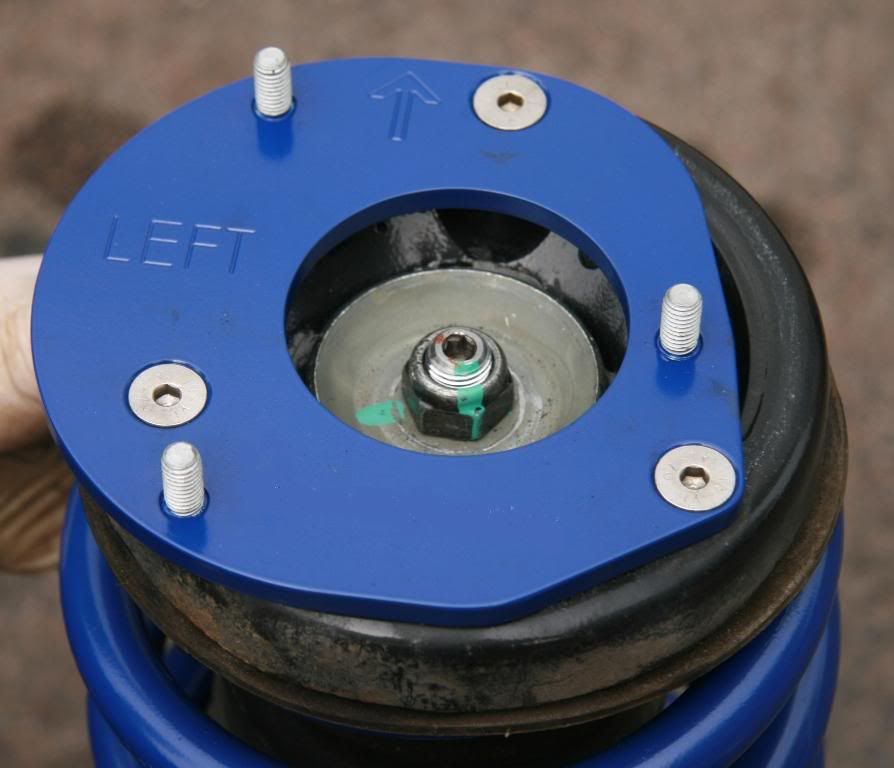 We now reassembled the strut as they say, in reverse order of removal 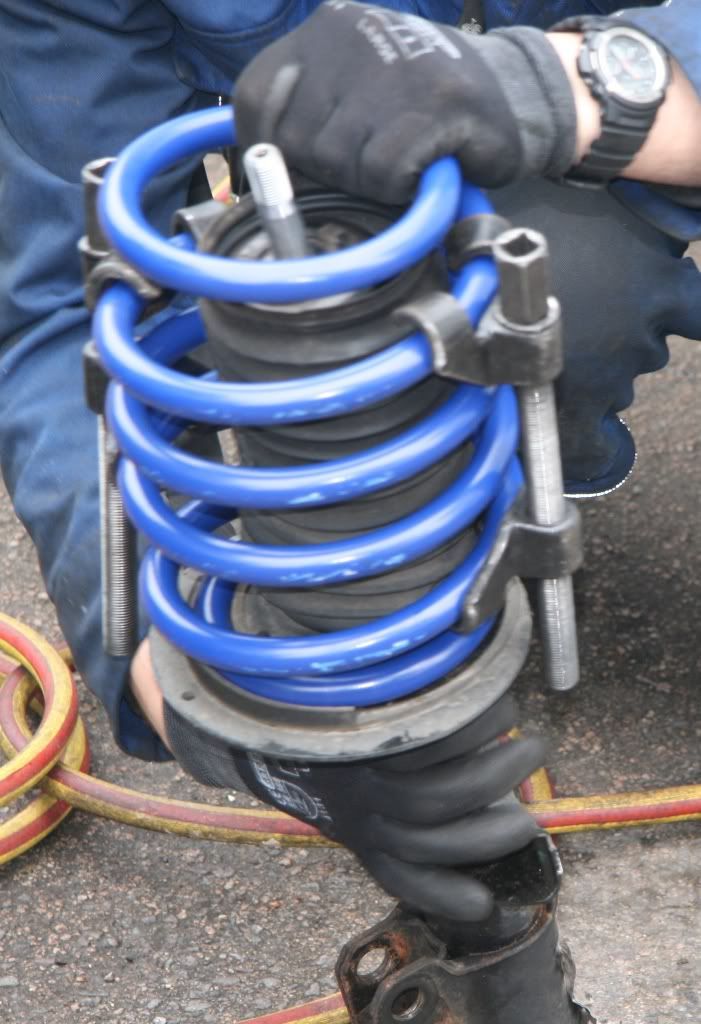 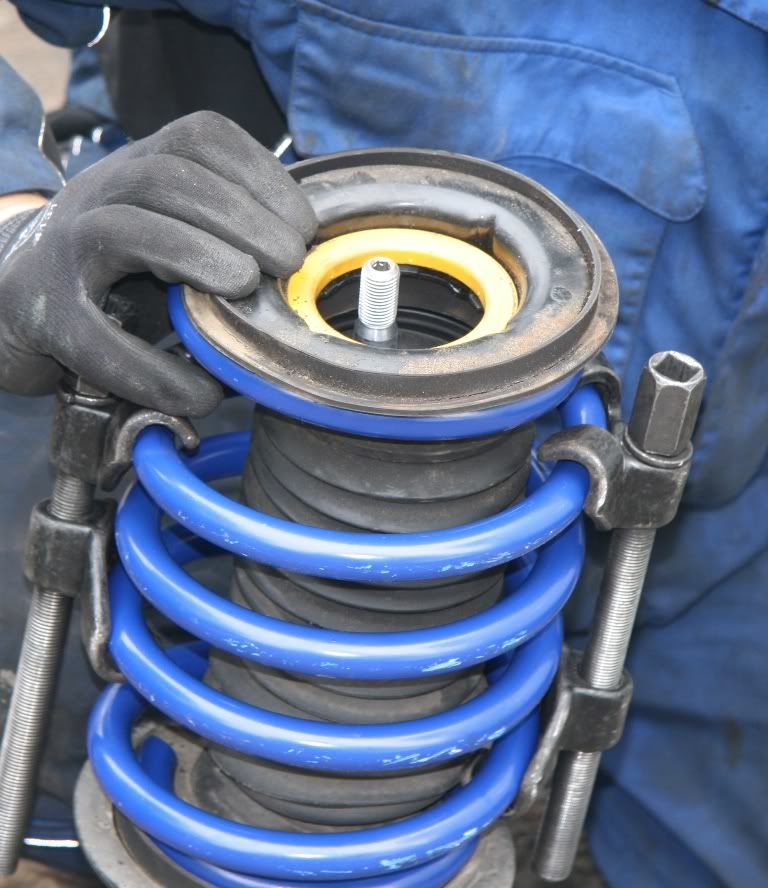 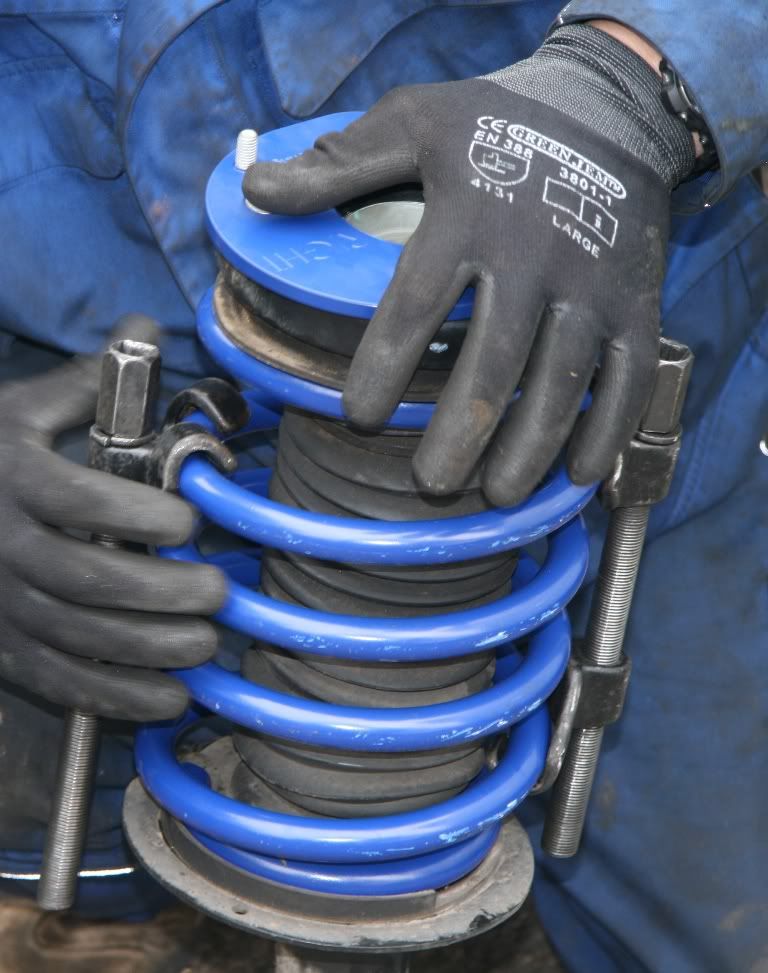 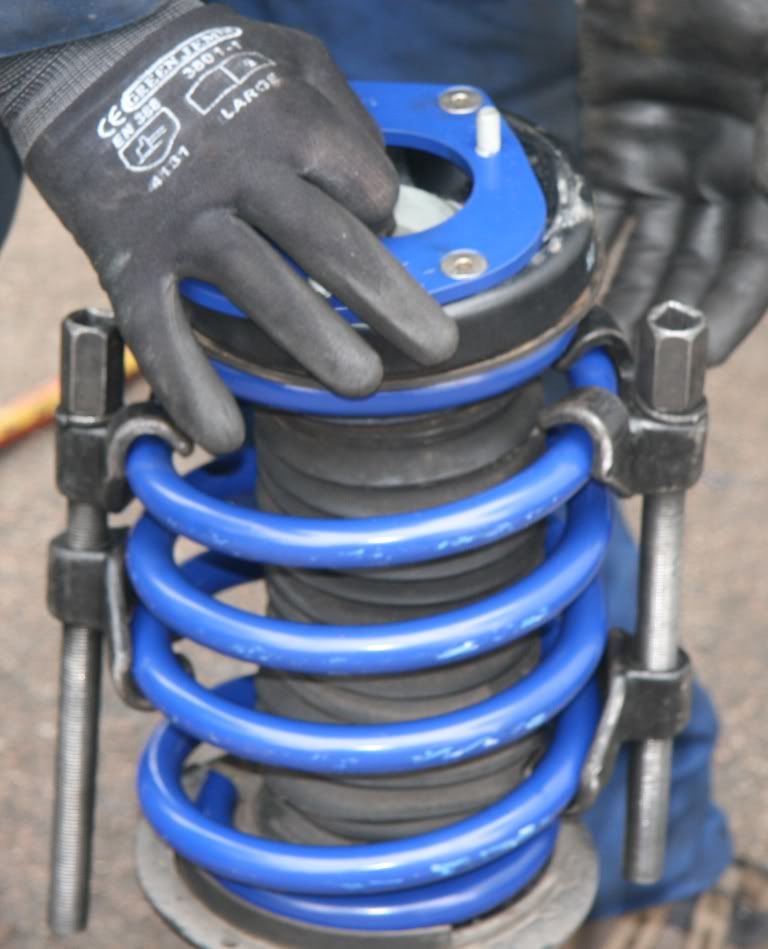 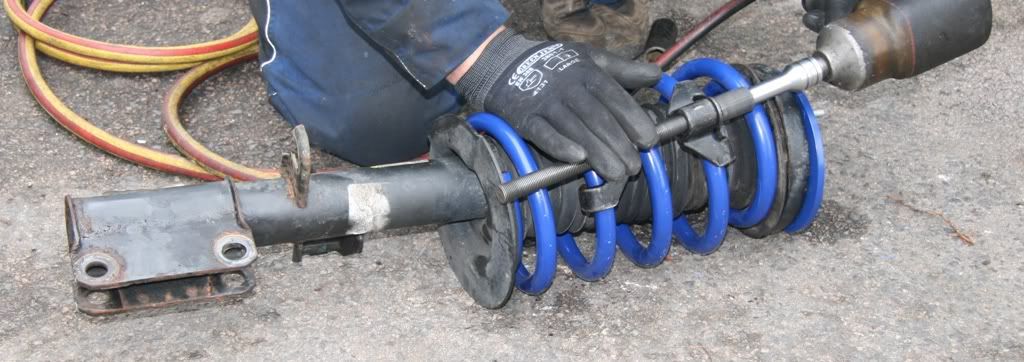 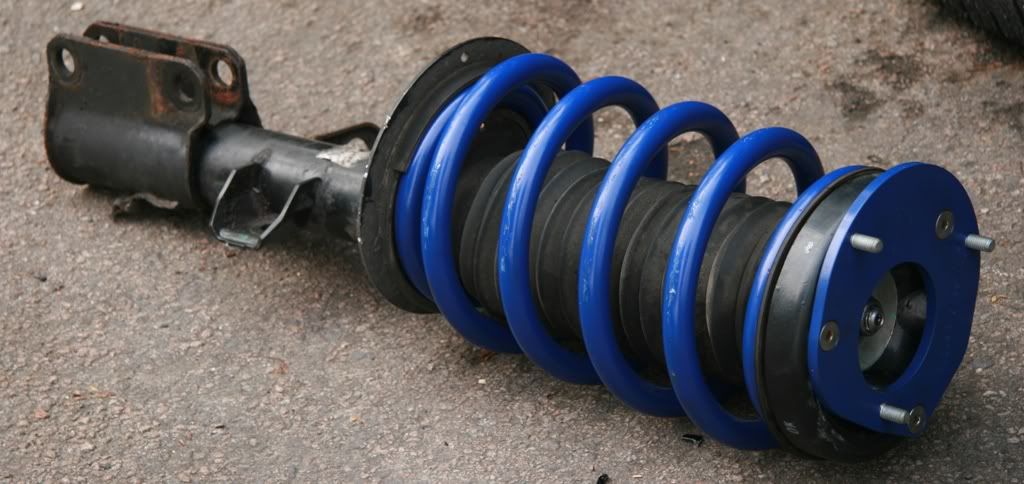 We now refitted the struts back onto the car at the top mount and fitted the end supports for the strut brace at the same time. At this point we did not secure the lower ends of the struts because next we were fitting the new front roll bar. 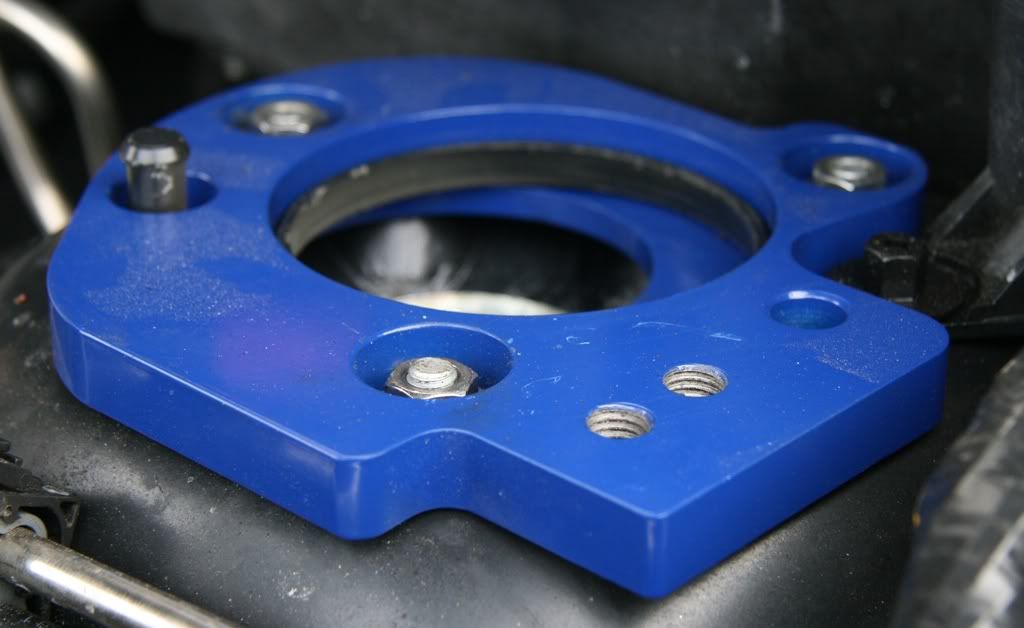  So now onto the front roll bar. We now undid the front roll bar mounting bushes and removed the bushes and clamps. The rubber was very soft compared to the polyurethane bushes supplied with the roll bars. 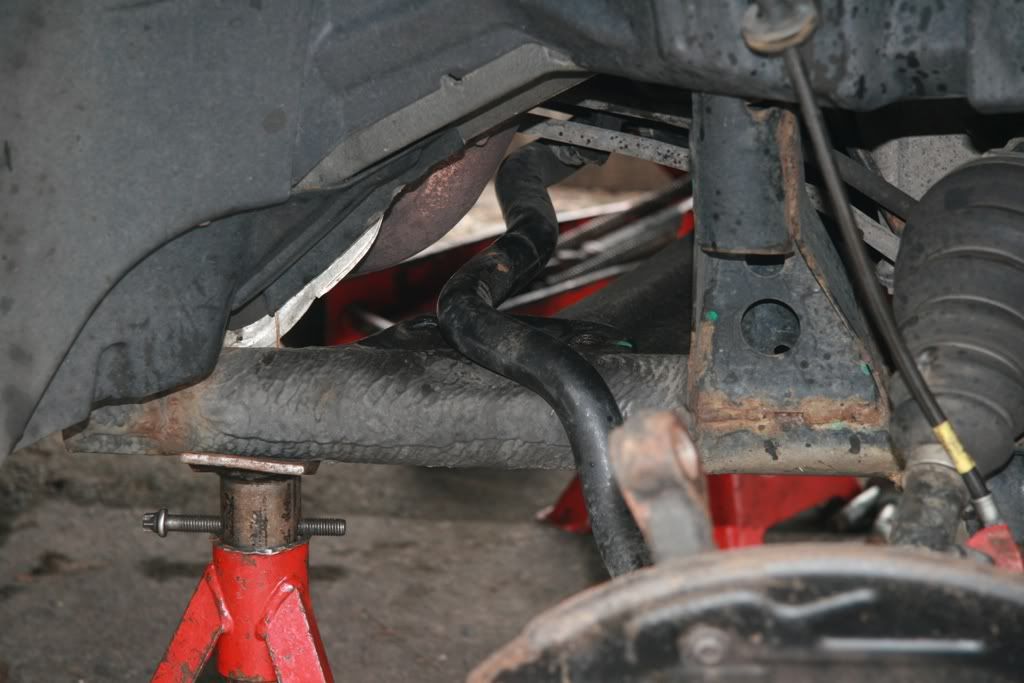 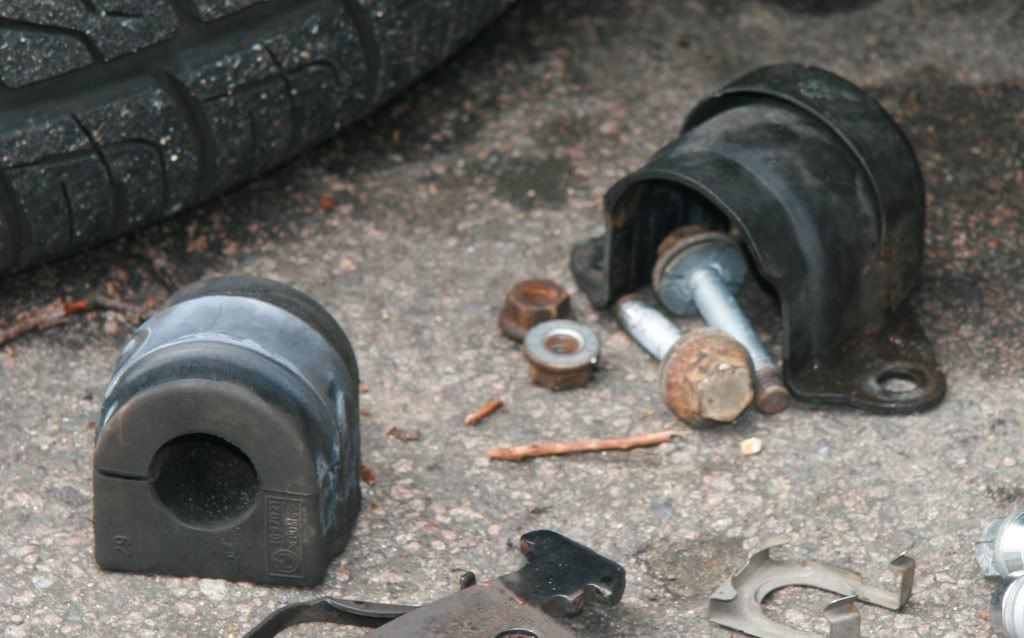 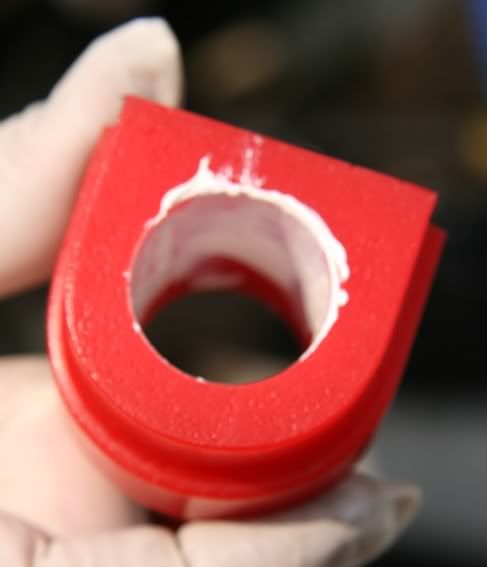 Unfortunately, there is insufficient clearance to remove the roll bar without lowering the front subframe, so we loosened the front mounting bolts and whilst supporting the subframe, removed the middle and rear bolts, we then gently lowered the subframe until the roll bar could be removed from the back. The difference in bar diameters is pretty clear. A special white grease is supplied for the new bushes. 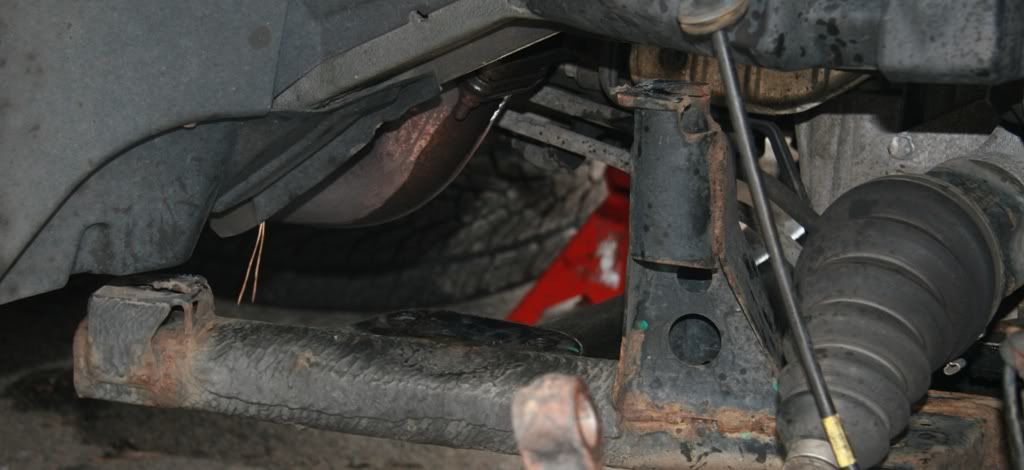 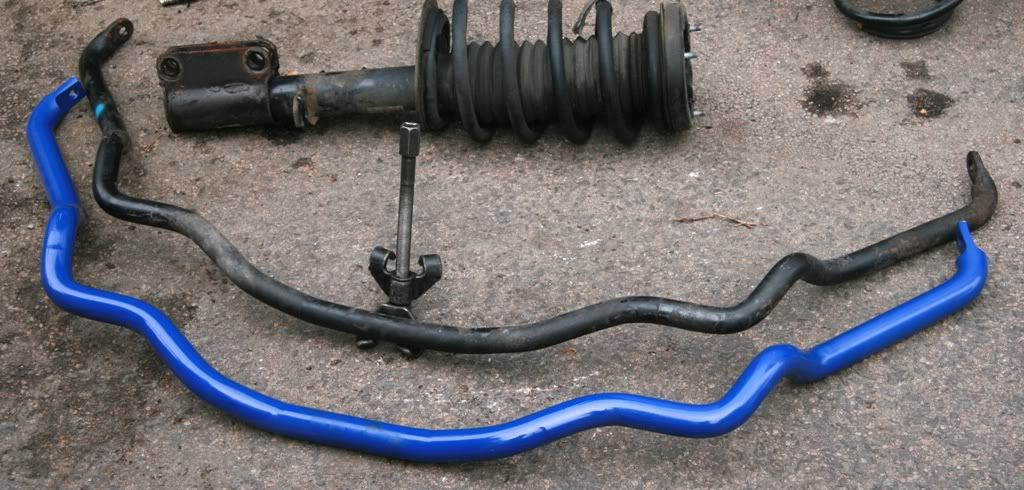 As before, installation is a reversal of removal. The roll bar drop link and the lower strut was now reattached, the front subframe refitted and the brakes refitted and pumped-up. 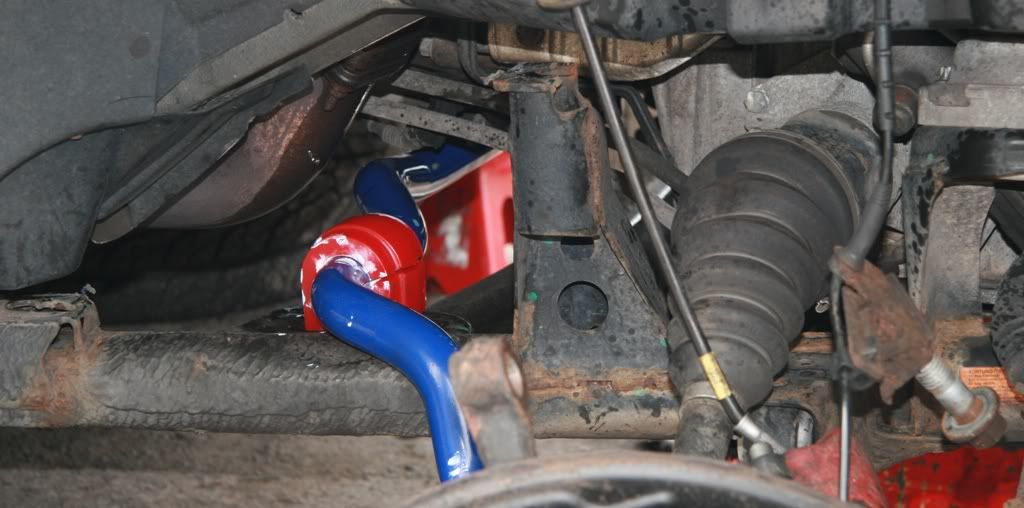 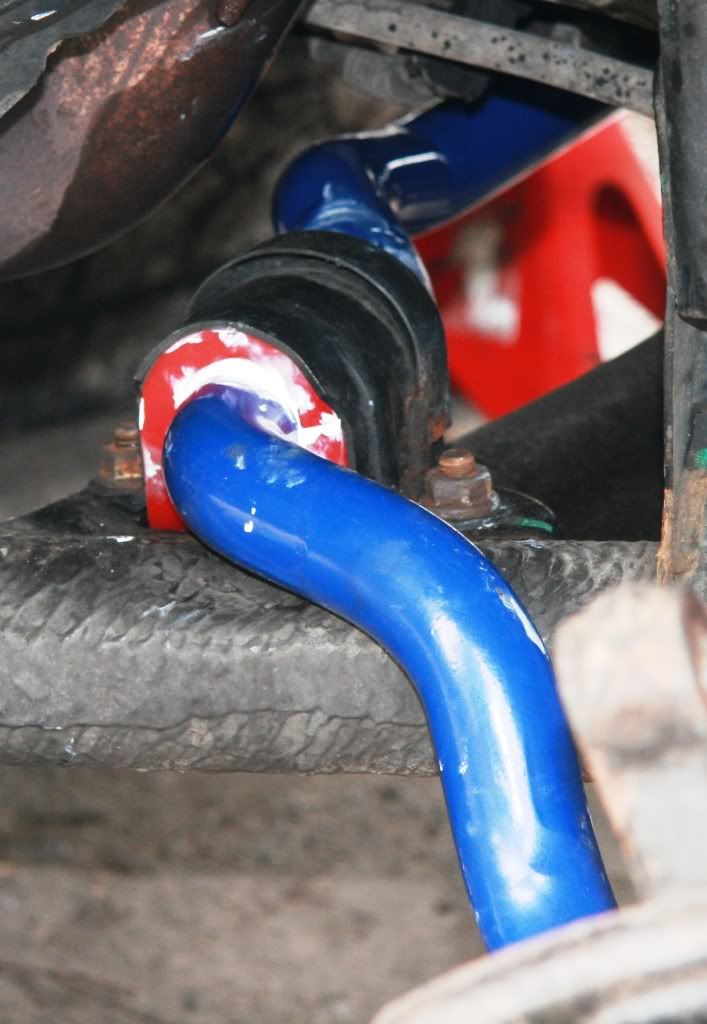 The remaining parts of the strut brace were fitted and the wheels fitted and torqued to spec. Then onwards and rearwards. 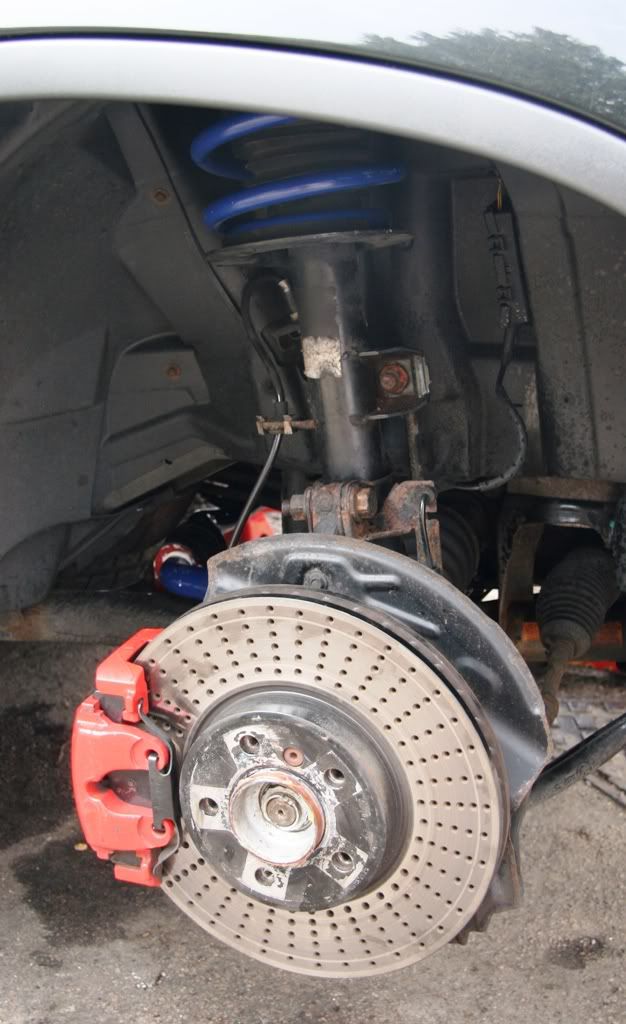 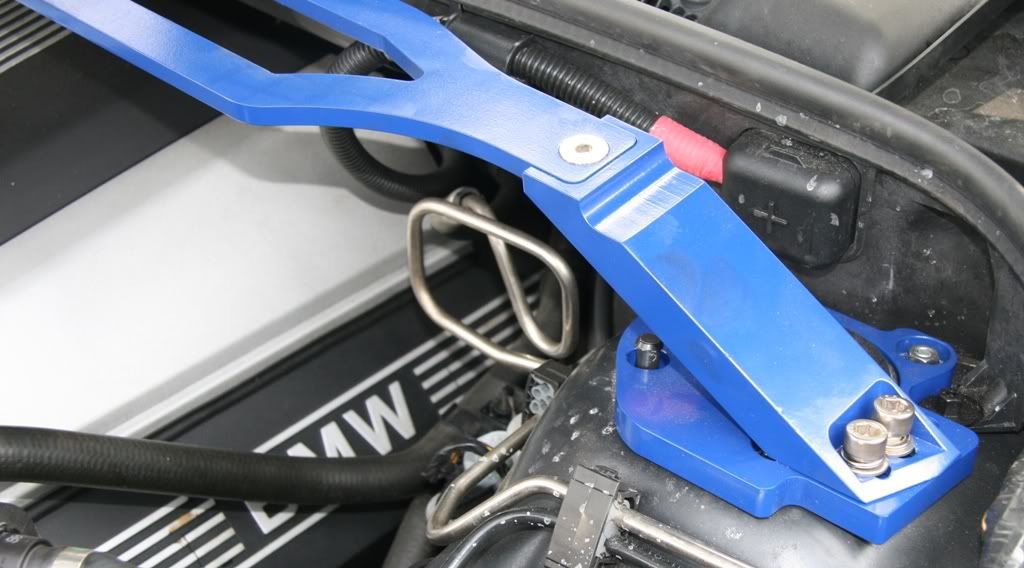  The rear roll bar is a snip to do after tackling the front. Lift and support the rear of the car and remove both rear wheels. Undo the 2 nuts retaining the ends of the roll bar to the rear drop links. Undo the four nuts retaining the roll bar bushes and the bar falls out, well almost, it slides out sideways actually. 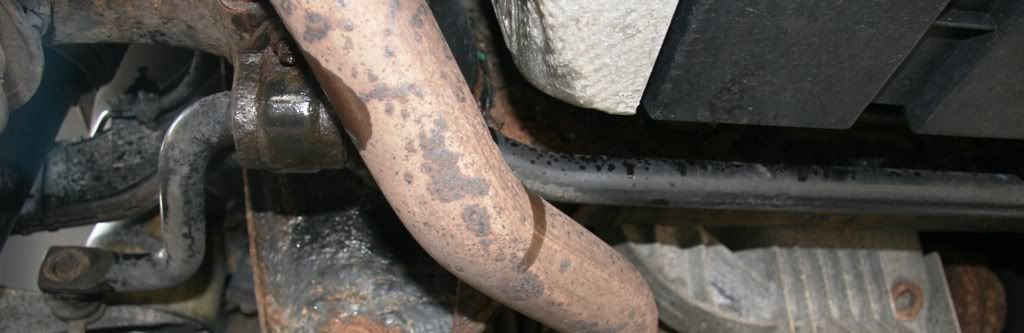 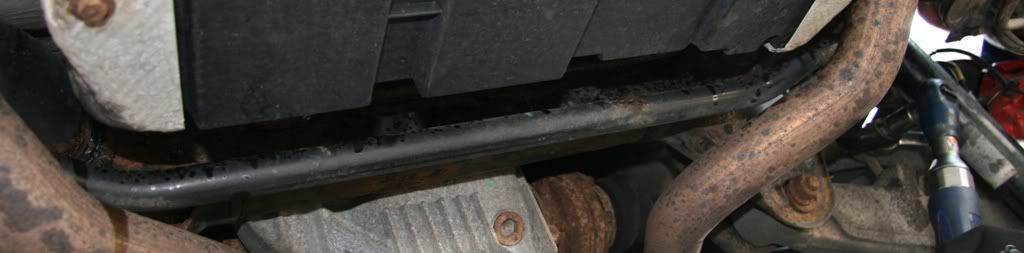 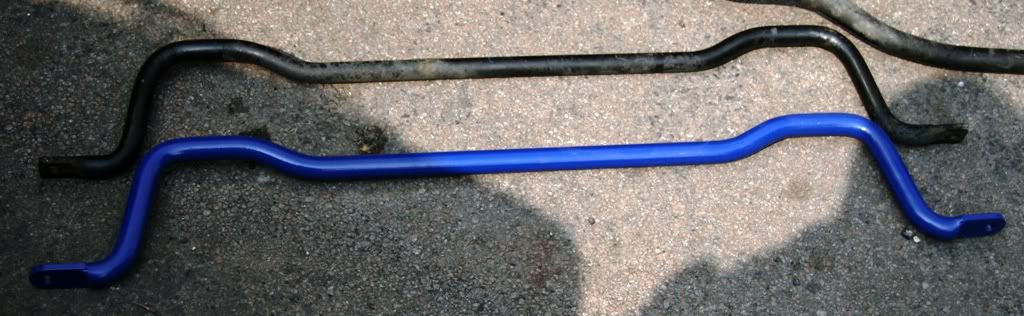 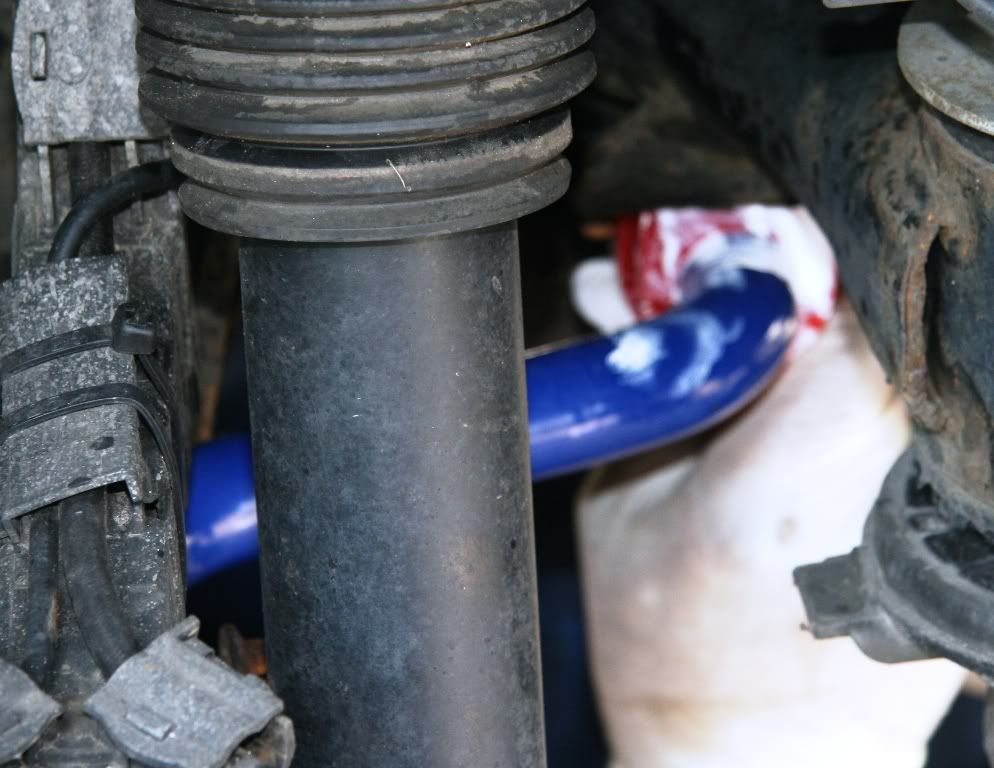 Here you can see the front and rear bushes in the rear subframe that in pic 2 can be clearly seen where they have had excessive movement causing the knocking. 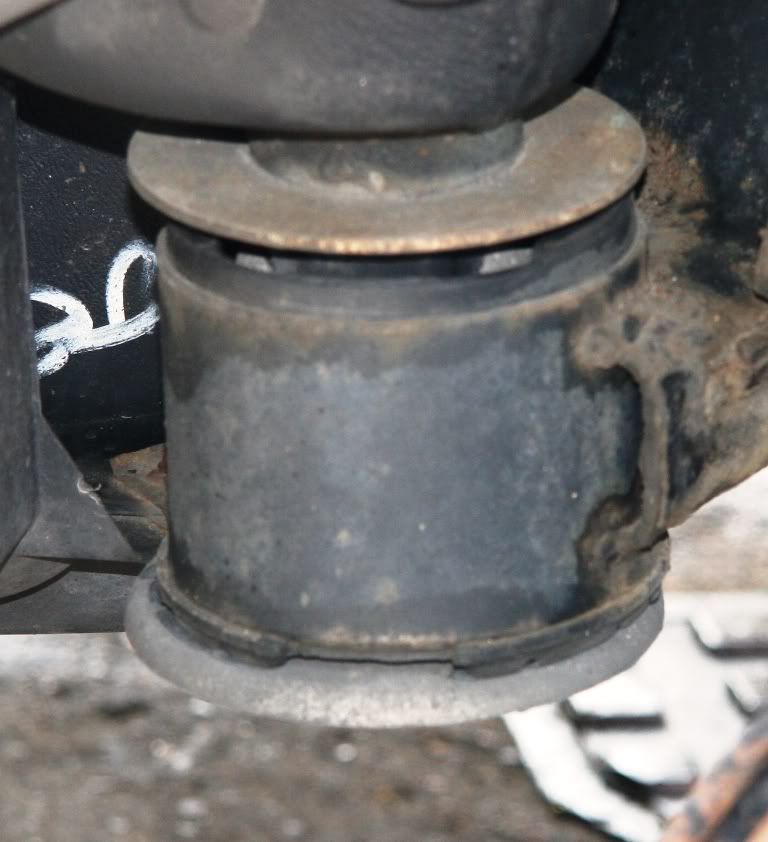 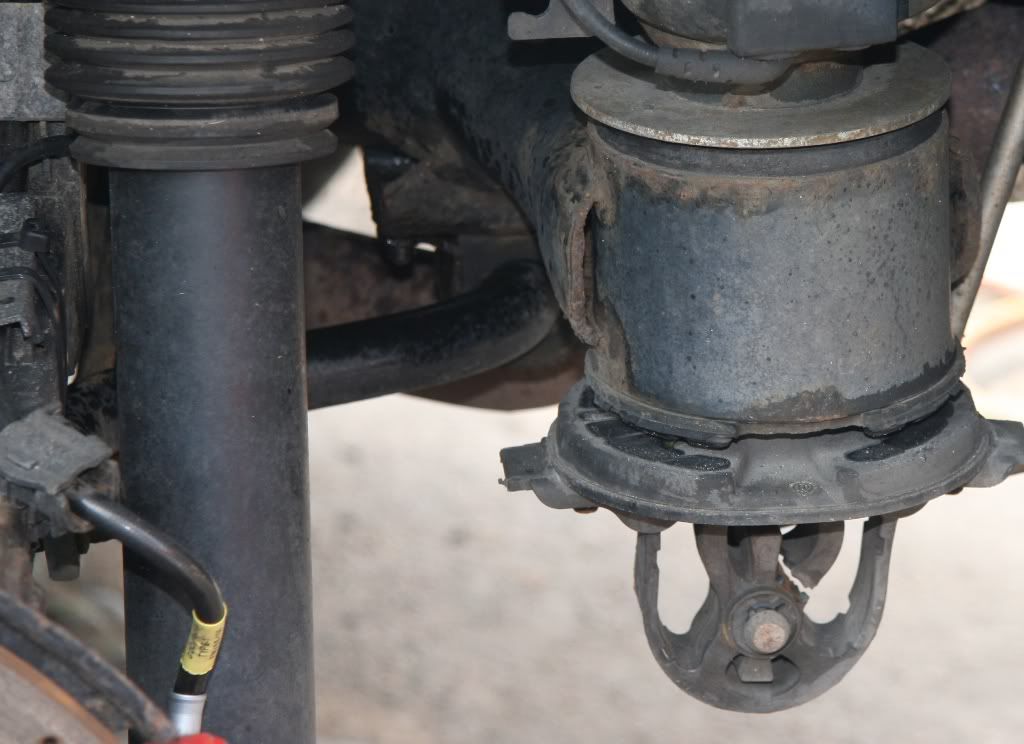 The final job of the day was to reset the front tracking which goes toe-out when adding negative camber so after settling the car for 200 yds on a short drive, we reset the front alignment. 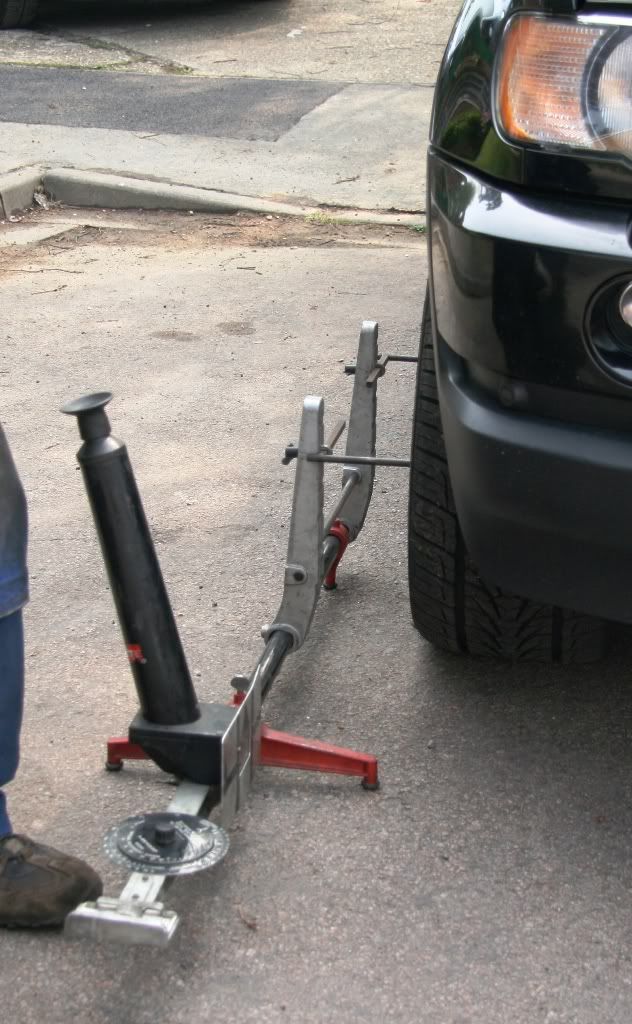 THE VERDICT: I have now done about 150 miles in the car as it is and the handling transformation is astonishing. The car feels lighter, more stable and the steering is extremely responsive and accurate. Tramlining with the 20 wheels is vastly reduced and the car just feels about a ton lighter. The new polyurethane bushes should be available in about 2-3 weeks and I just cannot believe the car could be even better but I do hope to eliminate that rear end knock. The car is 25mm lower front and rear not the specified 35mm for the springs because the camberplates add 6mm to the front ride height and the old stock springs had probably sagged 5mm over the 50,000m of speed ramps and potholes they have been subjected to. Once the poly bushes are fitted and these spring have settled for a couple of weeks, I will post the before and after side view pics. Stay tuned for the next round X5 fans. X5Girl, xxx 
|
| Sponsored Links | |
|
|
|
|
#2
04-17-2009, 08:09 PM
|
||||
|
||||
|
It hurts me brain to read this. Holy crap what a job!!! I'd end up with a pile of broken pieces and several left over parts. Nice job!!! And great pics.
|
|
#4
04-18-2009, 11:53 AM
|
||||
|
||||
|
Great work! Amazing write up.
Thanks!
__________________
2004 X5 4.4i Titanium Silver on Black - Sports - Premium - Cold Weather - Rear Climate - Heated Rear Seats - Navigation - DSP - Ajustable Ride Height - /// M Sports Steering Wheel - ///M Racing Pedals - 4.8is Body Kit and Tail Pipes - Panorama Moonroof - Bluetooth® Wireless - 2006 Instrument Cluster - Intravee II - OEM 20" 168's with Diamaris
|
|
#5
04-18-2009, 12:00 PM
|
||||
|
||||
|
X5girl... you're my hero!!! I bet she handles like a BEAST now!
All probably too far in the future for me... but I will go there eventually with my baby.
__________________
"When you do things right, people won't be sure you've done anything at all" (Bender, futurama) You make something idiotproof, they'll make a better idiot You think professional is expensive, just wait until you pay for amateur. Never let your sense of morals prevent you from doing what is right. Examine what is said, not who speaks. X5 pics RIP 4.6is..... 2003 4.6is 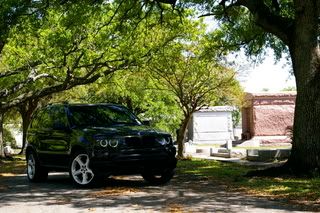
|
|
#7
04-18-2009, 01:04 PM
|
|||
|
|||
|
I know you stated that your shocks were in good condition, but with 50k, wouldn't it have been better to change them out as well? I would imagine that new shocks with new springs would increase the quality of the ride. I know most people don't do it, but I have read that the life of most shocks is around 50k.
Also, I tried to look up this kit on their website, but I couldn't find it. What did the kit cost? Any US suppliers? Thanks for the write up, and great pics.
|
|
#9
04-18-2009, 07:25 PM
|
|||
|
|||
|
Great write up, thanks. I used to work for a major car manufacturer and would get a new car every 6 month. I had 5 exact same cars in a row and covered between 8,000 - 14,000 in each. I definitly noticed a differencein handling when getting a new one. I'm fairly certain it was the new shocks that made most of the difference. Just my 02..
|
|
| Bookmarks |
|
|
|
|


 Linear Mode


