
|
|
|
|
||||||||||
| Xoutpost server transfer and maintenance is occurring.... |
| Xoutpost is currently undergoing a planned server migration.... stay tuned for new developments.... sincerely, the management |
|
|
LinkBack | Thread Tools | Display Modes |
|
#1
 03-10-2016, 12:46 PM
|
|||
|
|||
|
2004 E53 Project!!
Good day all!
I have an E39 that I love, but I found this 2004 E53 with the 4.4L for next to nothing. It was a deal I couldn't turn down despite the small problem with the title work that I am still trying to resolve. And so the adventure with this project begins!! Here she is in all her glory! I really do apologize for not getting a picture outside of the garage. It was an after thought, but it would have been too much of an ordeal to pull her back out of the garage just for a picture. Her VIN is: 5UXFB53574LV01785 for those that are curious. She seems fairly well loaded with all the goodies I didn't have in my 2001 version a few years back. She has NAV with the 16:9 display, but the display is not completely perfect. The DVD for the NAV doesn't work right either. The PO moved the CD changer to the glove box. I moved it back today. The interior temp controls were stuck on. I tore that apart yesterday, cleaned it up, and put it back together. I've done a bunch of other small things. The outside mirrors have power fold-in. The DS mirror didn't work for some reason. I pulled that apart and found the stop point had broken off and was getting in the way of normal operation. I'm dealing with an air suspension issue that I will be getting to in a few. 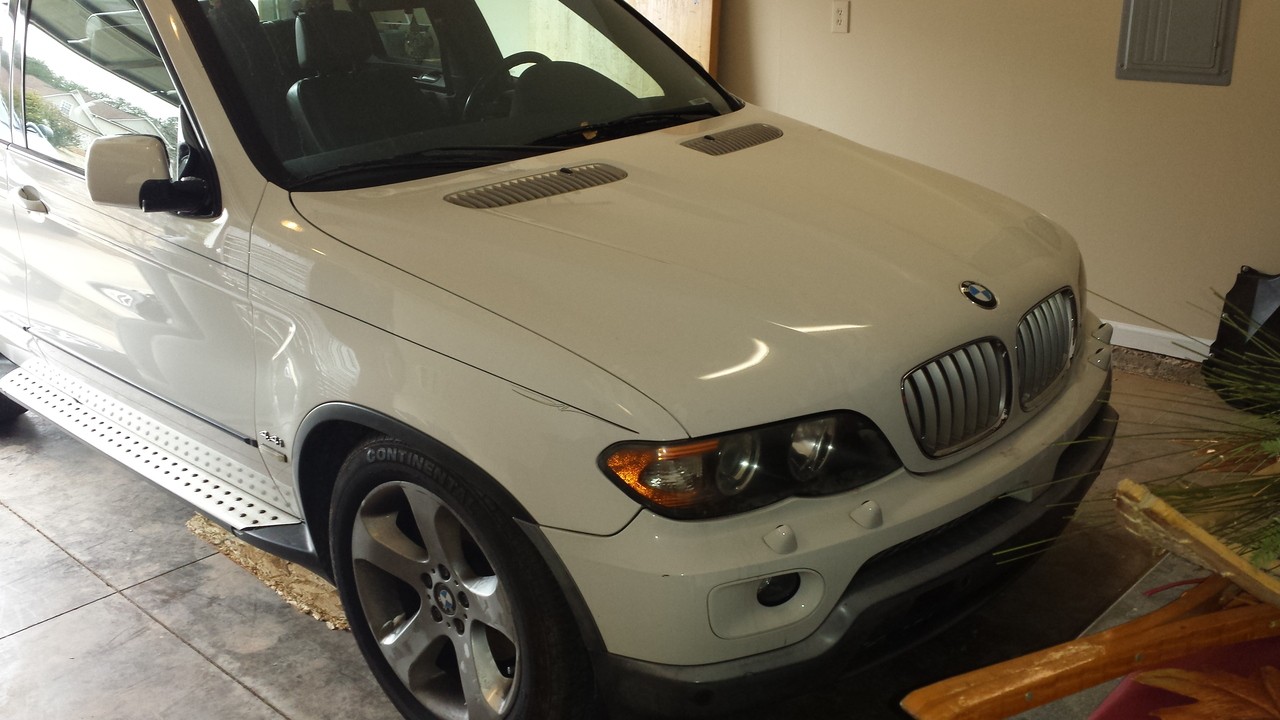 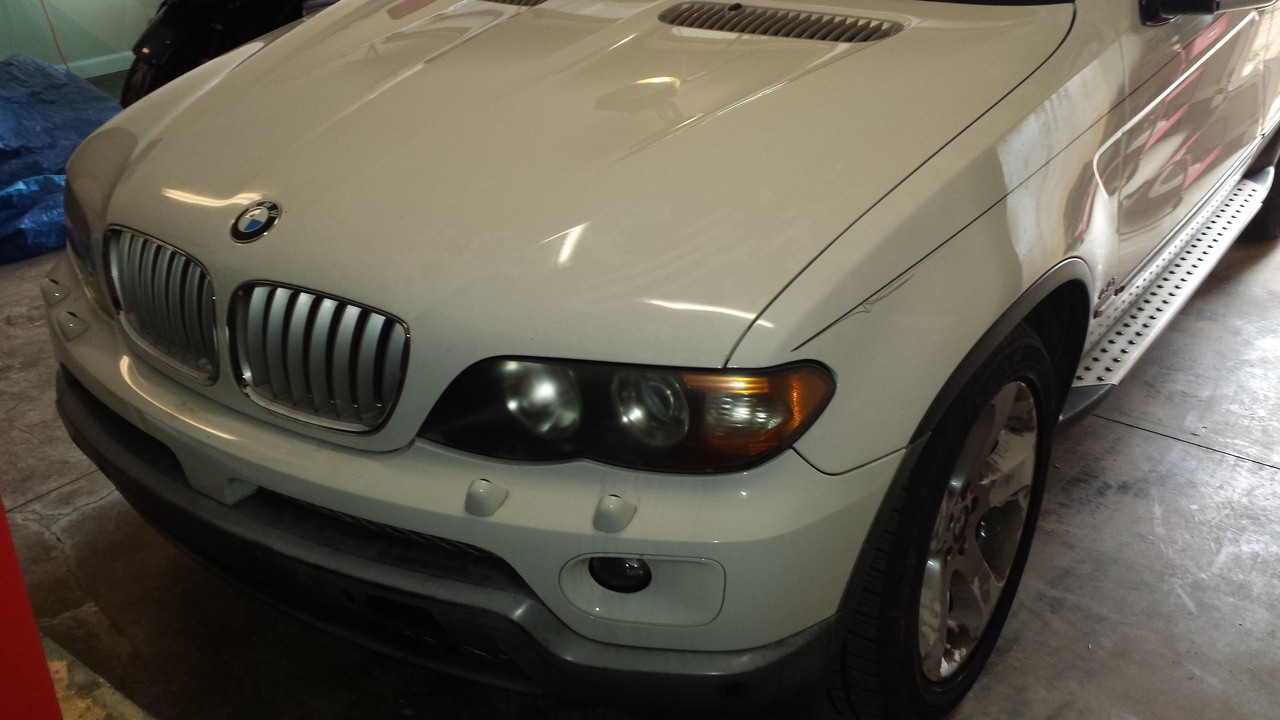 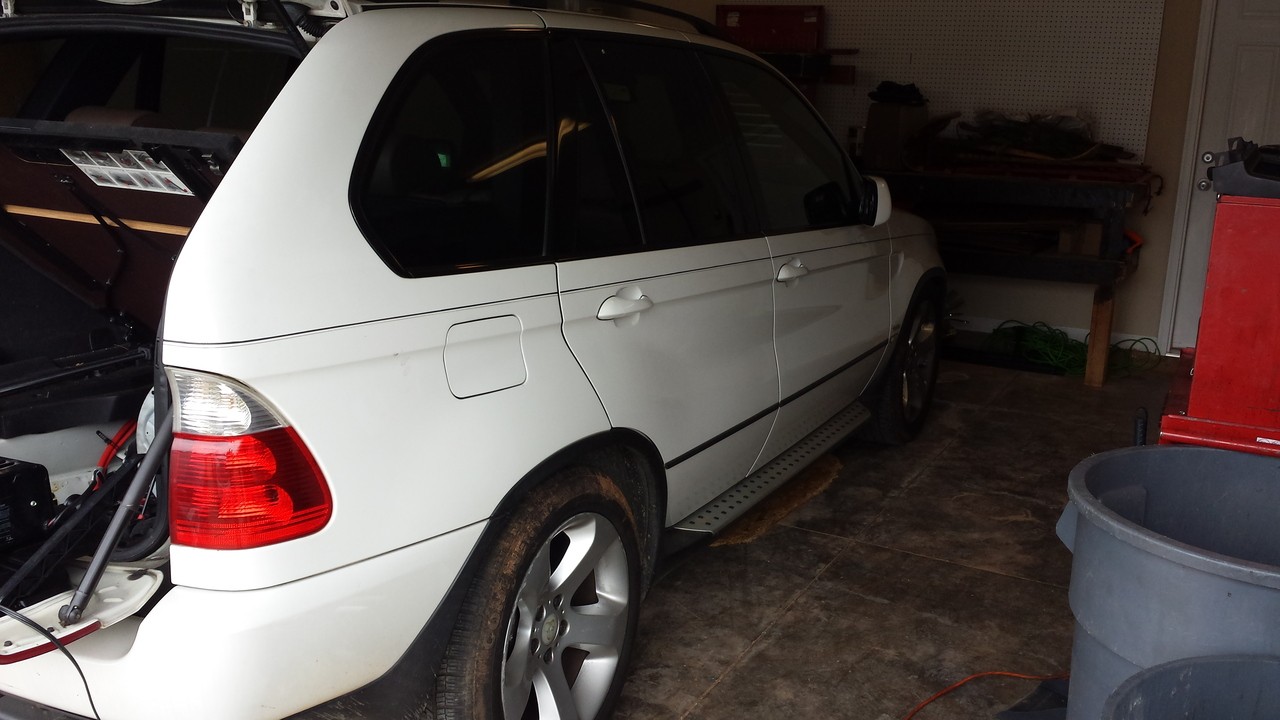 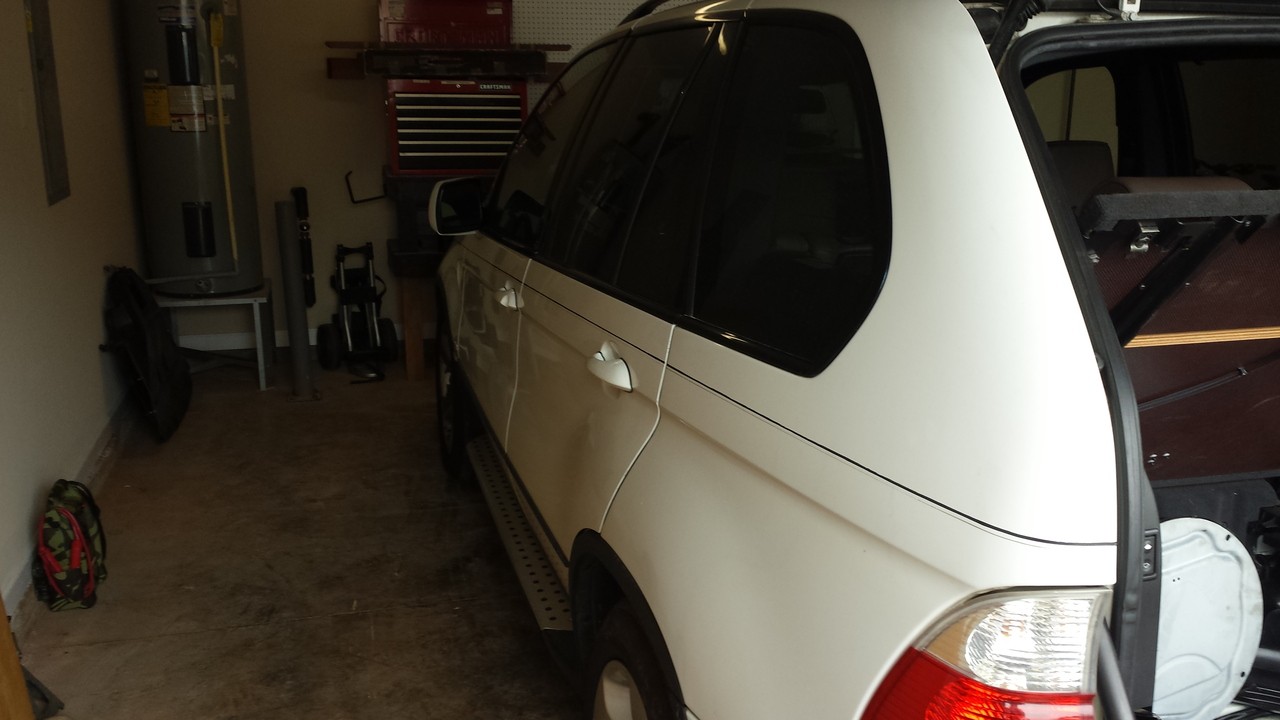 And the main reason why I got this so cheap... The motor had a bad knock in the bottom end. I have not diagnosed the exact issue, but I am going to suspect the number 6 cylinder is the cause. It is the only cylinder that I am not getting good power as evident of the valves and spark plug. 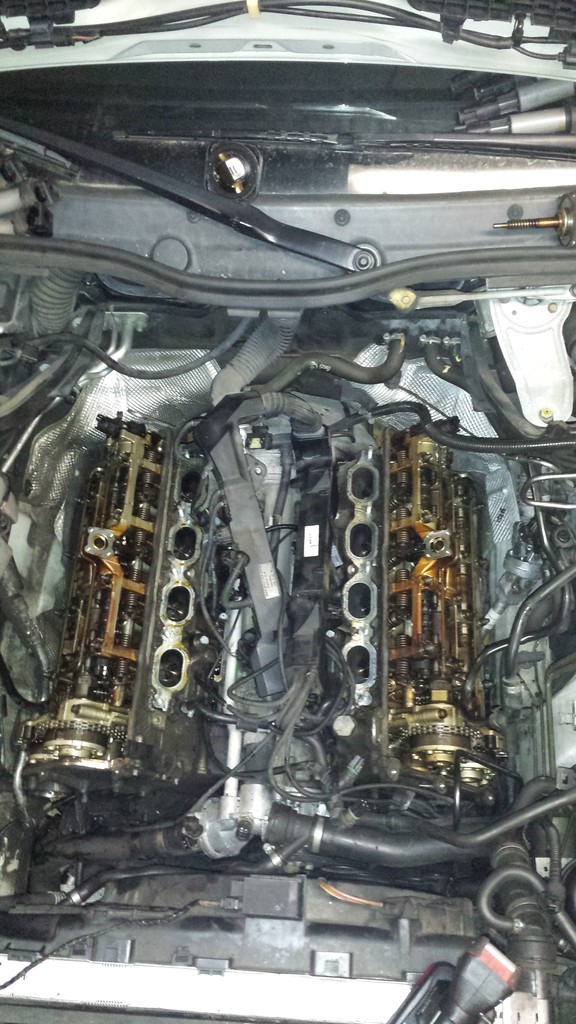 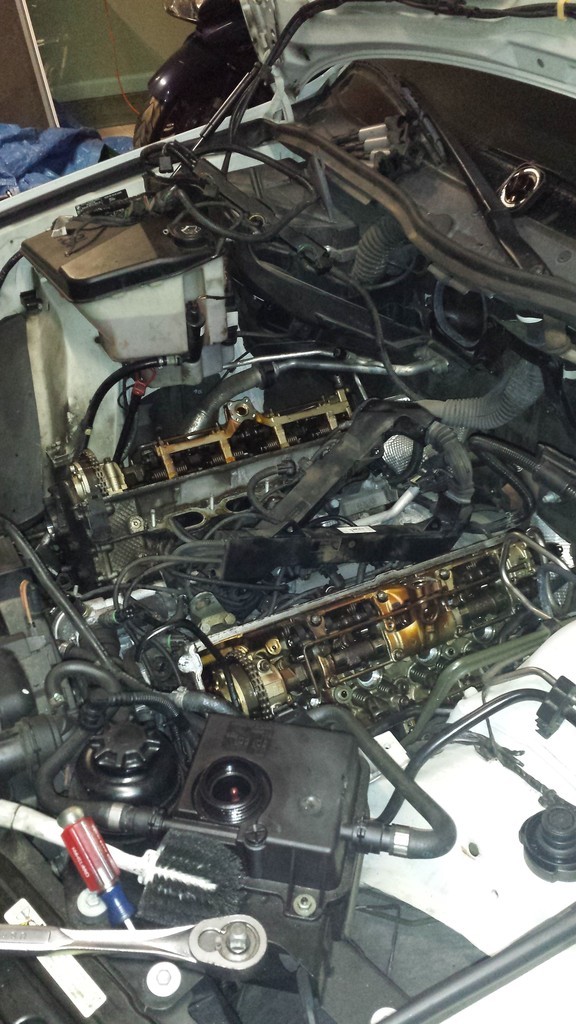 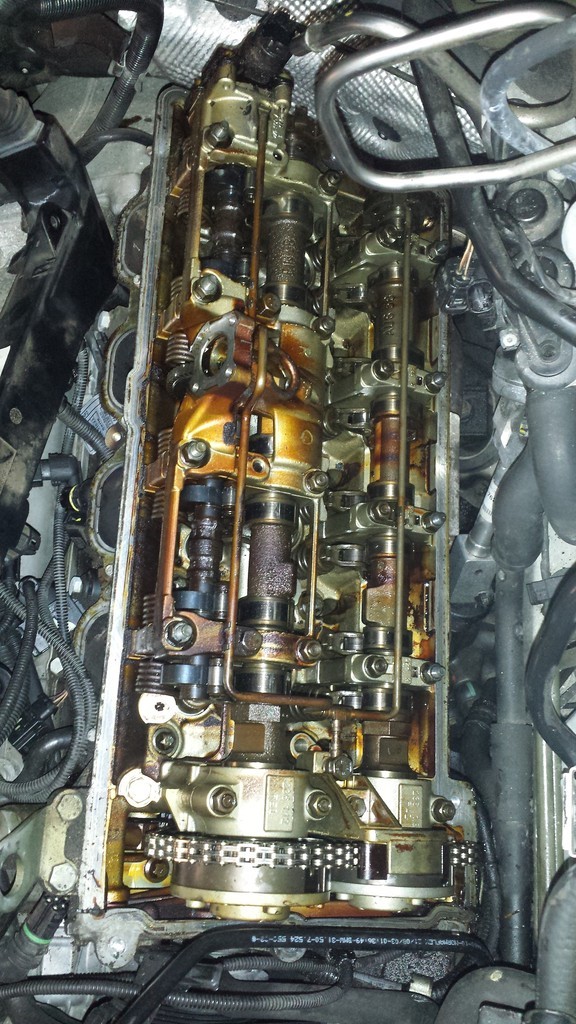 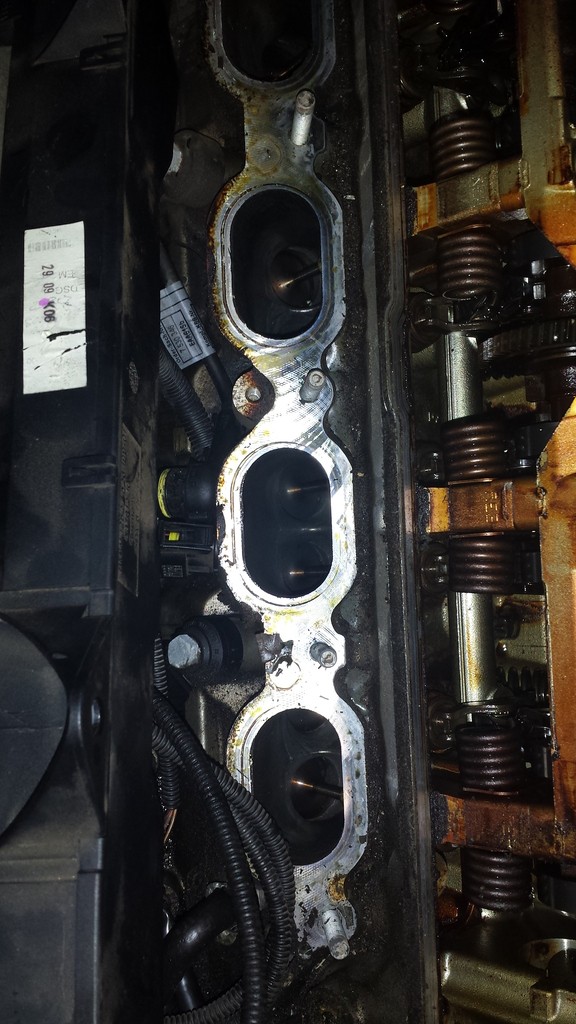 The motor is completely covered in oil and road grime!! The oil pressure sending unit is leaking a ton of oil!! I suspect this is the root cause of the knock. The underside of the motor is a total mess. I am still debating just pulling the motor, cleaning it until it shines, and rebuilding it if the block is still perfect. 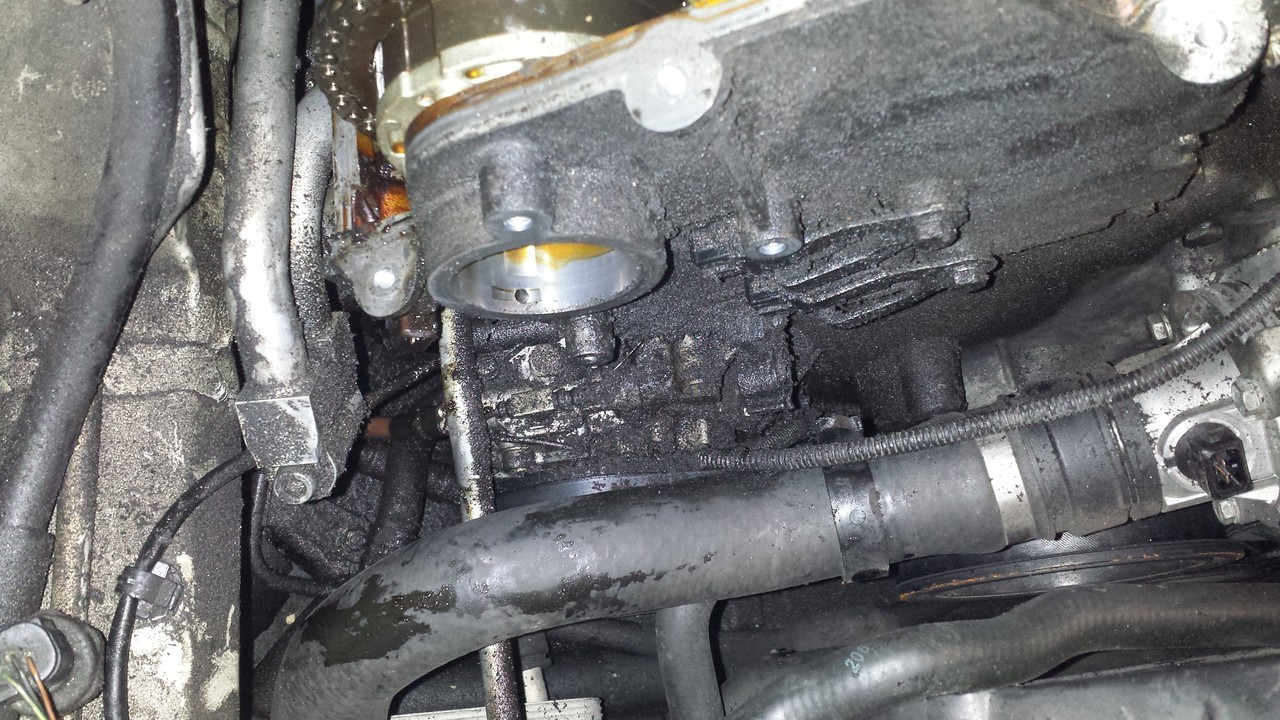 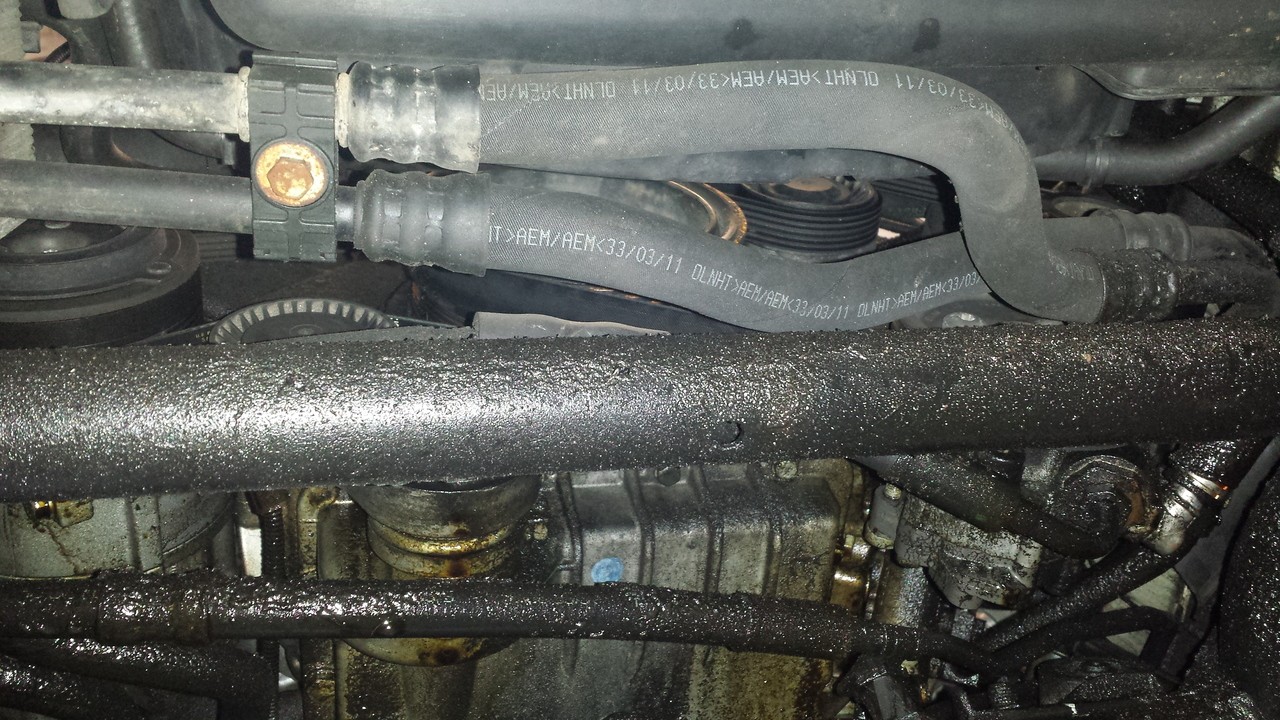 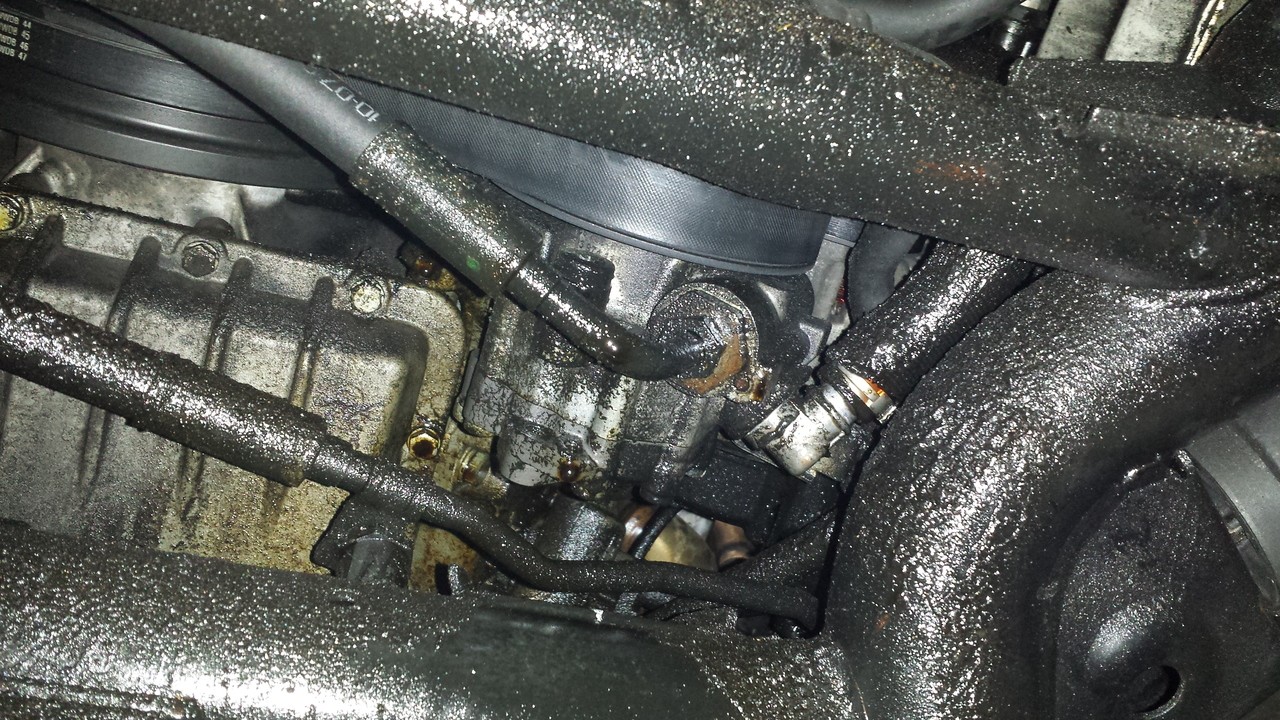 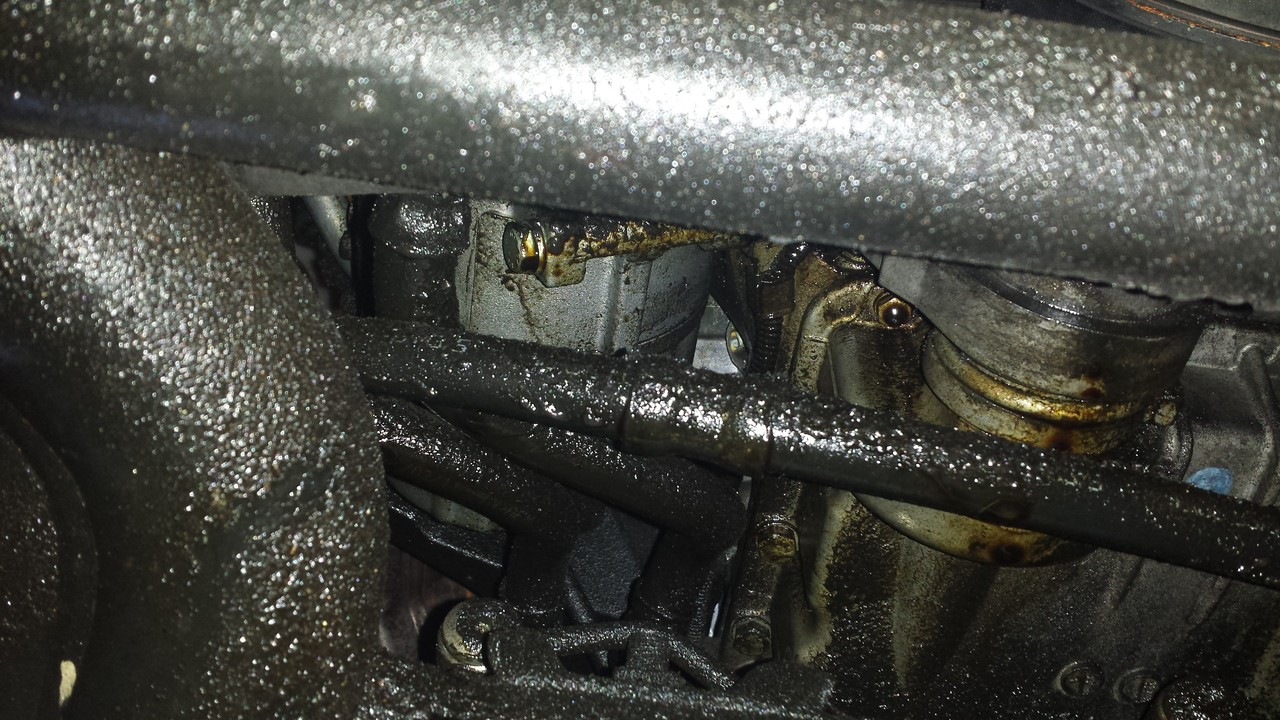 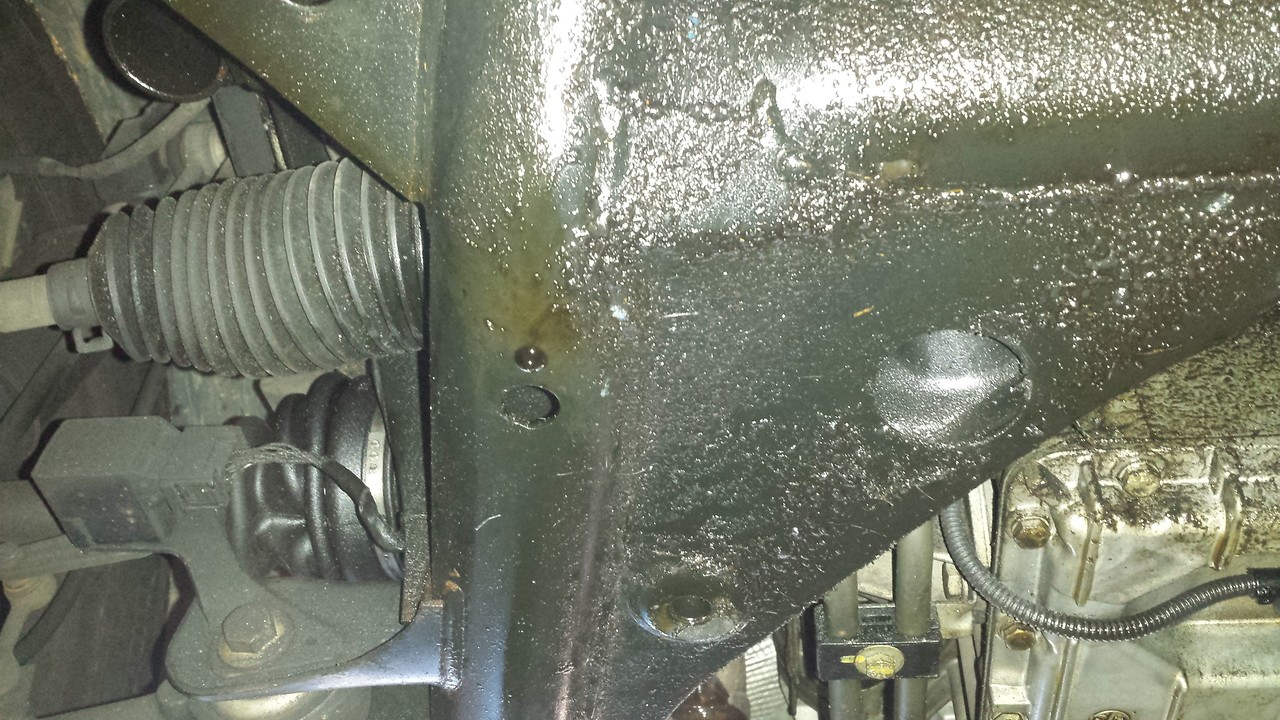 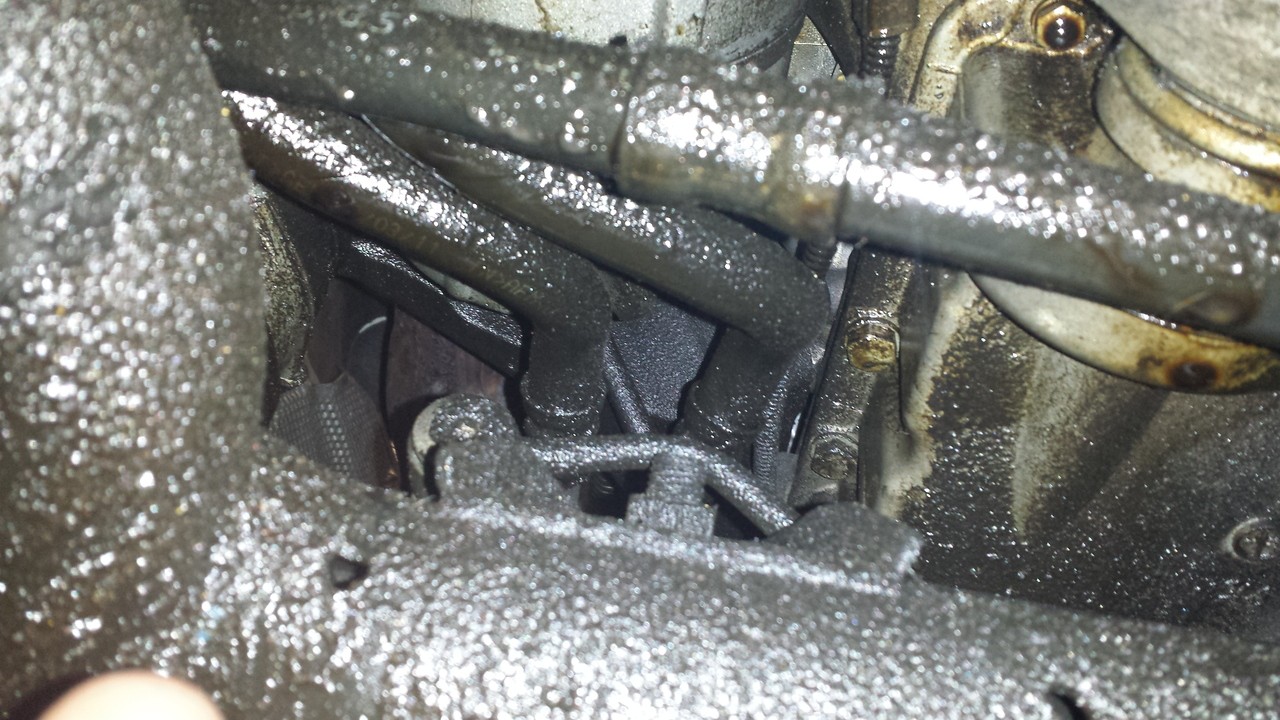 Okay, now the fun part everyone!!! I have done the searches. I have combed and sifted through all the posts I could find about the air ride suspension. My X5 is not following suit with the posts I have been reading. There are two fuses for the Air Suspension in the rear, along with the purple relay. However, the two fuses only have a power lead; no feeder to anything else. There is no relay under the cover with the compressor. I could not find the control box behind the glove box. I have the 5 on jack stands now and all the bags check out visually. I can not get the bags to fill cause I can't get the compressor to power up. The two fuses in the back, and the one above the glove box were the only three that I could associate to the Air Suspension. Thoughts?!? 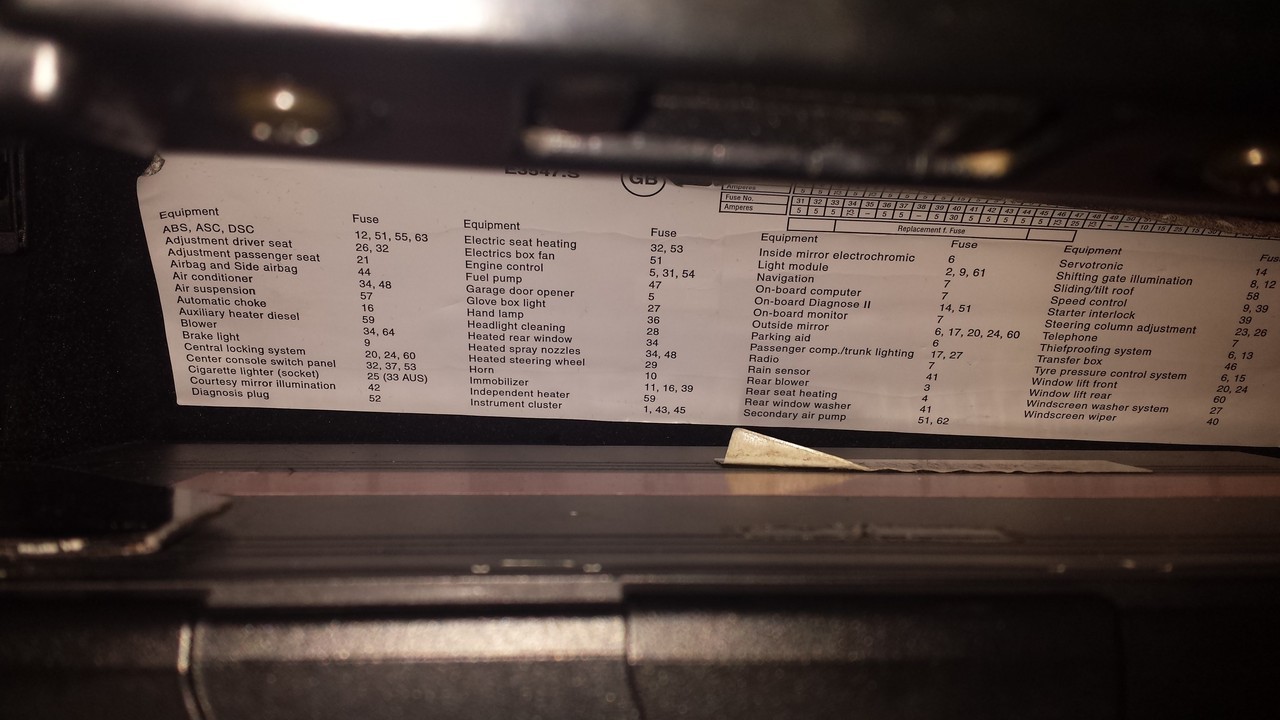 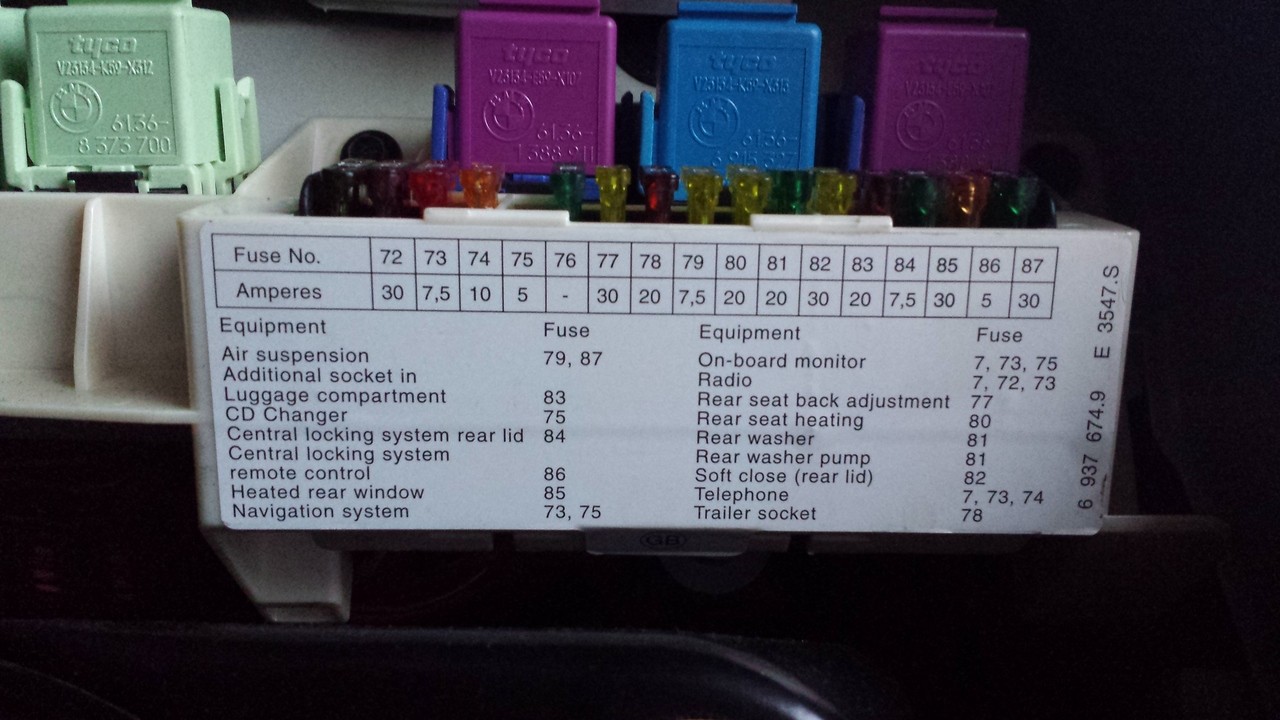 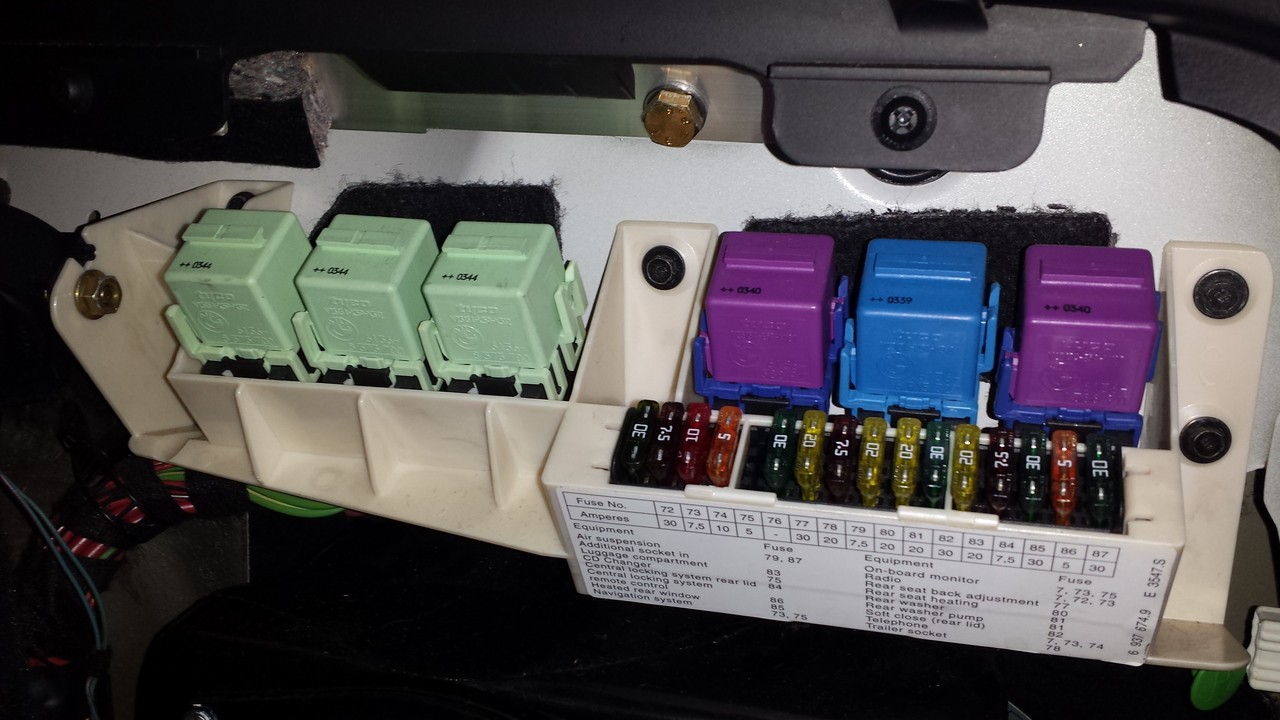 Here, I pulled the two fuses for the air suspension. The 7.5A three to the right of the open spot; and the 30A at the right end. 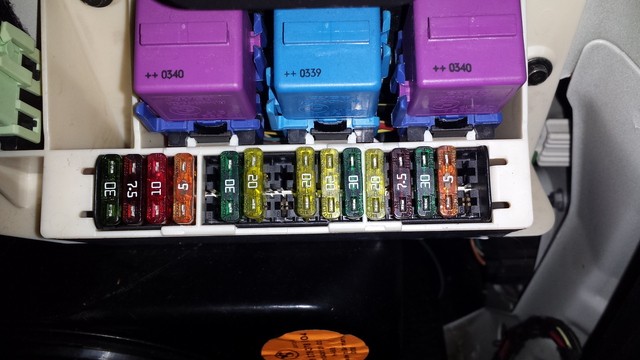 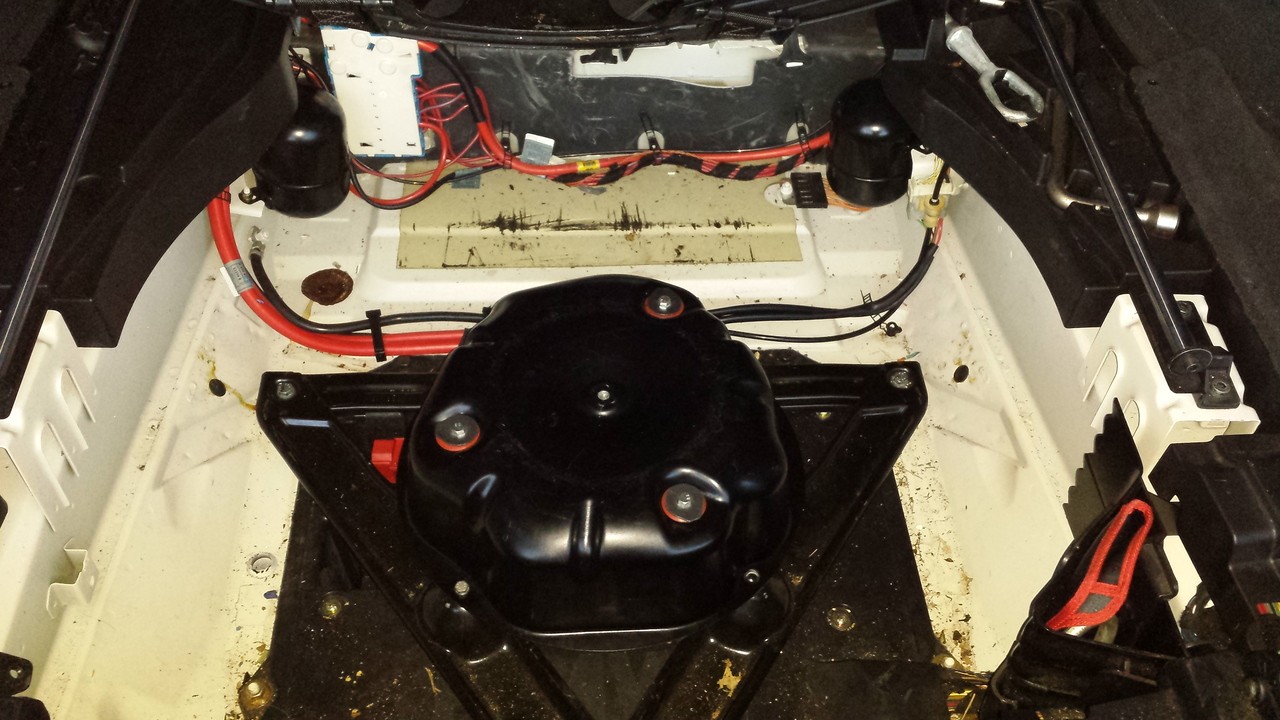 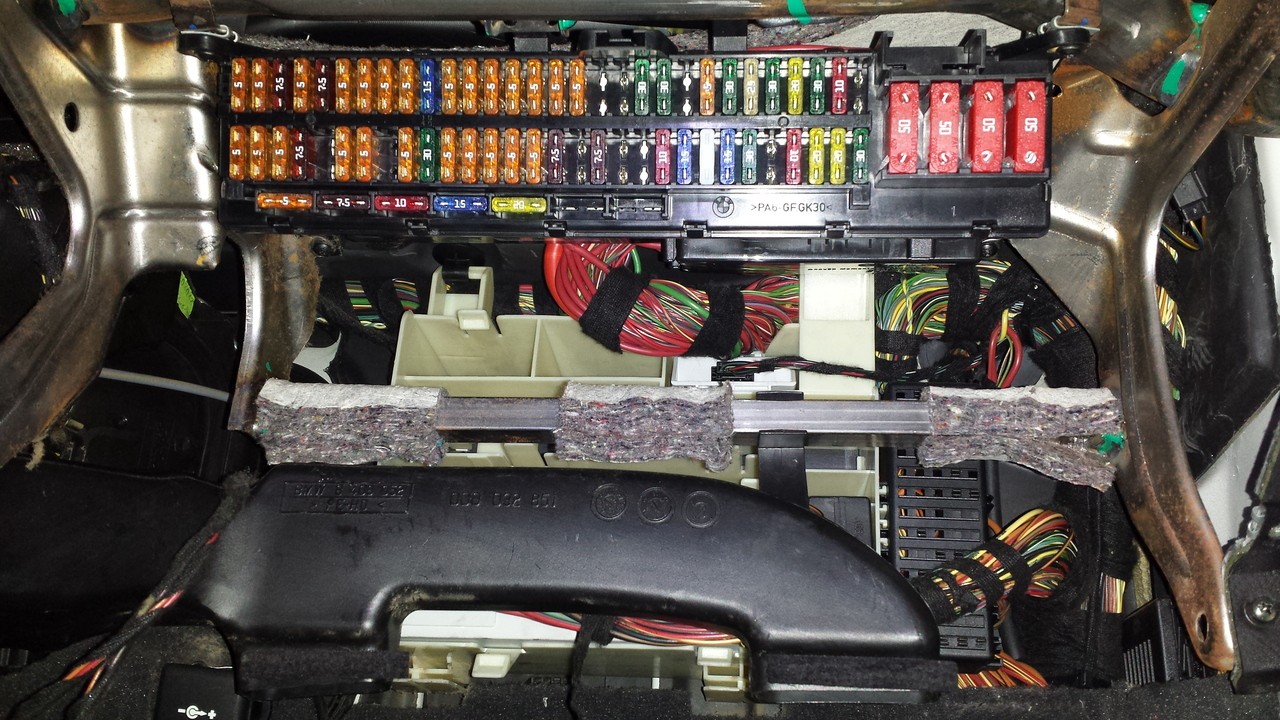 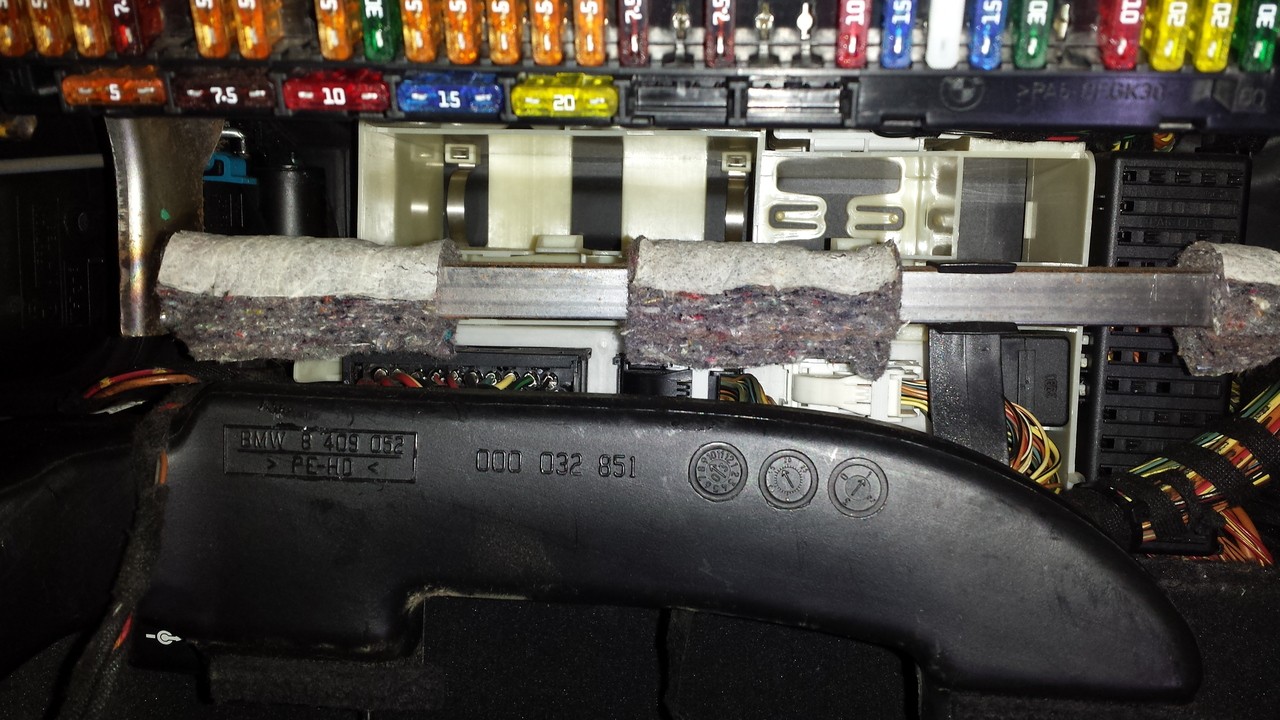 So, I am at a loss for the Air Suspension! Short of pulling all the panels and tracing the wires, I don't know where else to look for the control module. I'll be updating this as I progress!! Cheers for now!! Last edited by williamx5; 12-18-2017 at 03:38 AM. 
|
| Bookmarks |
|
|
|
|


 Threaded Mode

