
|
|
|
|
||||||||||
| Xoutpost server transfer and maintenance is occurring.... |
| Xoutpost is currently undergoing a planned server migration.... stay tuned for new developments.... sincerely, the management |
|
|
LinkBack | Thread Tools | Display Modes |
|
#1
 01-09-2012, 07:30 PM
|
||||
|
||||
|
Clean, simple and inexpensive way to add AUX for those with NAV with tape deck
I have a 2002 X5 with NAV that does not have the option to add the OEM AUX to the head unit. I have been using a cassette adapter but was not happy with the aesthetics of the set up. I came up with cleaner looking solution and I thought I would share...
1. Remove the head unit. I used the following link to help me through the process of removing the head unit: http://www.xoutpost.com/electronics/...-input-x5.html OR http://www.xoutpost.com/electronics/...-input-x5.html 2. Once the head unit is completely out, remove the four small screws located on the faceplate. 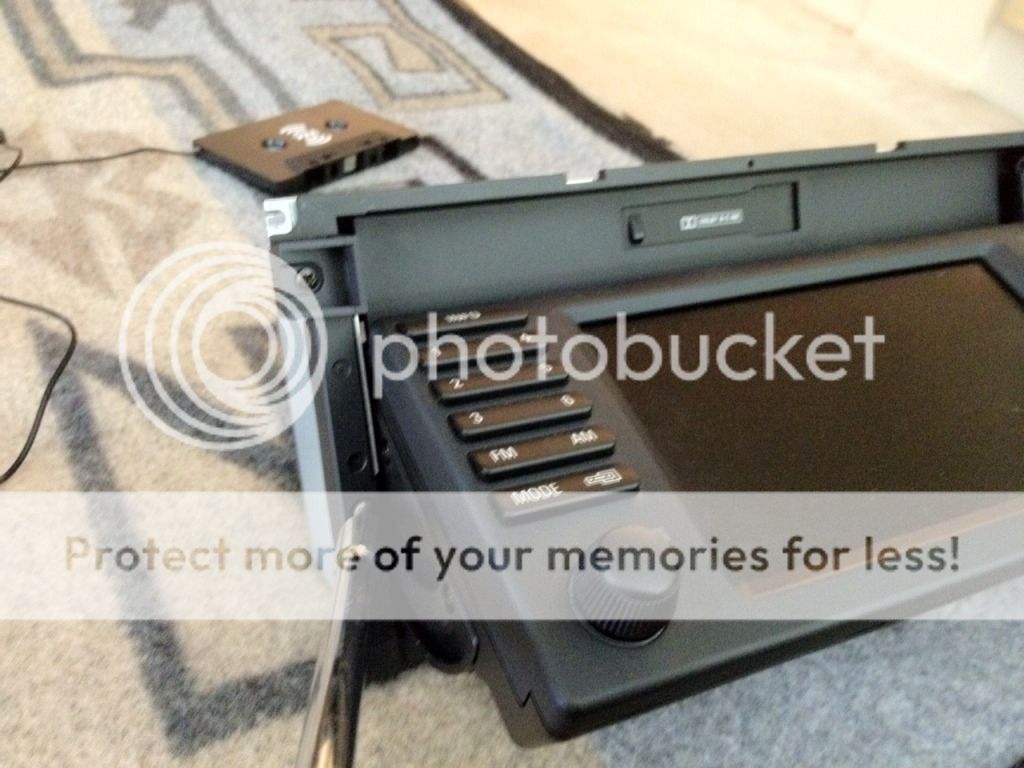 3. Next remove an additional four small screws that secure the metal plate on the top portion of the head unit. 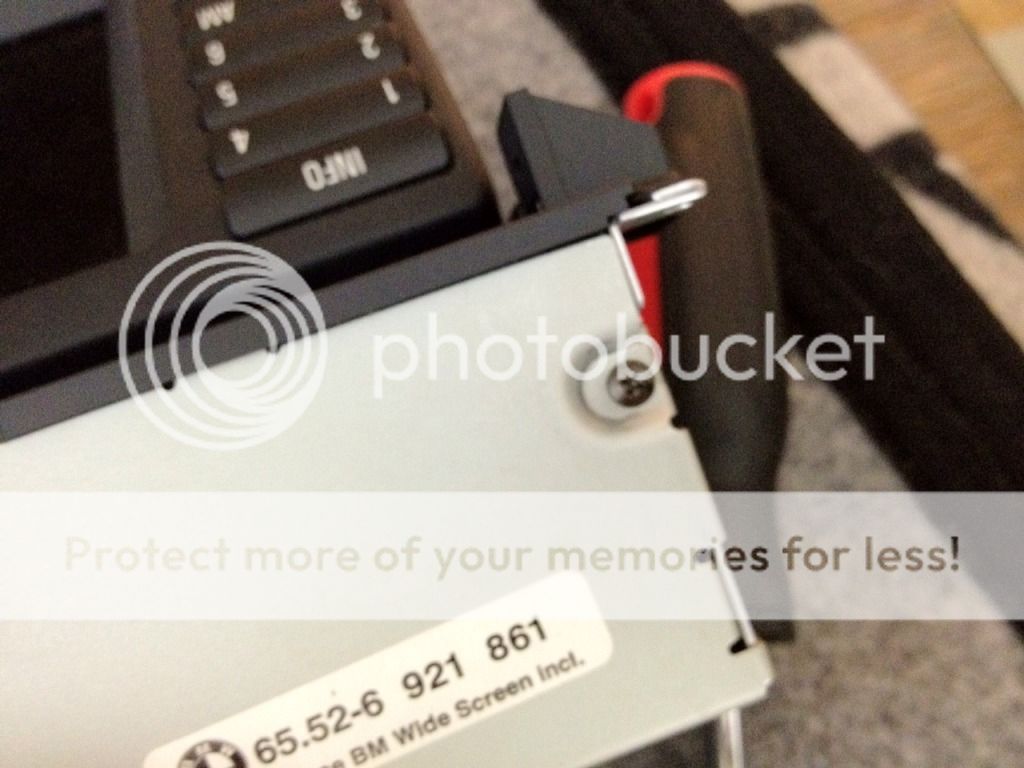 4. Detach the NAV screen from the swing arms. Once detached, slide the NAV screen downward and this will give you access to three screws located behind the screen (be careful as there is a ribbon cable that connects the screen to the head unit). Remove the three screws. 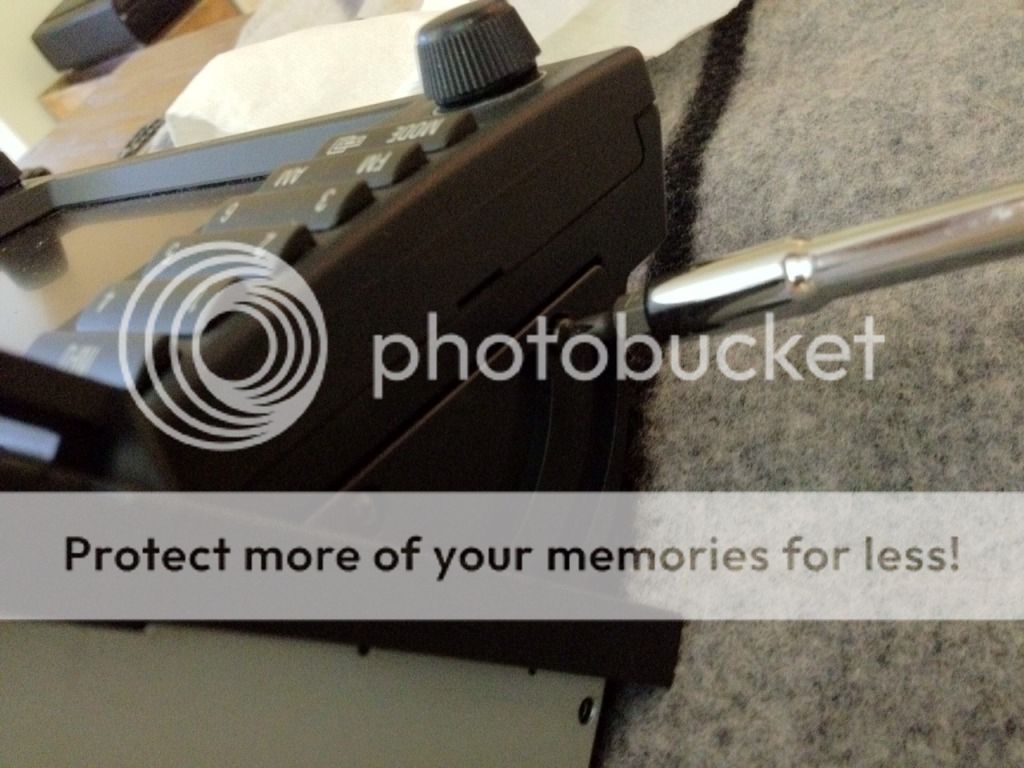 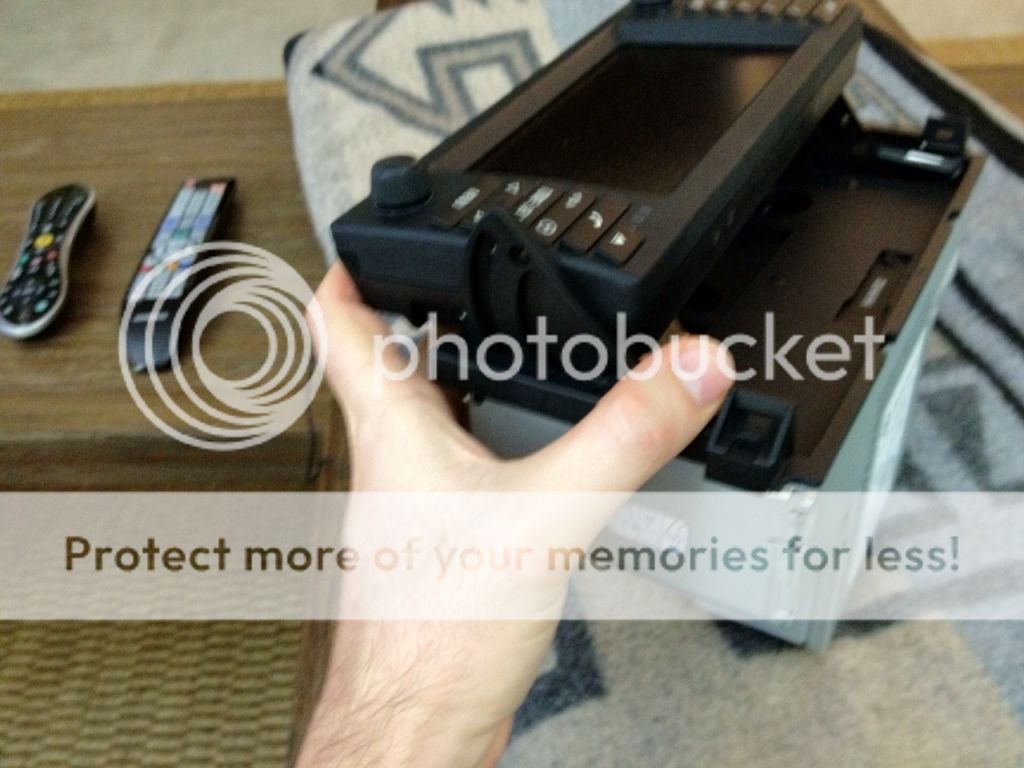 5. Open up the front faceplate. Find the two tabs at the top and open using a screwdriver. 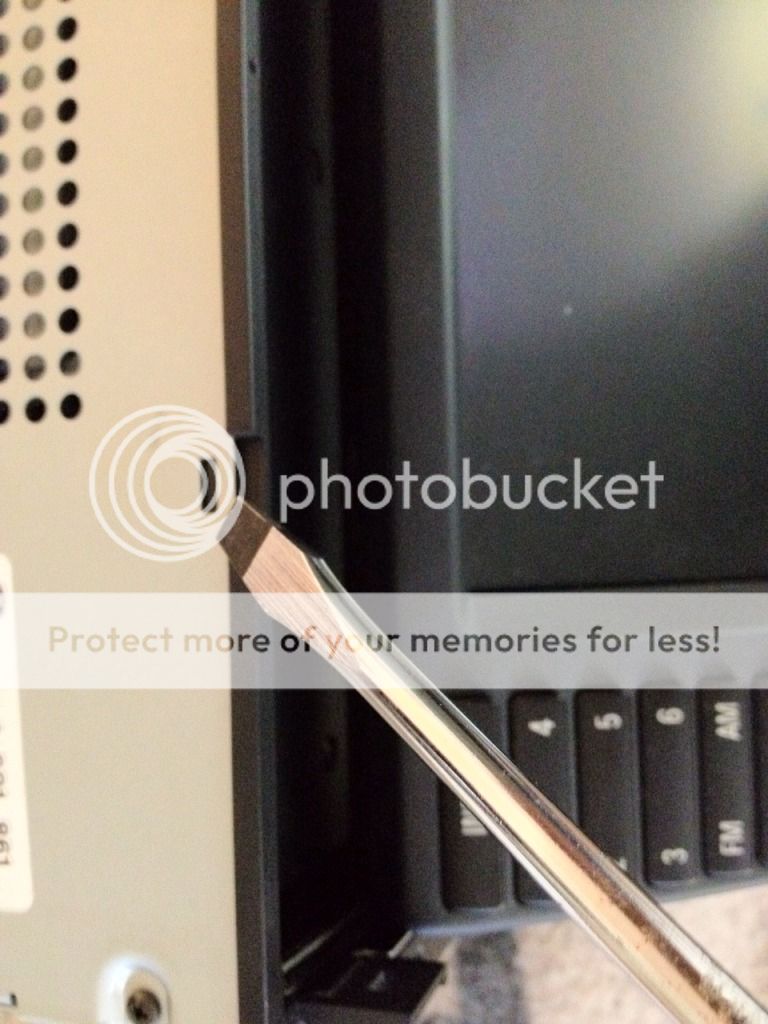 6. Remove the top metal plate of the head unit and insert the cassette adapter with the cassette wire inside the head unit (this can be done in any order). Guide the wire from the cassette adapter to the back end of the head unit. Make sure to leave some slack in the line. TIP: I recommend this particular cassette adapter for the best audio quality: http://www.amazon.com/Belkin-Xm-Auto...6147989&sr=8-1 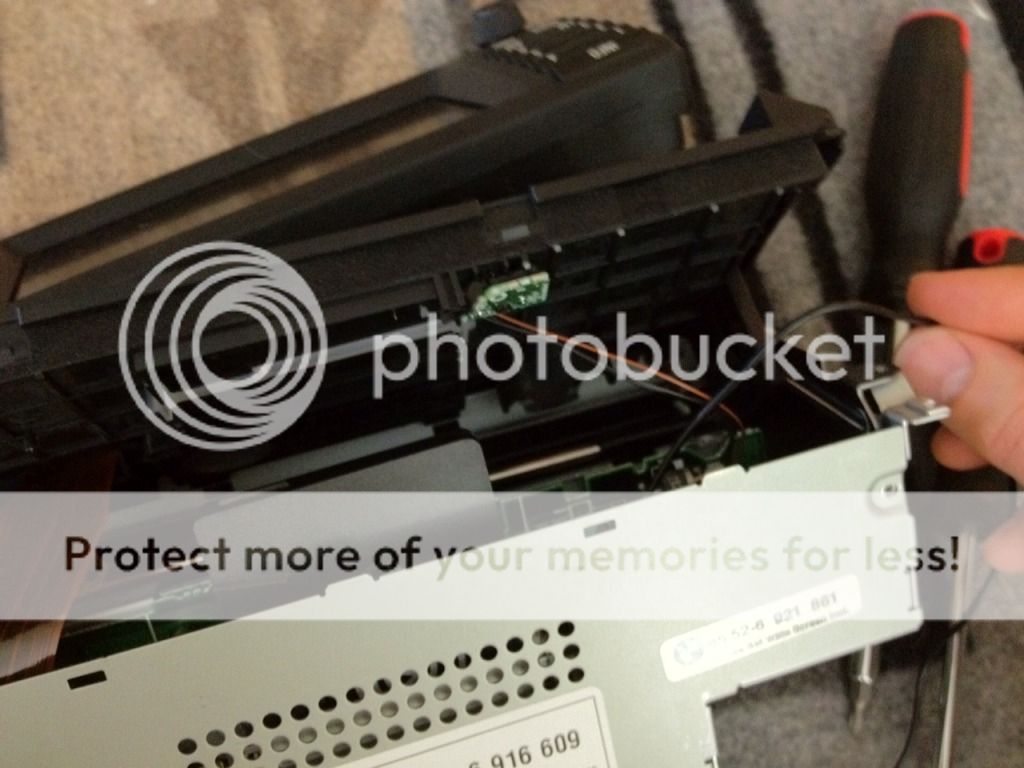 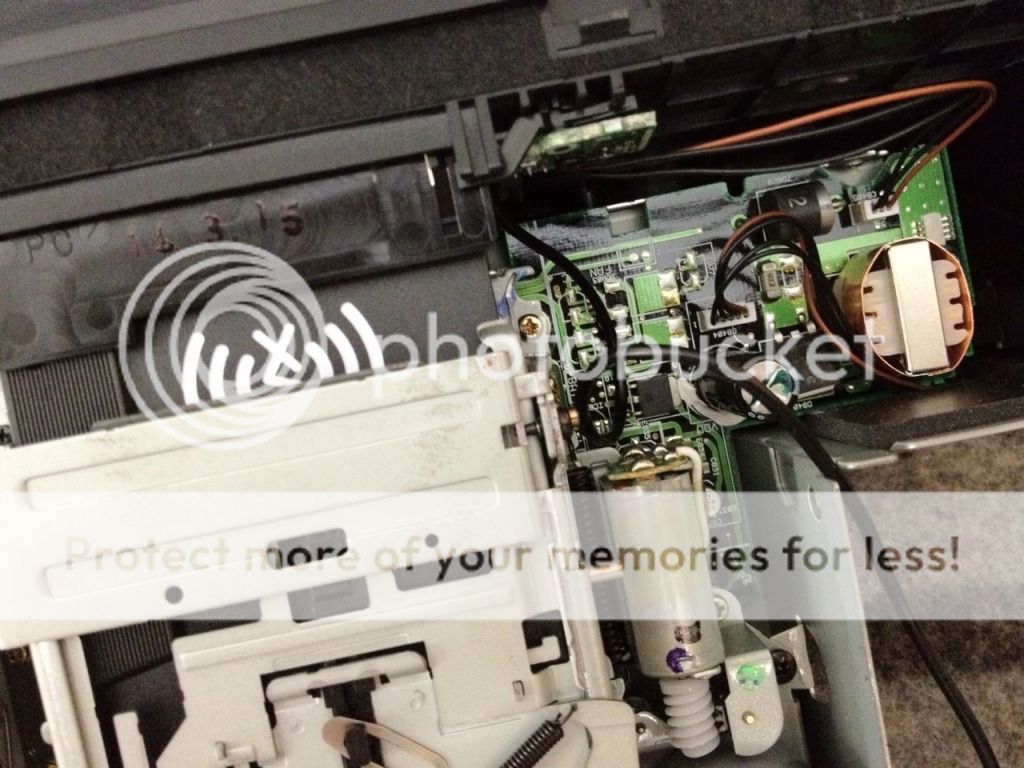 7. Go ahead and put the unit back together. Follow the preceeding steps in reverse order. 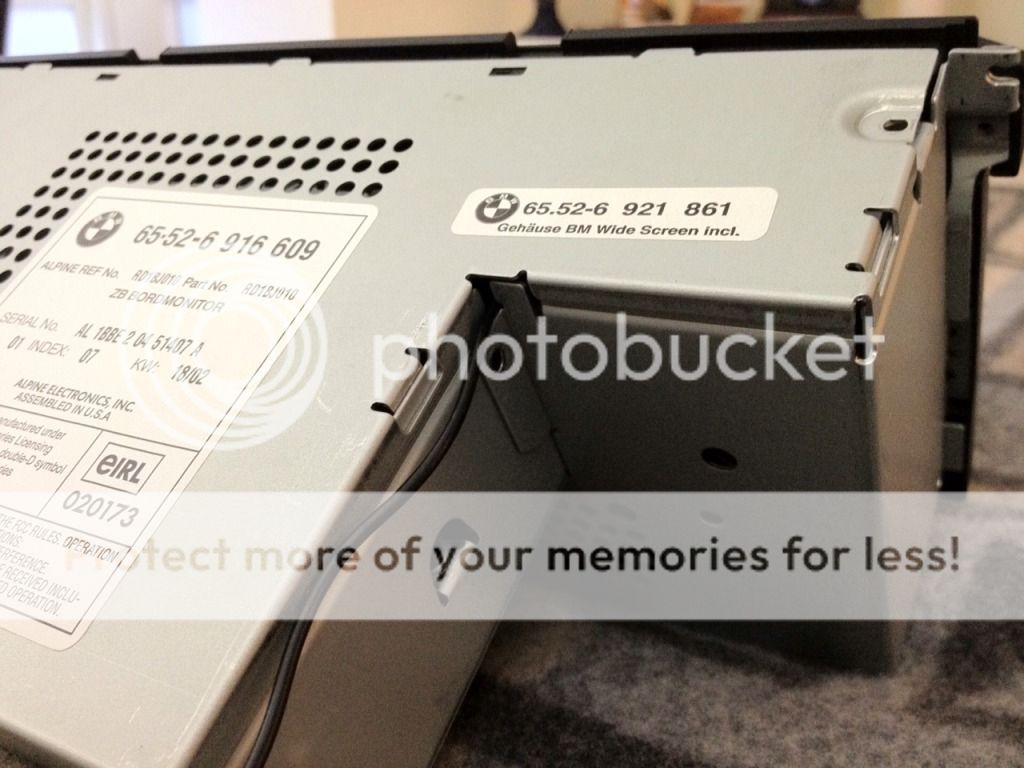 8. You can set up the jack end to be available in multiple locations (glove box, center console, dash, etc.). I set up the jack to come out in the ashtray. To achieve this, attach a zip-tie with string to the jack end. Using the zip-tie like needle, thread it through to where the ashtray is located (remove the ashtray basket beforehand). Then pull the zip-tie out the hole where the ashtray is located (it’s kind of like playing the board game Operation). Next, remove the clear lens on the ashtray basket and threaded the jack through the hole. Lastly, reconnect the head unit and button everything up. You’re done and enjoy!  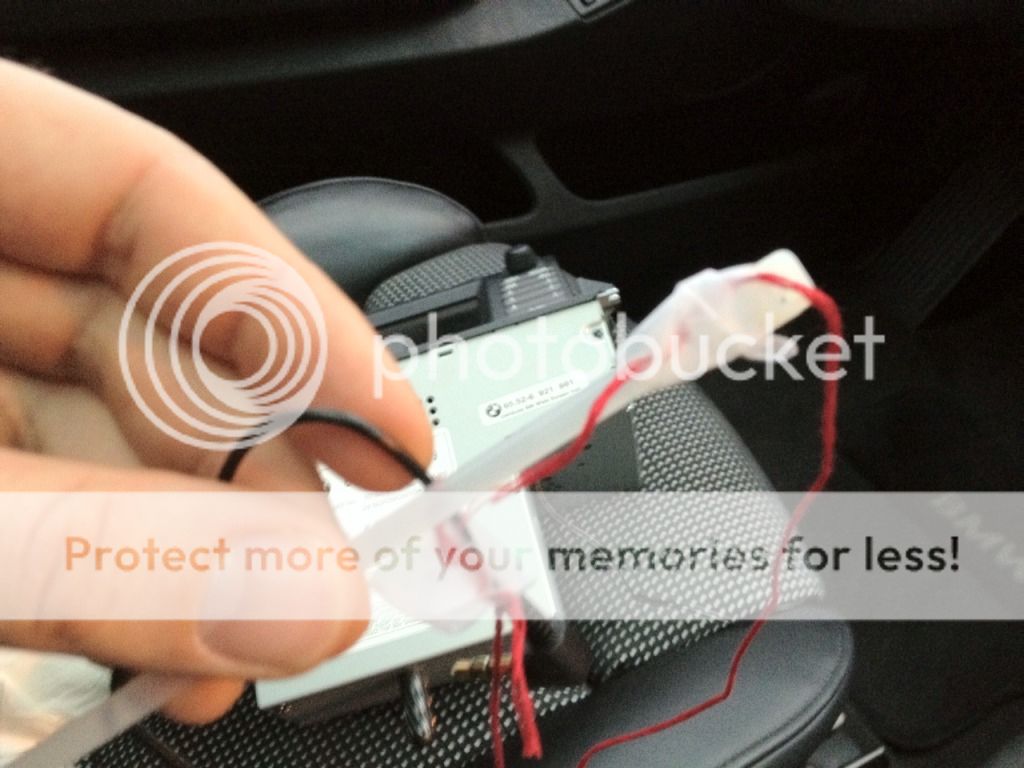   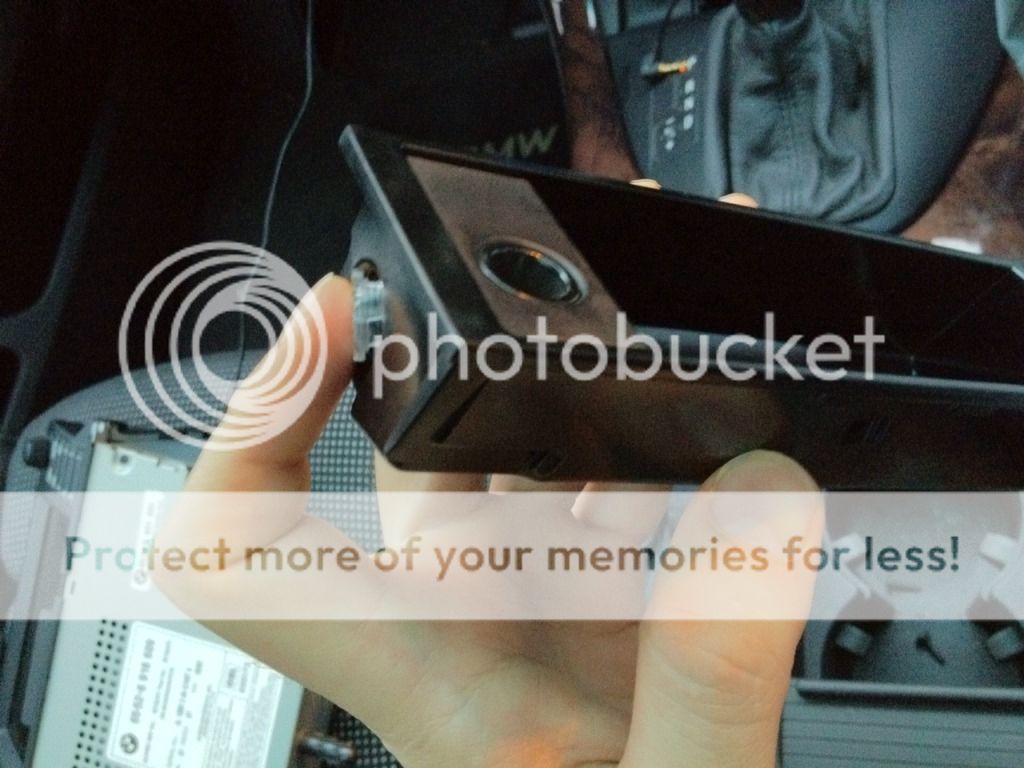  When I'm not using my iPhone, I tuck the wire back into the ashtray... 
Last edited by The Dude; 01-17-2012 at 01:38 PM. 
|
| Bookmarks |
|
|
|
|


 Threaded Mode

