
|
|
|
|
||||||||||
| Xoutpost server transfer and maintenance is occurring.... |
| Xoutpost is currently undergoing a planned server migration.... stay tuned for new developments.... sincerely, the management |
|
|
LinkBack | Thread Tools | Display Modes |
|
#1
 06-30-2013, 10:44 AM
|
||||
|
||||
|
Projector fog lights on facelift X5
I have successfully put them on my iS. Actually I swap them from my 3.0i.
Thanks to the post from TerminatorX5, I know they have the same mounting point as the newer reflective style. The problem is the air intake tube in the way on the right side. Here is how I did it, and it work  Remove this pin here  It's the hanger for the intake tube. I shake the tube after removing the pin and it's fine with the connections at both ends. After that, you want to move the mounting tab behind the mounting point like so 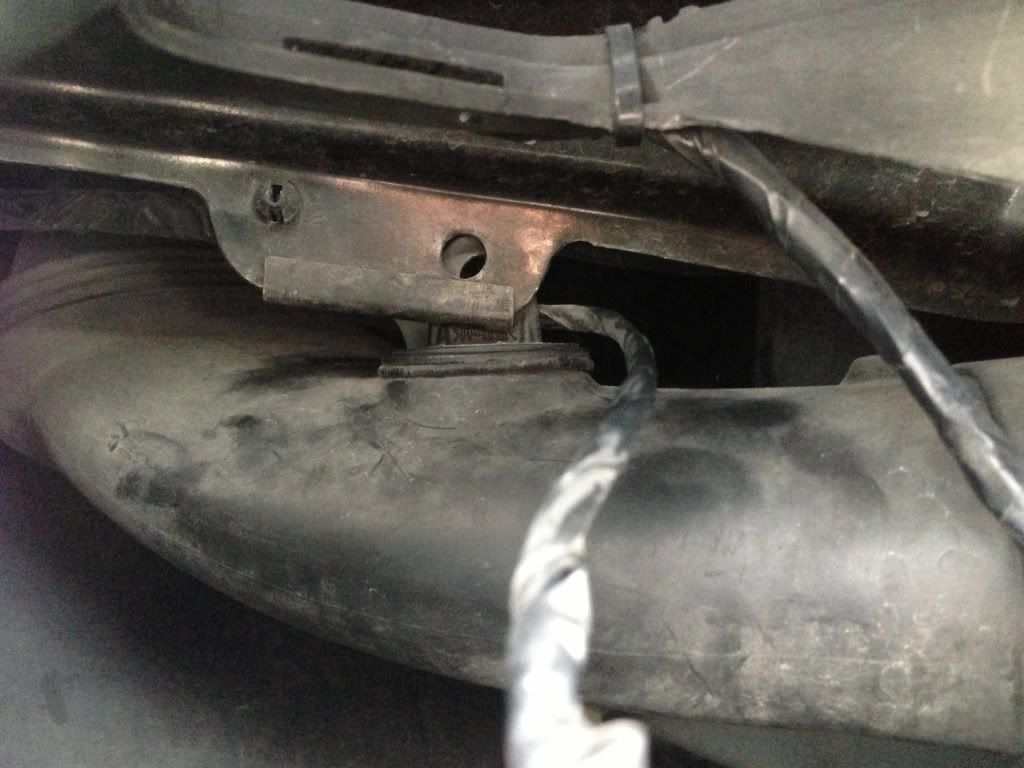 Now the projector fog-light housing can puch the intake tube in a little bit to fit. Cut out the connector and solder the correct one on, and shrink wrap it to prevent moisture/water from entering. I used the marine shrink tube which has glue inside to seal it when you heat it up. 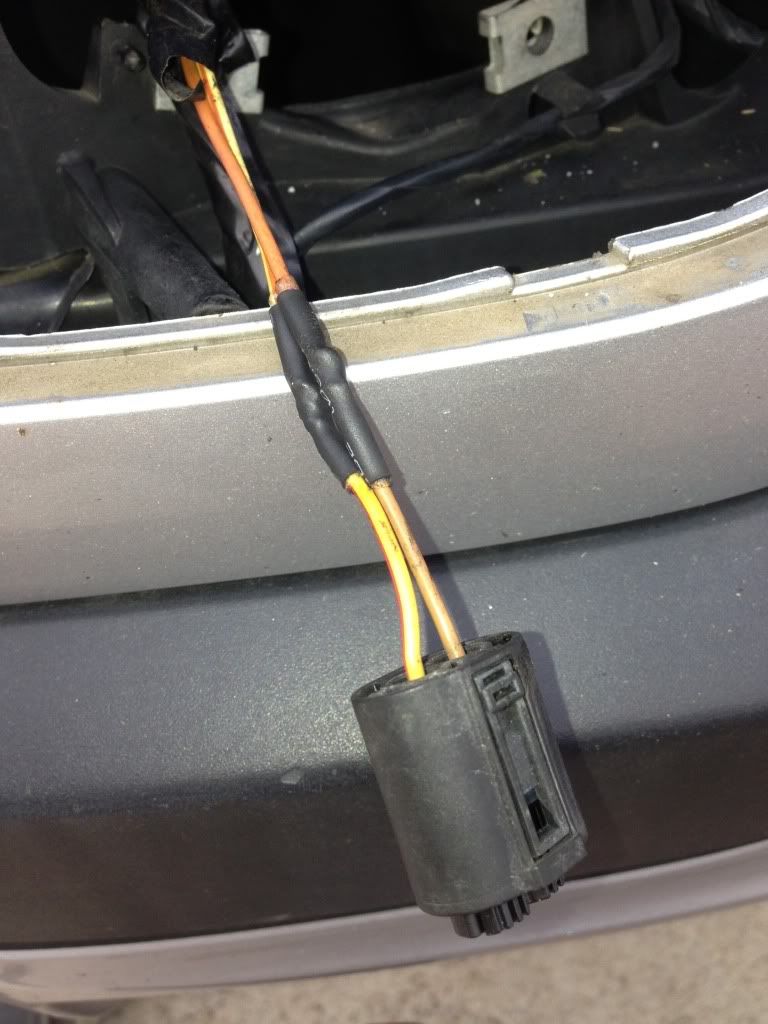 The projector fog light fit perfectly.  Test and make sure it works before putting the cover back on 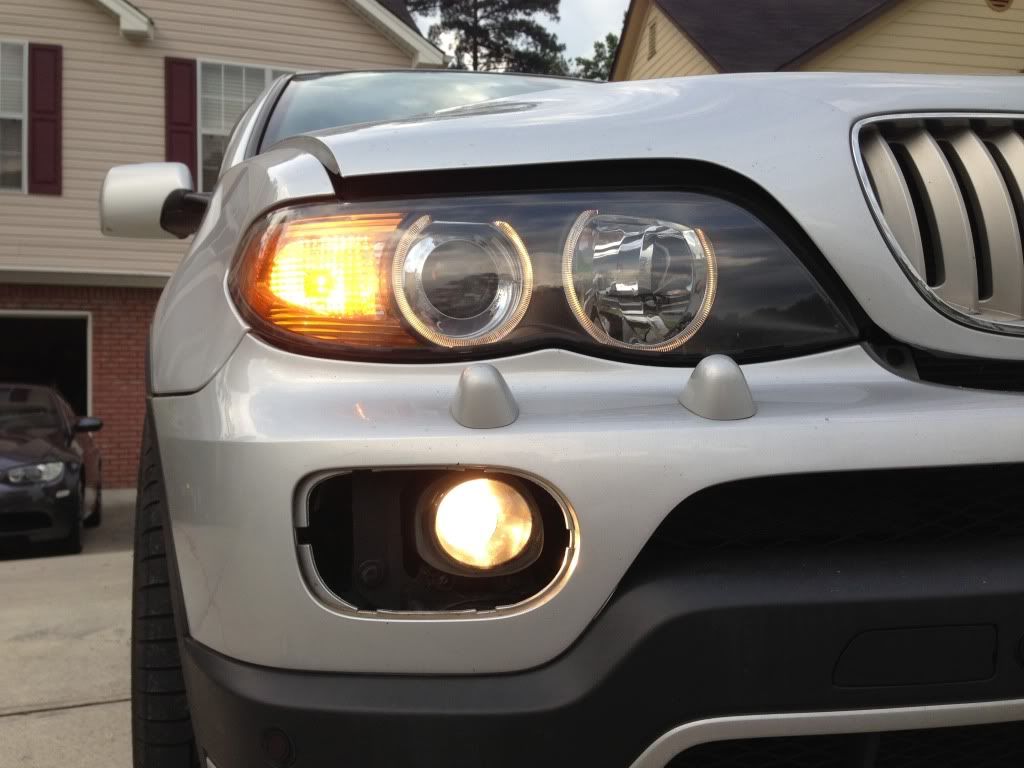 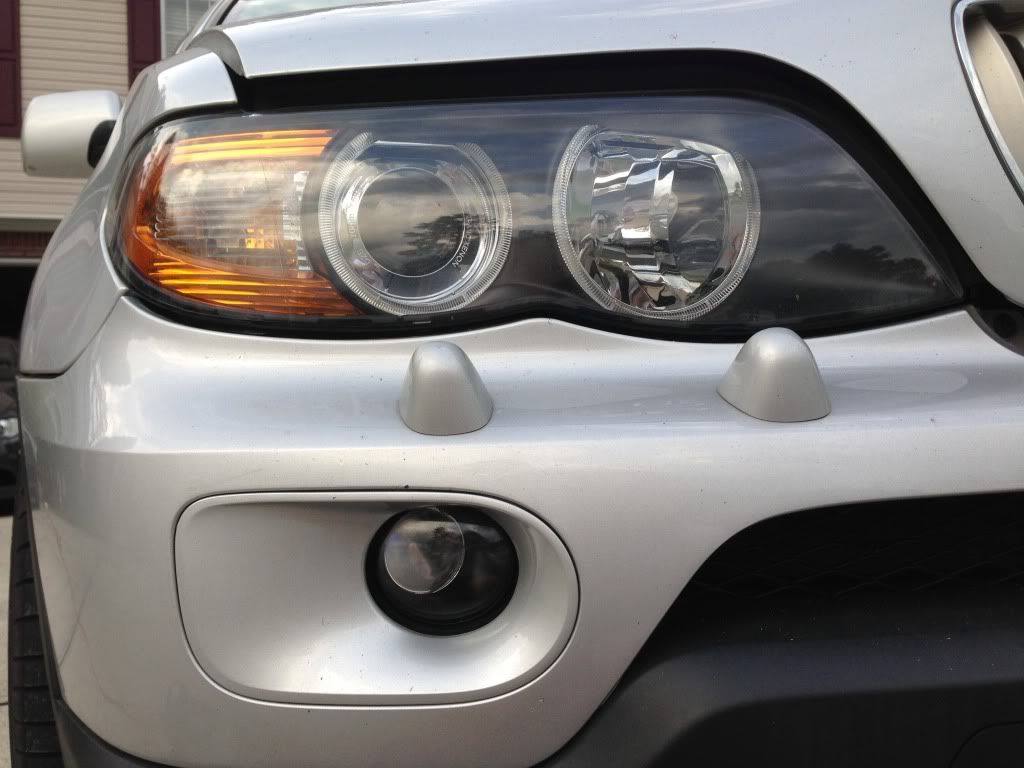 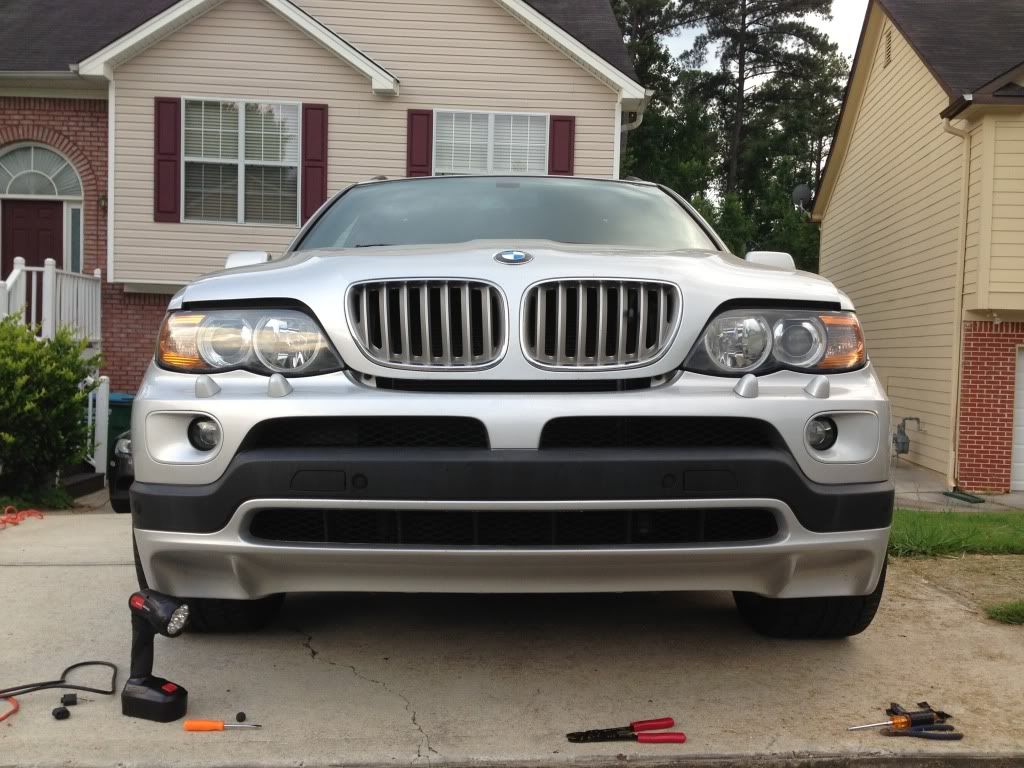 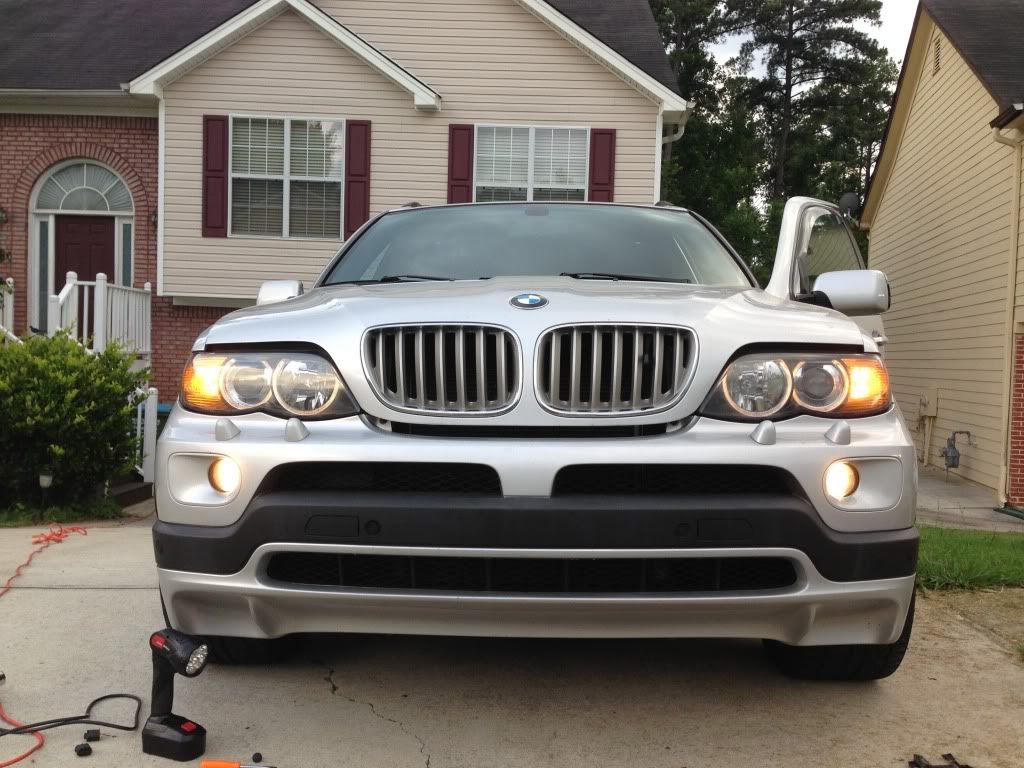
__________________
 00 E39 DINAN S1 //M5 (82k miles) 06 E53 DINAN 4.8iS, born 2/18/2006 (126k miles) http://www.xoutpost.com/bmw-sav-foru...s-my-dslr.html 90 Straman Z32 TwinTurbo Convertible, (1 of 44 ever made) 5 speed, 444rwhp/451rwtq 01 360 Novitec Spider F1 (26k miles) 
|
| Bookmarks |
|
|
|
|


 Threaded Mode

