
|
|
|
|
||||||||||
| Xoutpost server transfer and maintenance is occurring.... |
| Xoutpost is currently undergoing a planned server migration.... stay tuned for new developments.... sincerely, the management |
 |
|
|
LinkBack | Thread Tools | Display Modes |
|
#111
 08-03-2020, 06:16 PM
|
||||
|
||||
|
__________________
2005 X5 4.4i Build 04/05 Maintenance/Build Log Nav, Pano, Sport (Purchased 06/14 w/ 109,000 miles) (Sold 8/15 w/121,000 miles) 2006 X5 4.8is Build 11/05 Maintenance/Build Log Nav, DSP, Pano, Running Boards, OEM Tow Hitch, Cold Weather Pckg (Purchased 08/15 w/ 90,500 miles) 2010 X5 35d Build 02/10 Nav, HiFi, 6 DVD, Sports Pckg, Cold Weather Pckg, HUD, CAS, Running Boards, Leather Dash, PDC, Pano (Purchased 03/17 w/ 136,120 miles) 
|
| Sponsored Links | |
|
|
|
|
#112
10-07-2020, 02:22 PM
|
|||
|
|||
|
The X5D has been fulfilling it's role as the diesel workhorse running errands, hauling stuff, and dropping the hammer on unsuspecting "sporty" vehicles around town.
Here is a collection of random pics sprinkled in with some meaningful updates in chronological order. Random pic 1  Tailgate FTW  20' 2x4s to reinforce my attic  Propane! This high-noon lighting shows the (sorta) flush fitment.  Shredding  I have decided that my next project will be a M57 powered, RWD, AT, E61 Touring. In addition to the E61 I will probably buy a e90 335D donor for the engine, trans, and misc parts. There will be a shipment of 535d specific parts from Europe like wiring harnesses, proprietary cooling, ducting, etc. The dream was to make a BEAST AWD diesel wagon that could handle repeated launches. Unfortunately the front drivetrain on the 530xD is shared with the E61 535xi which doesn't like high loads especially at lower ride heights so it would be a ticking timebomb with the M57. I explored retrofitting the AWD from the E70 X5 which is much stronger but the larger ACT500 TC won't fit the E61 which is paired with an ATC300; a custom transmission tunnel would allow it to work but I am not interested in tackling that at this point. Although not as dreamy as an AWD diesel wagon the RWD configuration is the easier, simpler, and more reliable option -this is why I converted my 535xi to RWD. Of course with RWD the issue becomes traction and the wagon will make somewhere between 600-700tq to the wheels, I also wanted a STRONG drivetrain which for me means OEM M5 drivetrain with a 210mm BMW LSD. Installing an LSD into a stock 188mm E60 open diff works but 210mm diffs are better  Fitting M5 drivetrain to an E61 is easy, it all bolts up with the exception of the driveshaft which needs to be modified. The tricky part is getting a 210mm LSD with a diesel friendly final drive. E60 M5 comes with a 3.62 and a 535d comes with 2.56 lol. BMW 210mm diffs are now only found on M cars and certain older heavy-duty vehicles like V12 7 series, etc. and with all the gasoline cars in the US it's rare to find a ring and pinion that isn't in the 3.00-4.00:1 range. AFAIK BMW never fitted a 210mm diff on a diesel vehicle, ever, they all had the smaller 188 cases. Fitting M5 drivetrain to an E61 is easy, it all bolts up with the exception of the driveshaft which needs to be modified. The tricky part is getting a 210mm LSD with a diesel friendly final drive. E60 M5 comes with a 3.62 and a 535d comes with 2.56 lol. BMW 210mm diffs are now only found on M cars and certain older heavy-duty vehicles like V12 7 series, etc. and with all the gasoline cars in the US it's rare to find a ring and pinion that isn't in the 3.00-4.00:1 range. AFAIK BMW never fitted a 210mm diff on a diesel vehicle, ever, they all had the smaller 188 cases. Through furious research and some luck I was able to track down a 2.65 210mm ring/pinion. Originally equipped on an E31 850i, V12, with a manual trans. This was a US-only import and after looking up the production numbers there are only about 300 in existence and through luck/fate I was talking with an eBay seller who had a 2.91 R/P and I mentioned the E31 and he said he had one not listed!!!! Sick. This was the missing link that allows me to build an essentially bulletproof differential, that has an OEM LSD, and near-perfect ratio for a diesel wagon. It also means I can run the complimentary M5 drivetrain which means more durability and peace of mind! Anyway, the 3.62 I currently have in my white N54-E61 makes for very short gears and I have been meaning to "upgrade" to something taller. The E92 M3 has a 3.84 in the manuals and a 3.15 if equipped with the DCT. 3.15 is just about perfect for my intended use SOOOOOOOOOO I picked up a 3.15 LSD from a M3 w/ 43,000 miles. This will go into the N54 wagon and the M5 LSD will come out, be rebuilt with the 2.65 R/P, and wait patiently for the diesel E61 project. The M3 LSD was located 90 miles north of me and it was a nice opportunity to do some highway cruising and check out MPG numbers. Normally my impressive fuel economy just gets decimated while driving around town since I drive hard. This highway testing got extended as the dismantler gave me the wrong diff at first so I did the drive x2 so about 350 miles when it's all said and done. The first leg I got 32mpg and return was 34mpg, highway only. On the following 2 trips averages were right around 33mpg and this is driving smoothly in the 60-70mph range. With some hard city driving the X5 was sitting with 1/2 a tank of fuel left, ~370 miles covered, and an 31mpg average, not bad! A celebratory pic bringing the M3 LSD home, little did I know it was the WRONG one. lol  Better look at the beefy boys  I will do my best to break it  Enjoying the highway MPG before it's destroyed by spirited driving.  I had 2 oil leaks that were destroying my driveway. One was from o-rings that were failing on the vacuum pump, the other was my connection between my oil catch can outlet that connected to my dip stick via a T-fitting. The connection was leaking and it was due to Evan-error. Although an actual dipstick > electronic oil level, the X5 has both so for the sake of a clean and secure install I deleted my dipstick and plumbed the OCC output directly into the oil pan via the dipstick. I cut down the remaining dipstick, bored out the top, and pressed in a barbed joiner fitting. I have a 1-way check valve and it's working very well so far.     Due to the leaking vacuum pump the front of the block got saturated which assisted the AC belt in shredding itself. After the leak was fixed I cleaned everything with a power washer.   Meyle HD thrust arms fitting with monoball bushings. A bit of a bugger to remove, you need to turn the steering about 30 degrees towards the side you are working on and gently push the arm reward, upward, and inward to get them out.    My buddy picked up a nicely modded F10 M5. He replaced his manual single turbo 600awhp E90 with a 600whp F10 M5. Cool car but honestly I thought it was going to be faster. lol. I thought it would destroy my 550whp E61 but after driving it, I think it would be a really close race! 
|
|
#113
10-07-2020, 06:03 PM
|
|||
|
|||
|
Gotta link for those monoballs? Considered some when I did my arms a while back but ended up going with the powerflex polys as they were much cheaper than the monos that came with the thrust arm. It looks like you actually pressed yours in though.
|
|
#114
10-07-2020, 06:04 PM
|
|||
|
|||
|
And looking forward to see how your diesel wagon project comes out.
|
|
#115
11-16-2020, 09:41 PM
|
|||
|
|||
|
Quote:
I bought new Lemforder arms and had them drop shipped to him, he then presses in the new monoballs and forwards the complete arms to you. I recommend his service.
|
|
#116
11-16-2020, 10:22 PM
|
|||
|
|||
|
Things are looking up for the X5. With a winter trip on the horizon it's finally time to install the 3.15 differential, to match my rear and complete the 3.64 to 3.15 conversion. I have been running the rear 3.15 for about 9 months in RWD mode and it's great, now time to finalize and flash back to AWD. There are some other parts which will be installed in addition:
- Upgraded Level 10/Sutphin Tuning Torque Converter - 3.15 front diff (to match rear 3.15 and reactivate 4WD) - Brake pads - All new suspension F/R to compliment the just-installed monoball thrust arms. - Mayle HD wishbones w/ adjustable camber - Replacement AC belt - Replacement pano roof surround - Diesel Extreme injector cleaner - Oil change Items not pictured: - Replacement exterior driver door handle - Repair pano roof partitions - Repair Vacuum pump seal (still leaking) I am excited to observe the difference going from RWD with the sloppy and bullied stock torque converter back to AWD with the upgraded converter. My Dragy data shows about .5g during a launch with my current setup and that is with the tires hooking up well, not absolute grip but not bad all things considered. The Dragy data from another tuned diesel X5 with similar mods shows 1.1g from a dig which is awesome. With my 3.15 gearing and larger tires I am assuming my performance won't be as ferocious but it will still be a hoot. Response/driveability around town should also be much more pleasant.  Finally put the ZL1/Hankook combo on a scale. The tall tires have a very obvious weight penalty and offset the light ~27lb 20x11 ZL1 wheels.  Hike in the rain with the doggos.  
|
|
#117
12-03-2020, 02:35 PM
|
|||
|
|||
|
Before my winter road trip I was able to get some maintenance items addressed but not all. Torque converter and suspension still on to do list. Here is what has been accomplished.
- Front 3.15 installed, 4WD flashed - Leaking vacuum pump cover resolved, hopefully for good this time - Leaking coolant line deleted - New brake pads - Oil change - 2020 iDrive maps update - Driver door handle replaced "Wrench Mode"  3.15 front diff serviced with fresh fluid, axle seal, and o-ring   The front diff swap was fairly straight forward, however some bonehead wrenching added a lot of unnecessary frustration. When lowering the subframe I assume my mistake was not dropping it little by little evenly which made the the subframe get hung up on the locating pins on the frame and it wouldn't hang freely. It took me WAY TOO LONG to figure this out but once I did a gentle tap on the subframe from a sledge hammer and iron rod from above freed up the subframe. By this point I had already removed the driver engine mount and mount bracket which was easy enough BUT getting the 3 bolts that hold the bracket to the engine block turned out to be a blind, awkward, and frustrating endeavor. patience and presistence prevailed but hours or time were lost. Live and learn .....or make mistakes, forget, and repeat. lol The front diff does NOT come out this way  ...it comes out this way   Driveway divas  My multi-use BMW special tool, great for propping up the passenger side front axle during front diff removal and great for supporting the subframe.  While under the vehicle I noticed some dried coolant on the top of the engine splash panel. Turns out it was caused by my own carelessness when deleting my EGR cooler and looping my coolant system, tension pushed the hose up towards the belt which was able to rub (I assume under high engine load), it looks like I caught it just in time since this could ruin a road trip very quickly.  The damaged coolant line is one that Ts into another coolant pipe between the radiator and the engine and then runs down and up behind the low pressure turbo and goes into the engine block. Doing further research it looks like the 335D doesn't have this coolant line at all, the engine block may not even have the cooling port. Instead of replacing the damaged coolant line I deleted it all together by buying a coolant blind plug for the front connection and a Vibrant reinforced coolant cap for the rear connection. If/when I remove the low pressure turbo at that time I will remove the engine block coolant connection and convert it to a plug by welding it shut. Front connection BEFORE  Front connection AFTER w/ blind plug  Coolant line out  HPS caps  Rear connection BEFORE  Rear connection AFTER  My ATM ASV elbow had a fine oil residue on it. It was a bit odd since the silicone was covered in it but there was no obvious leak points at connections.  I removed, cleaned, and inspected the elbow and found this on the on the underside where the silicone bends. I haven't noticed any drop in boost or weird boost-leak noises (but I haven't data logged) but I assume there is a tiny hole allowing the oil vapor to escape. I haven't had the best luck with the ATM charge pipe connections so this is more motivation to build a custom charge pipe setup.  Vacuum pump cap was continuing to leak after a new set of o-rings so I cleaned everything and applied thin layer of silicone for added security.  Driver door handle had an annoying paint chip ever since we got the vehicle and I finally found a comfort access door handle in PGM for a reasonable price on eBay. It's not flawless but it's in much better condition than the old handle.  Clearance between ASV elbow and radiator shroud was too close for comfort so clearanced it a bit BEFORE  AFTER  With the front diff installed I flashed back to 4WD  While updating the maps it was a 1+ hour upload so I hooked up the beast, this things can hold a perfect 14.3v for a full vehicle (all modules) overnight flash so it's not breaking a sweat here  My Hawk ceramic pads were squealing like mofos and the after hearing my complains the company sent me a set of 5.0 pads to try out. Their rep recommended I bed them aggressively and get them hot enough to smell. No problem, after a good thrashing they were smoking and I used an infrared thermometer to check rotor temps (400f) Potato pic If these 5.0 pads don't work well (and don't squeal) then I have some EBC reds to try.   Cleaned and fitted with the cargo box and bike rack!   The cargo box is a life saver. It fit 2 snowboards, boots, bindings, snow gear, snow shoes, hiking shoes. MTB gear, helmets, bike rack, misc clothing, bike tools, misc tools, and more.  
|
|
#118
02-07-2021, 11:13 AM
|
|||
|
|||
|
The X5 was put to work in the month of December; road tripping through California, driving up (and down) to Tahoe in snow, many mountain biking trips and lot's of aggressive driving on tight mountain roads!
After the trip the X5 received various upgrades with the focus being on the interior. Here are some pics from the winter trip.... Dawn patrol in Napa Valley  Aggressive mountain driving was aggressive. This was from driving the Oakvilla Grade which connects Napa Valley to Santa Rosa. A rough and tight road. Had to dial it back a bit.   Not the best pic but my first roller in the X5!  Visiting my good friend up in Truckee. He hates that I call the X5 a "truck" since he owns a Duramax buuuut I tell him, "it's got a tailgate, it's a truck!" lol  Always fun to see the people who have no idea what they are doing and try to navigate snow in FWD economy cars on crap tires.  Bikes and Beer in Berkeley  Fun fact about the 1Up bike rack is it has 3 positions: down to carry bikes, up for storage, and a 45 degree option which allows just enough clearance for the tailgate to come down. Nice  More dawn patrol  Onto the upgrades! My X5 came with heated wheel but I ditched the feature since I found a nice deal on a Napa M sport wheel with paddles. I finally came across a deal on a heated X5M wheel in nice condition. The X5M uses the same paddles as the E9X M3 so there are more aftermarket options for paddles and I went with a generic set of aluminum paddles. The look is a bit aggressive but I wanted a longer paddle and these are aesthetically more pleasing than some of the other options. Annoyingly the OEM paddles were not communicating through the steering wheel controls so they needed to be spliced into the wiring up stream. I pulled some OEM connectors from the junkyard so the paddles are PNP.  Before/After  Installing P3 vent gauge which has a bunch of useful metrics  The access panel on the side of the dash is a great place to tuck the controller.   I FINALLY got around to upgrading the interior lights to LED. 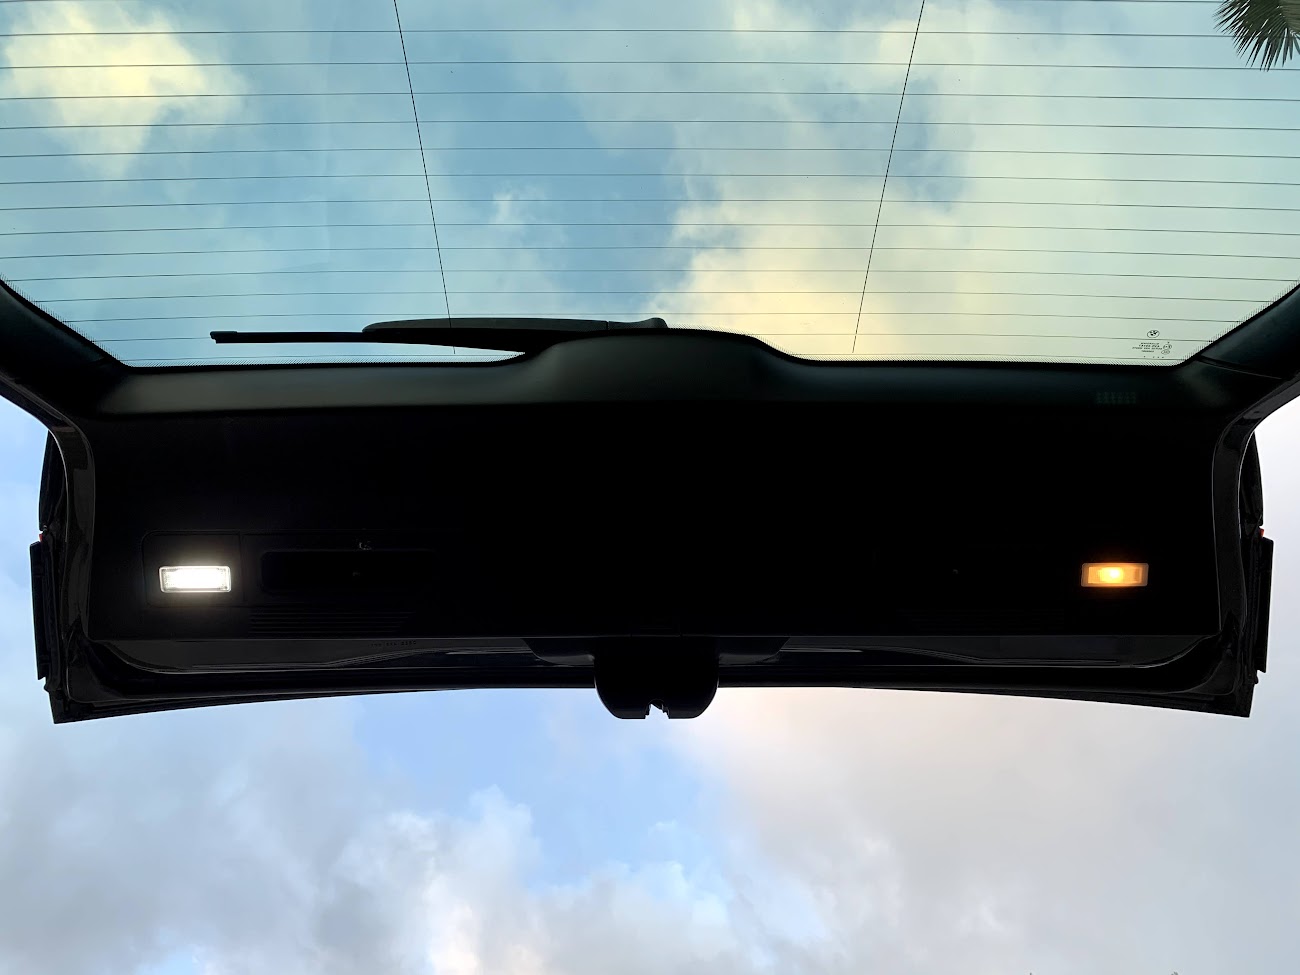  As most of you E70 owners are aware, the console trim wears poorly and I couldn't justify the $120 price for a new OEM piece and stumbled upon this cover on Amazon. Fit/finish looked good and for $23 it was worth testing out. 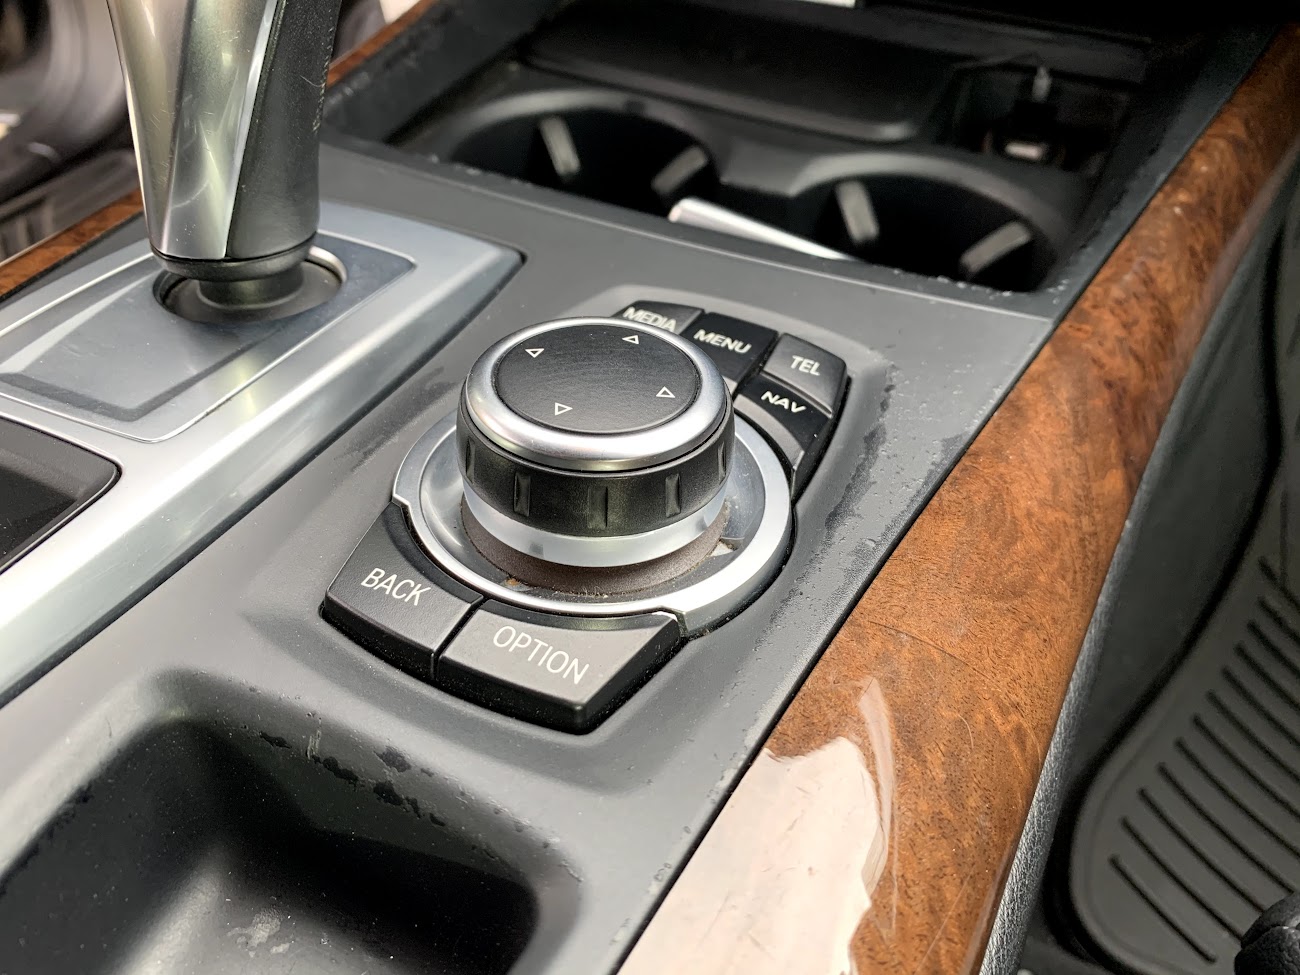   Time to update the Nav screen and interior trim. Screen is a WAKAA and I sourced some OEM Shadow Brushed Aluminum trim from Latvia.   Little hack when working on the back of the door panels: do this!  End result. I love it. Next and maybe the last big interior mod will be Merino leather dash doors and hopefully I can find a pair of Merino comfort seats. I have the massaging/cooled seats and the leather sucks (so does the cooling).   
|
|
#120
03-23-2021, 12:36 PM
|
|||
|
|||
|
Fantastic work! I've been debating both the upgrade screen and that vent gauge ever since I got my X5 in Summer 19 and I think you'll be the reason I pull the trigger. Some of these companies need to start paying you for marketing for them!
Question for you, since I see an Engine support bar: Some of the people in the NABDO groups frown upon using an engine support bar, but I've got deletes planned for this weekend on a lift and will need some way to support the engine with the mount arm out and the subframe dropped. Do you feel that the engine bar adequately supports the engine when you're working? I'll be on a lift without a jack handy, so trying to cover my bases here. Thanks! Edit: Could you please post a picture of where the support bar sits? Last edited by RaleighDiesel; 03-23-2021 at 12:56 PM. Reason: added a question
|
|
| Bookmarks |
|
|
|
|


 Linear Mode


