
|
|
|
|
||||||||||
| Xoutpost server transfer and maintenance is occurring.... |
| Xoutpost is currently undergoing a planned server migration.... stay tuned for new developments.... sincerely, the management |
 |
|
|
LinkBack | Thread Tools | Display Modes |
|
#61
 01-19-2012, 06:18 PM
|
|||
|
|||
|
Quote:
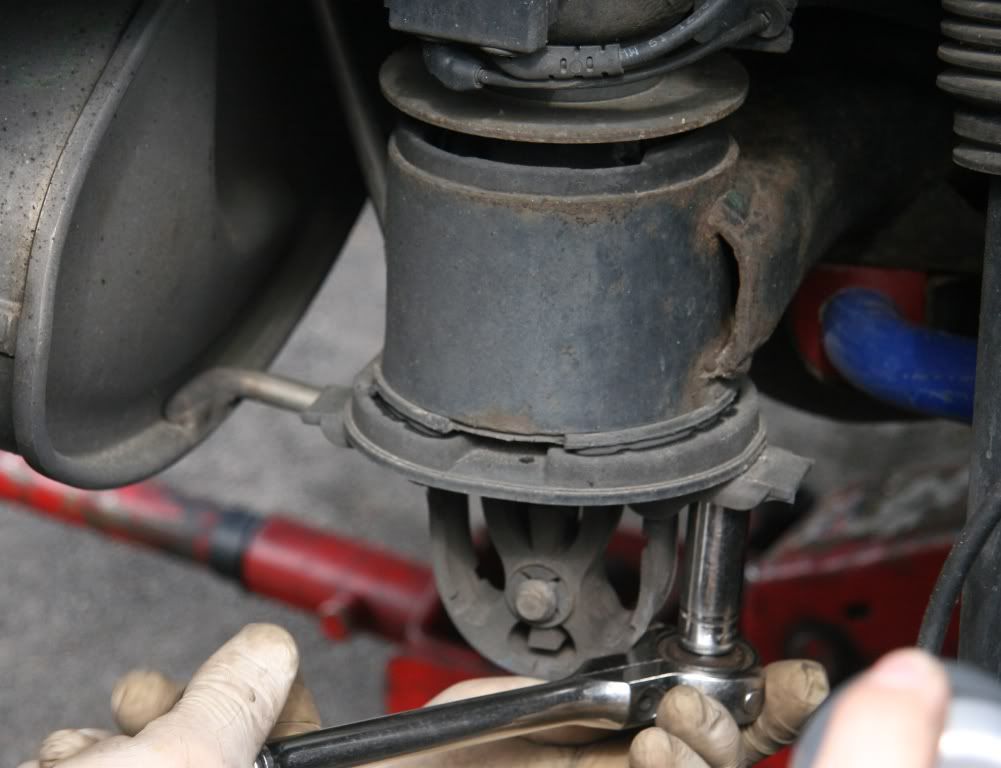
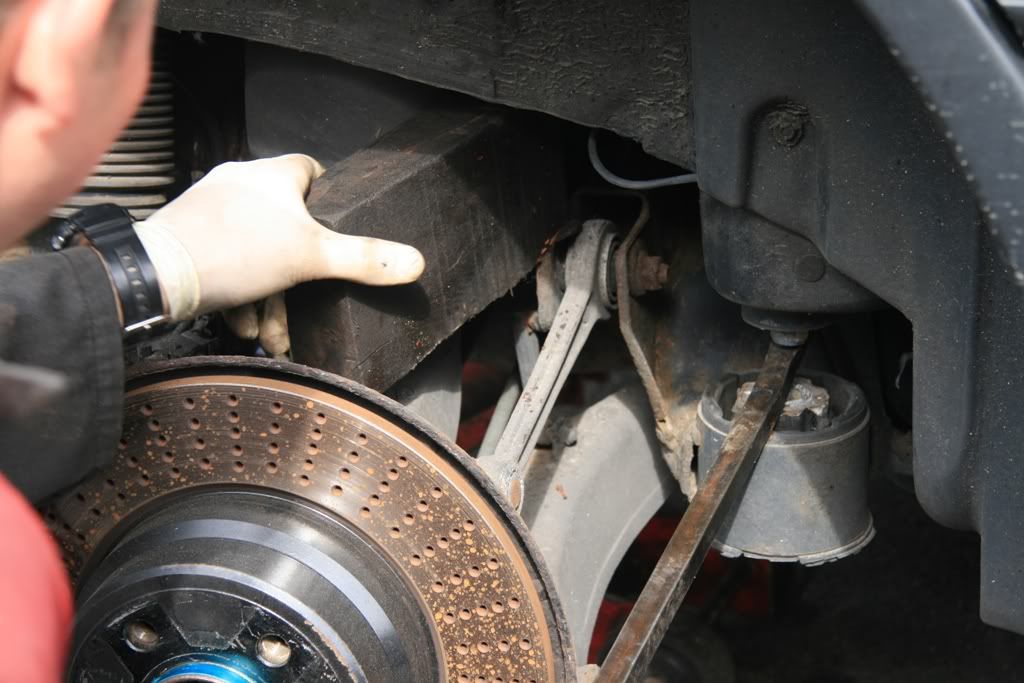
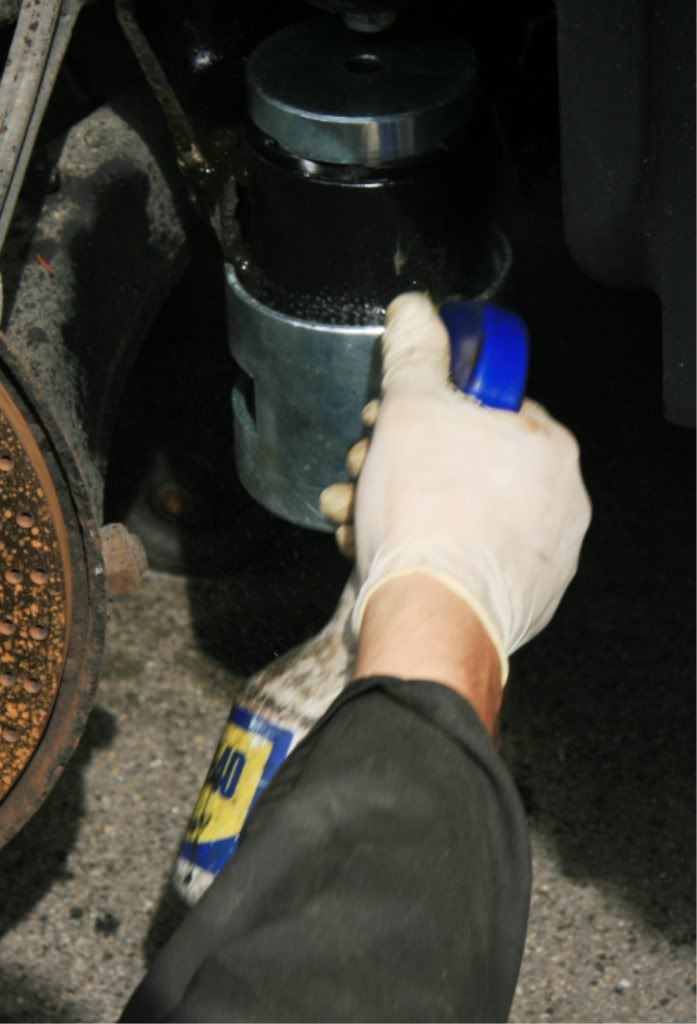
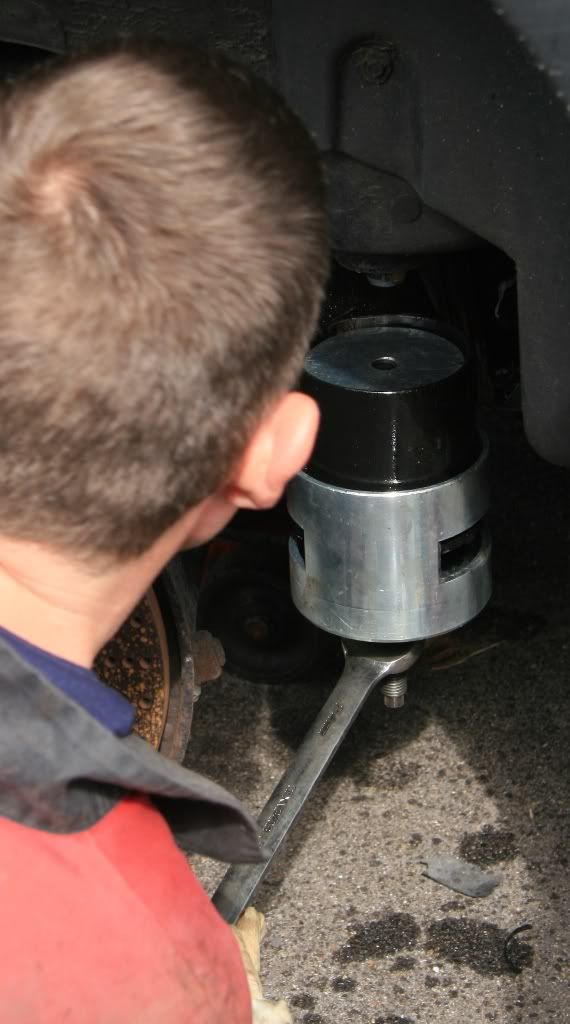
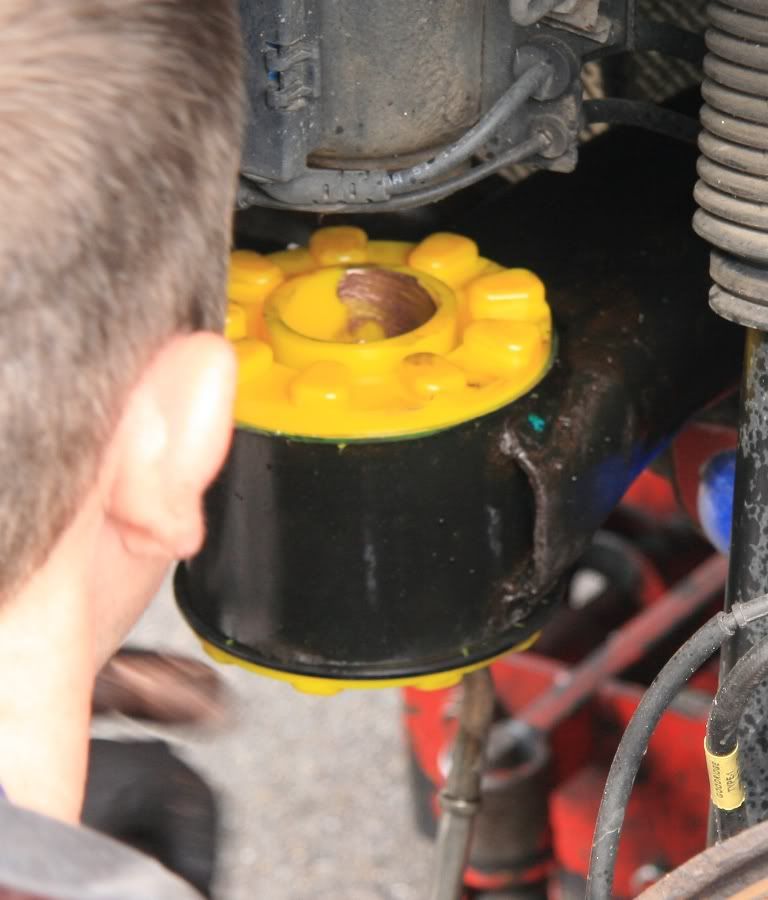
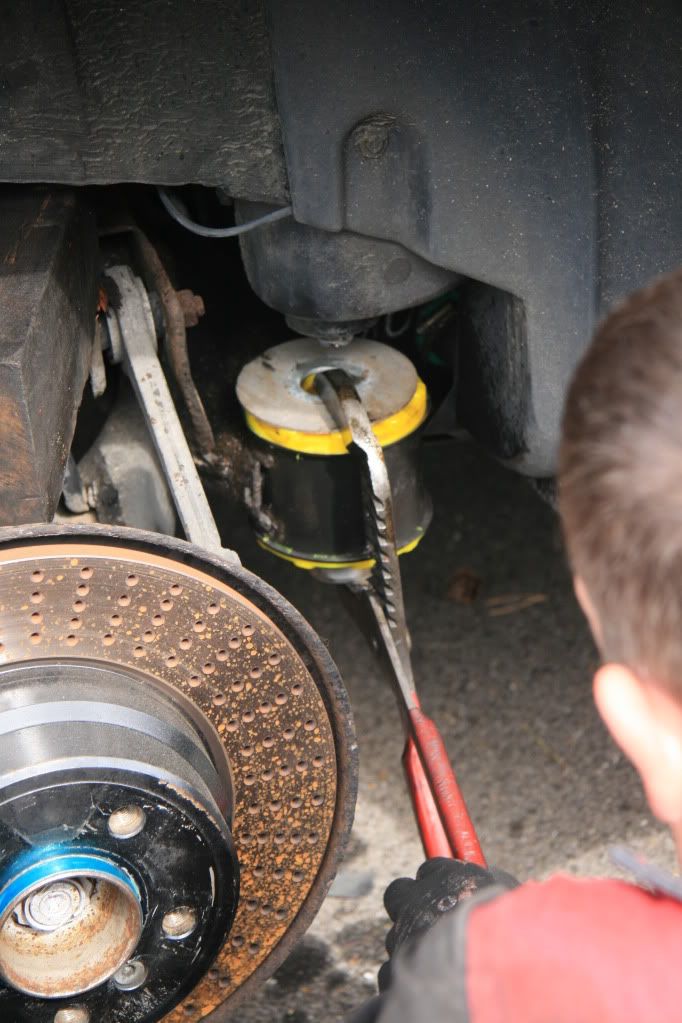
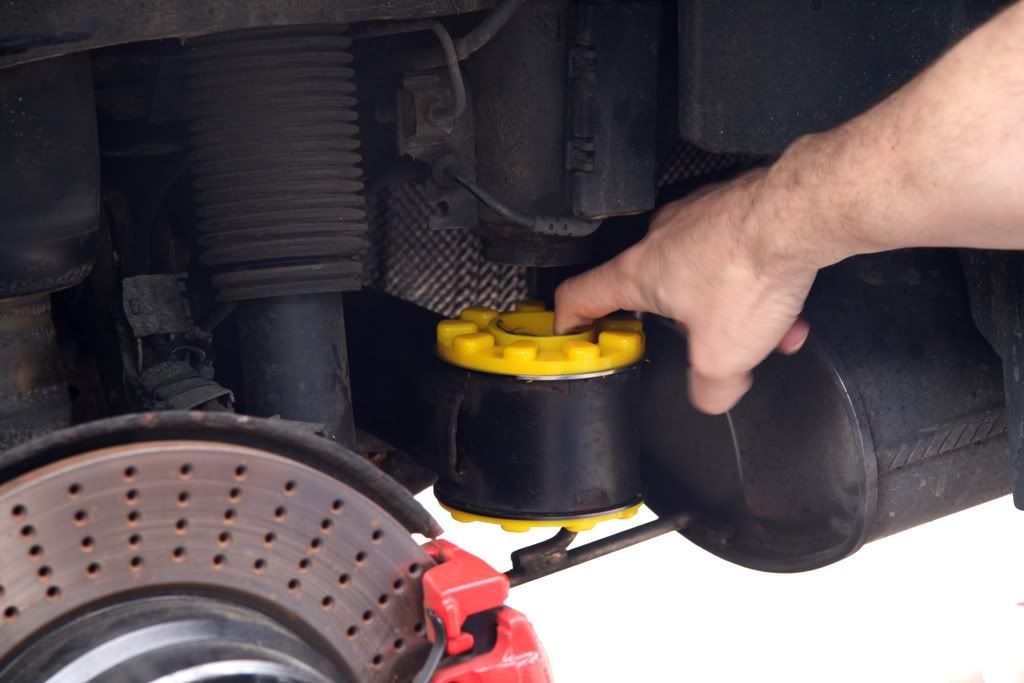
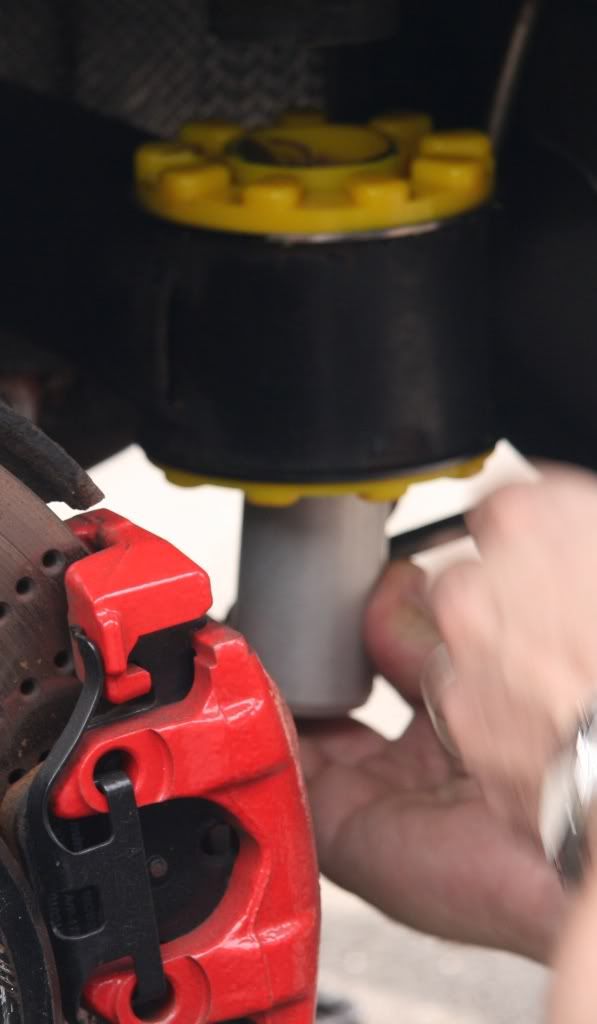
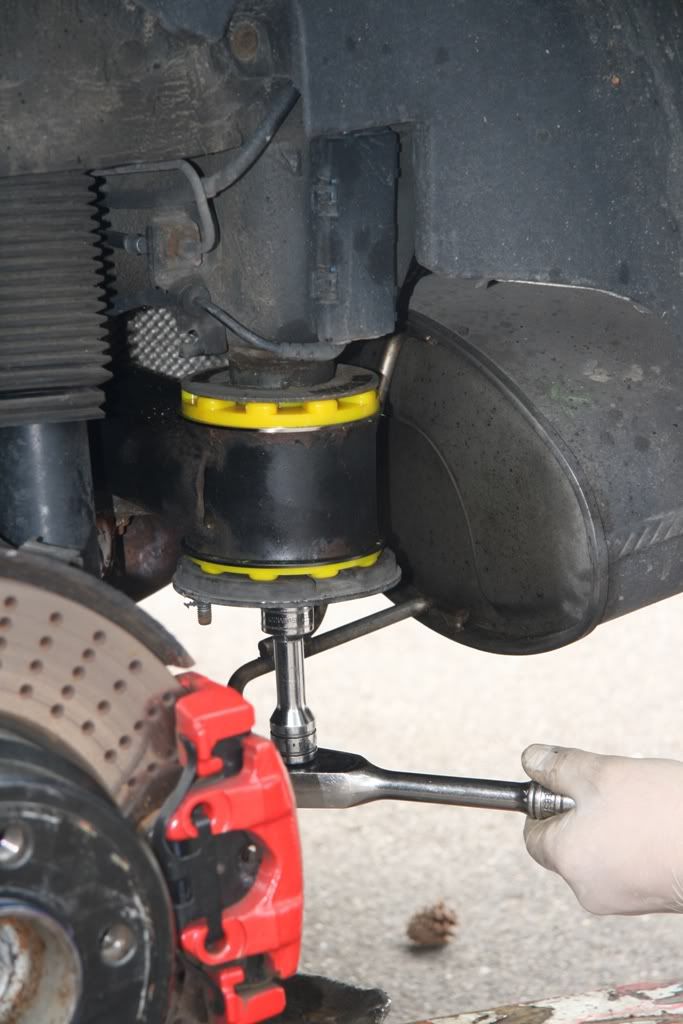
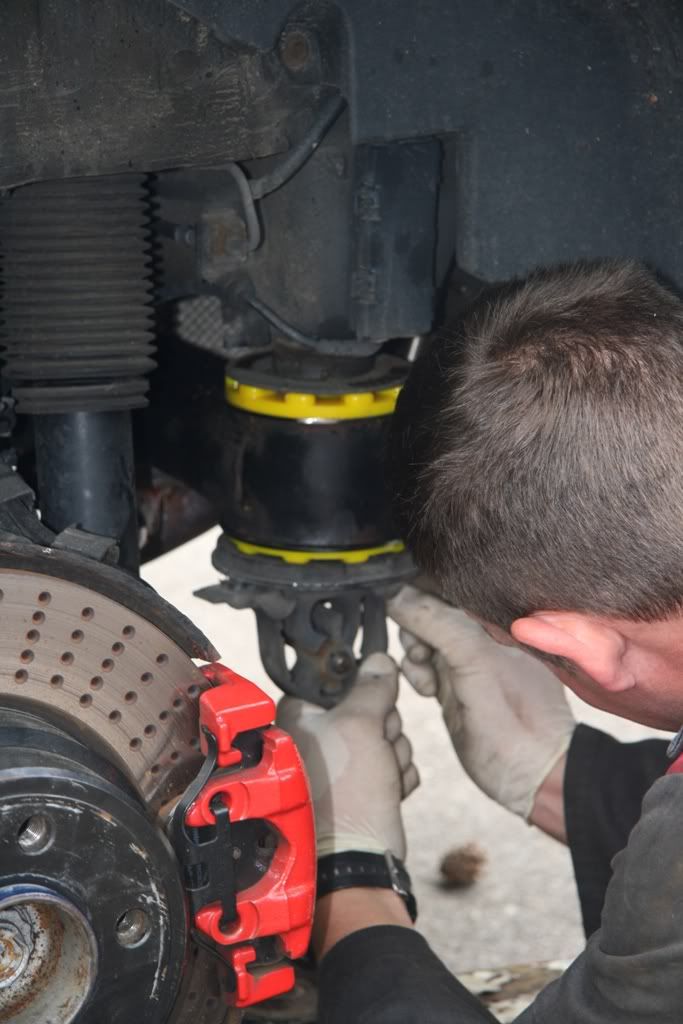
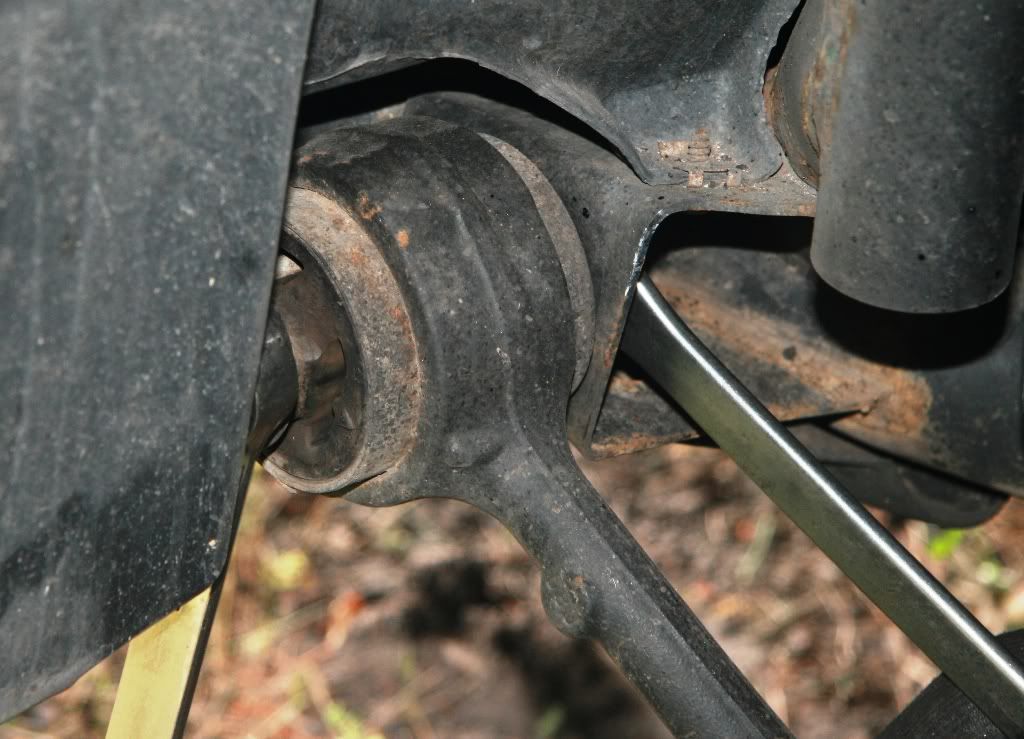
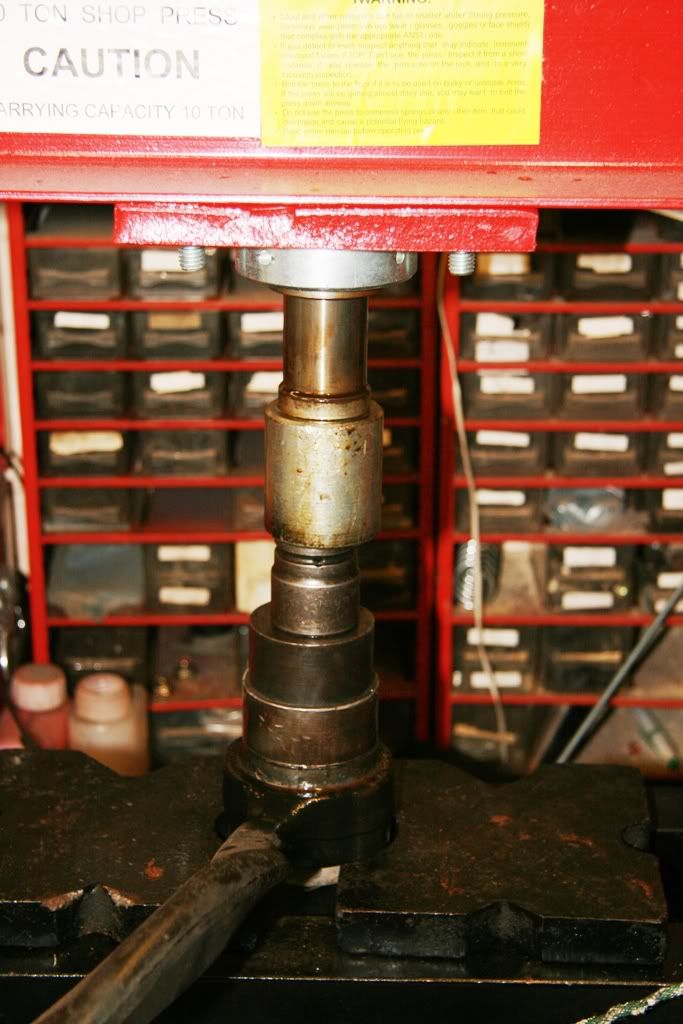
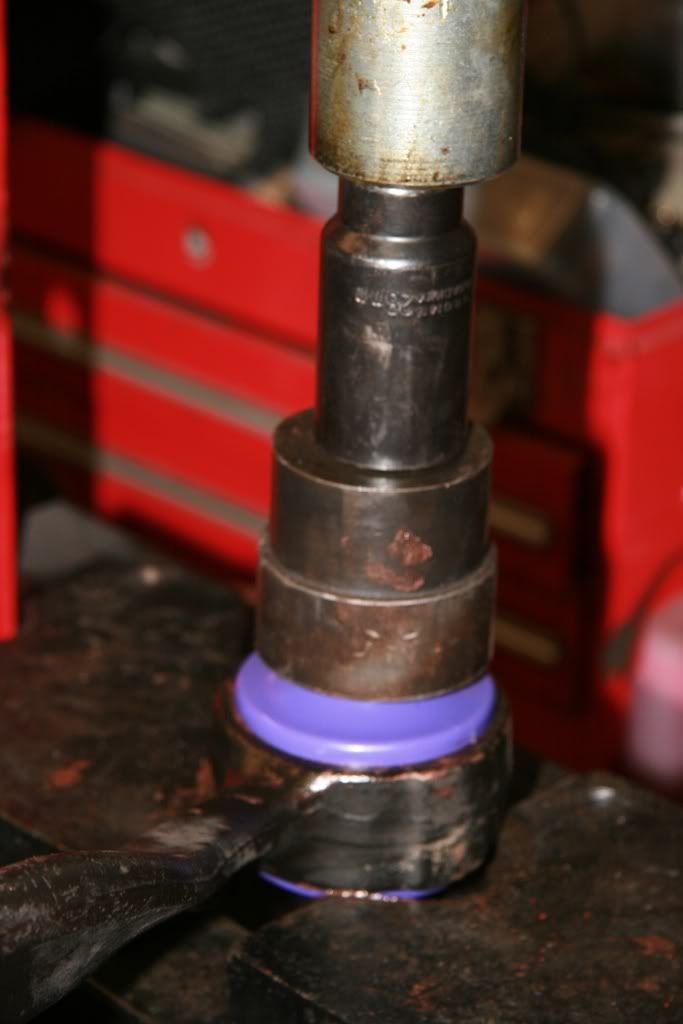
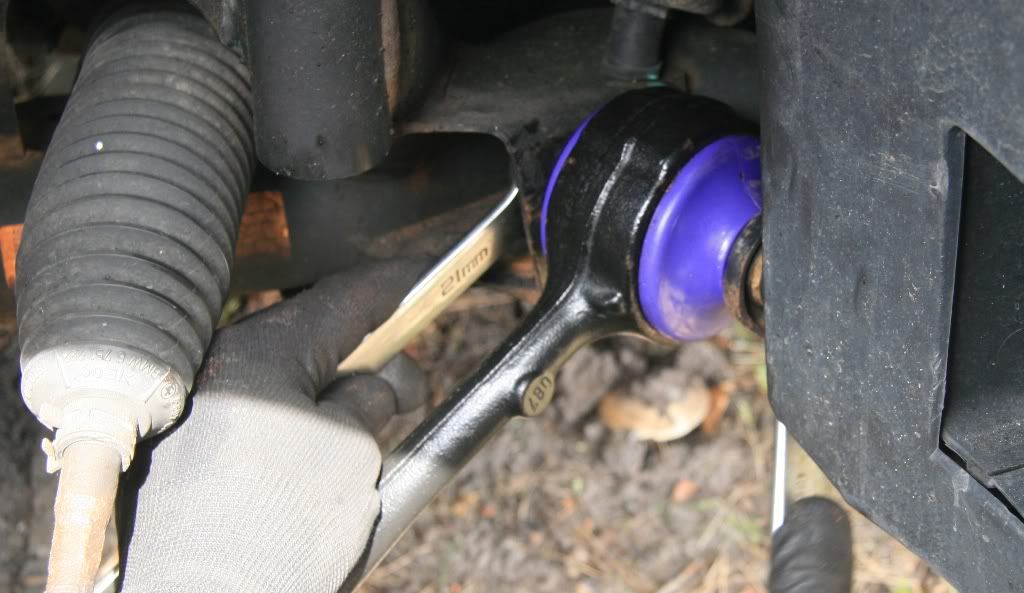
Where did you get the special tool to remove the bushings? 
|
| Sponsored Links | |
|
|
|
|
#62
01-20-2012, 10:35 AM
|
|||
|
|||
|
__________________
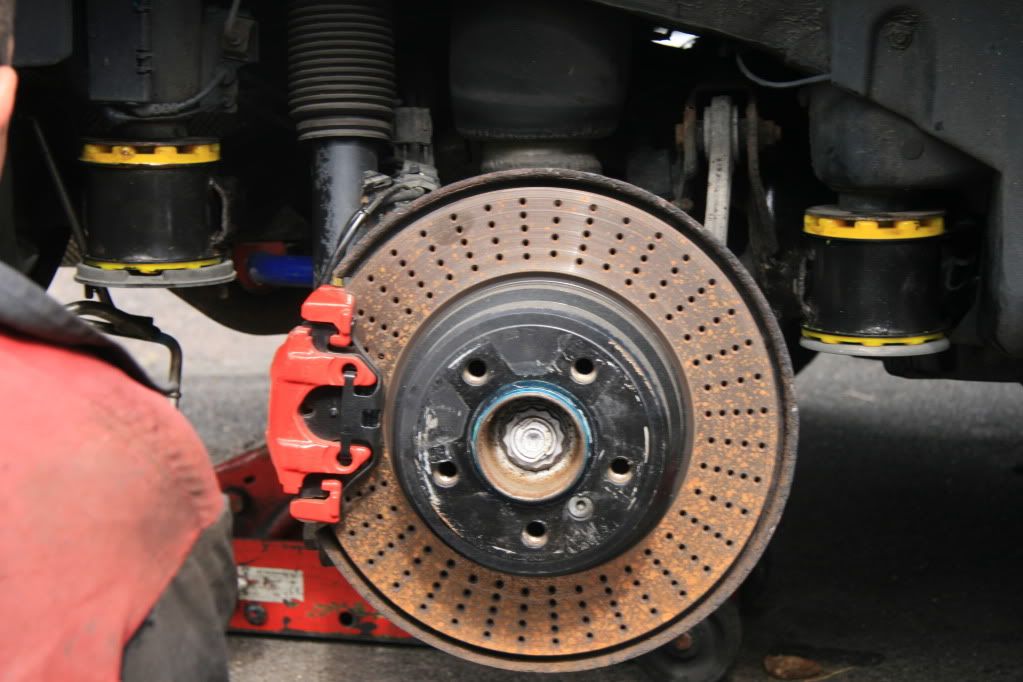
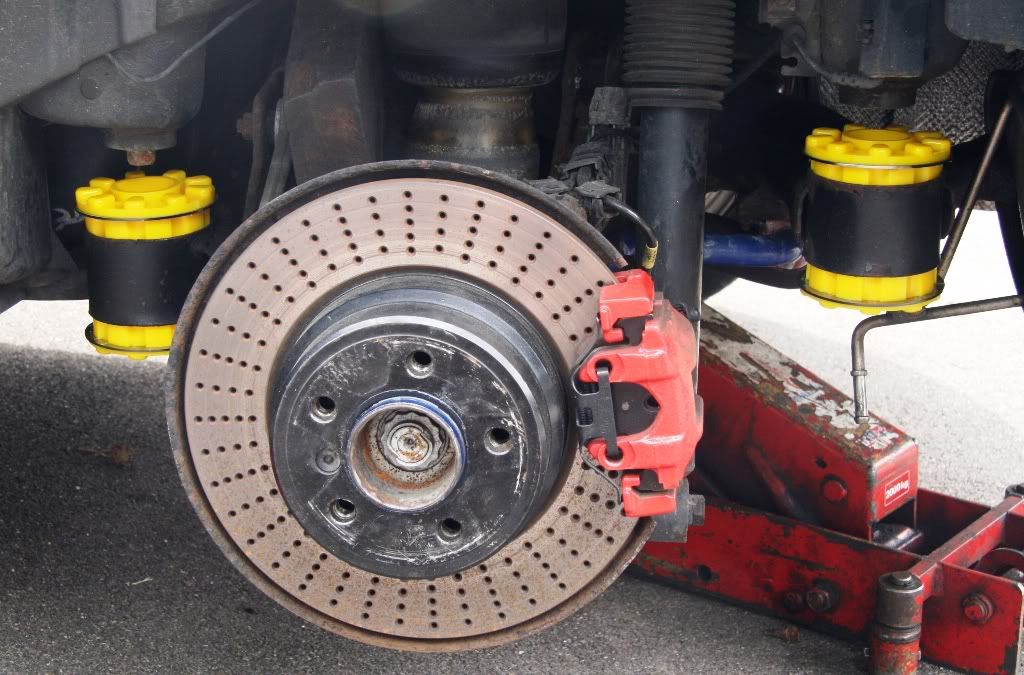
Black E53 V8 on 20's, lowered, drilled discs and poly bushes, strut brace and adjustable sway bars.
|
|
#64
01-22-2012, 09:32 PM
|
|||
|
|||
|
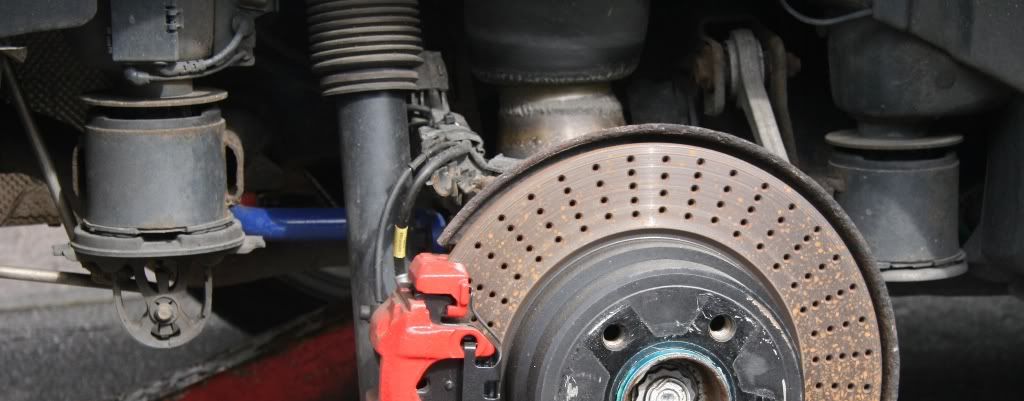
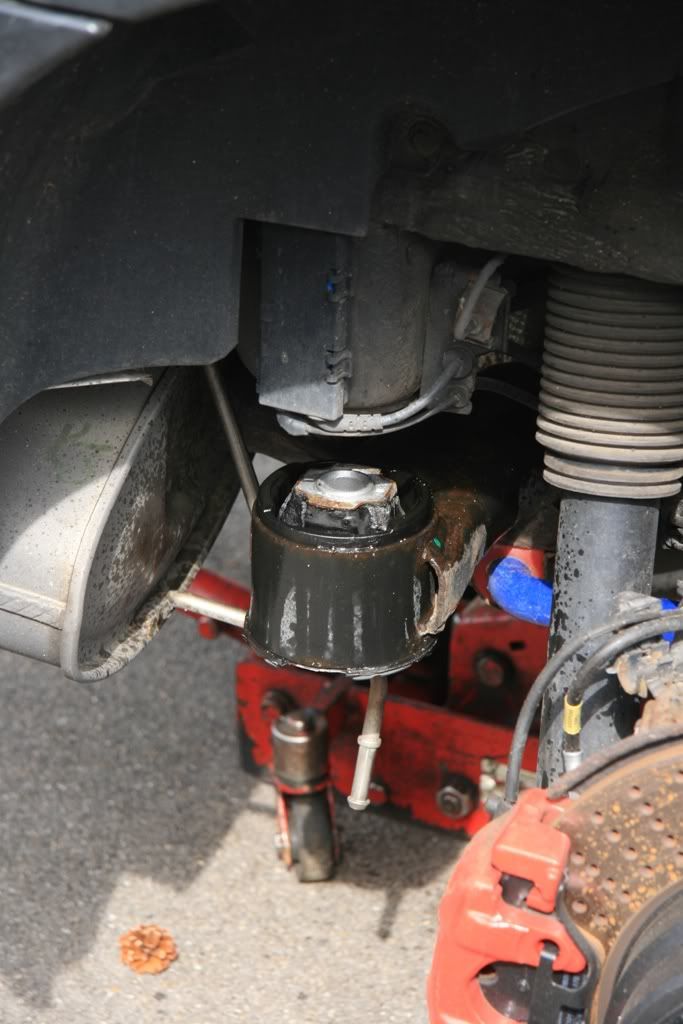
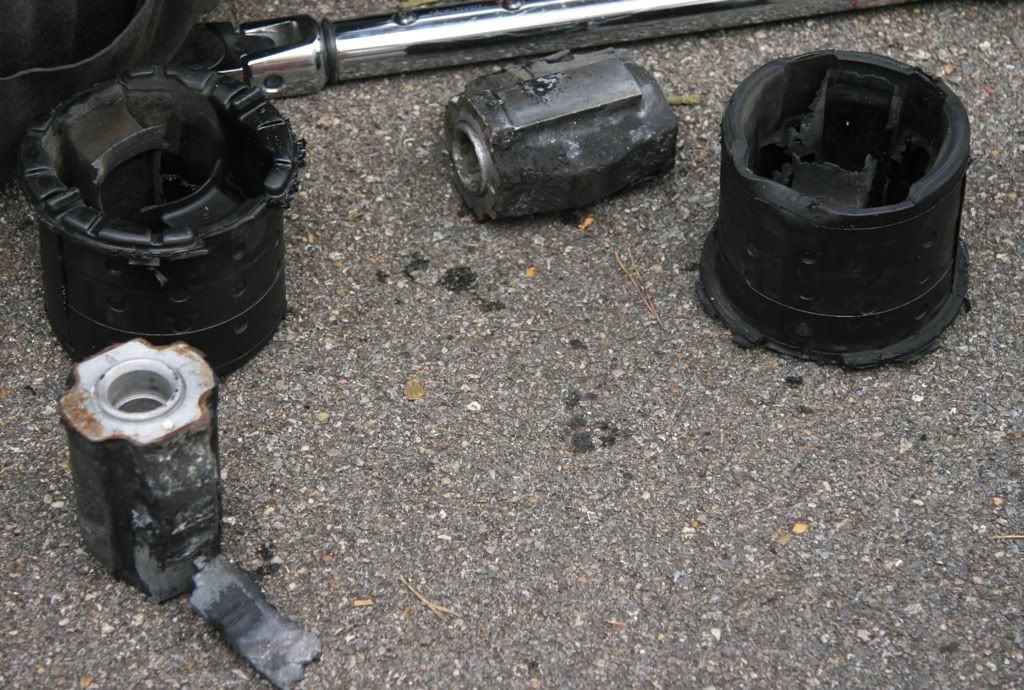
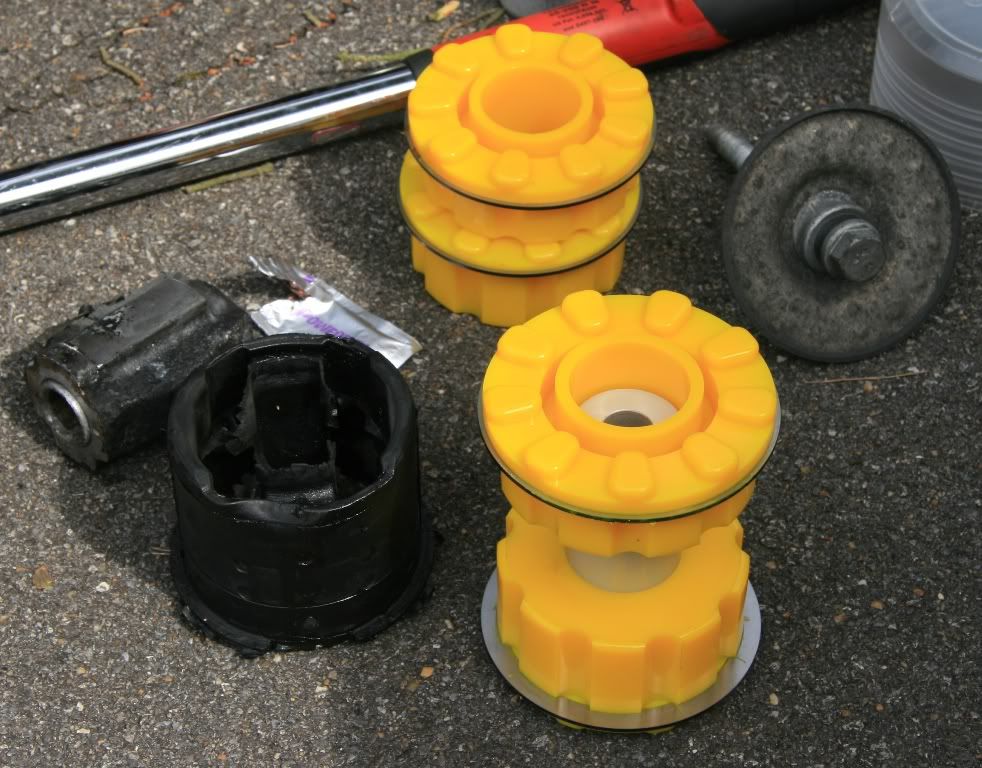
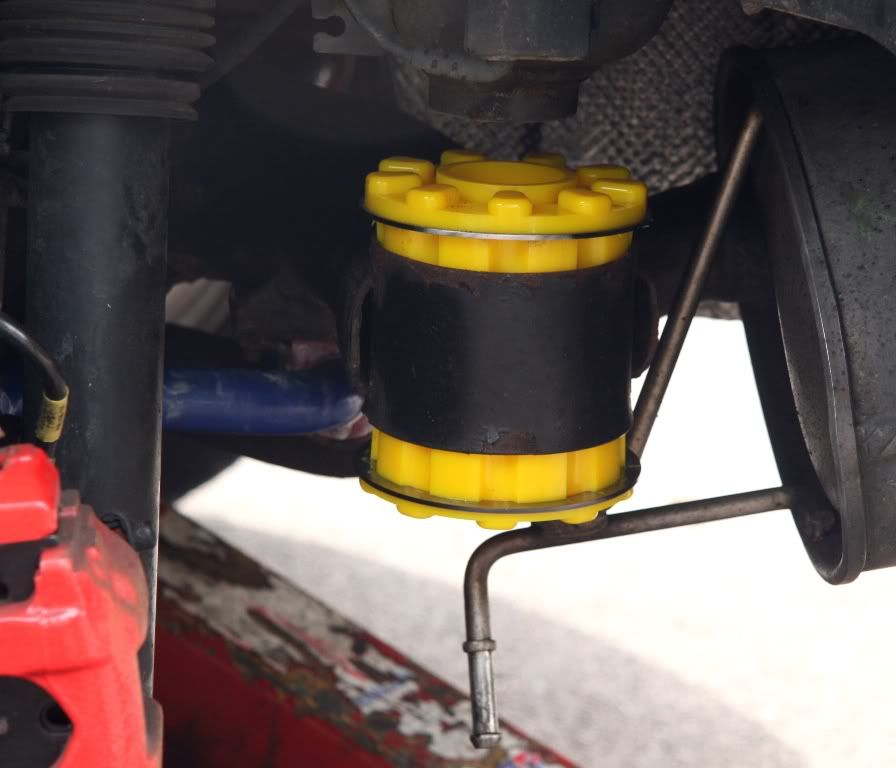
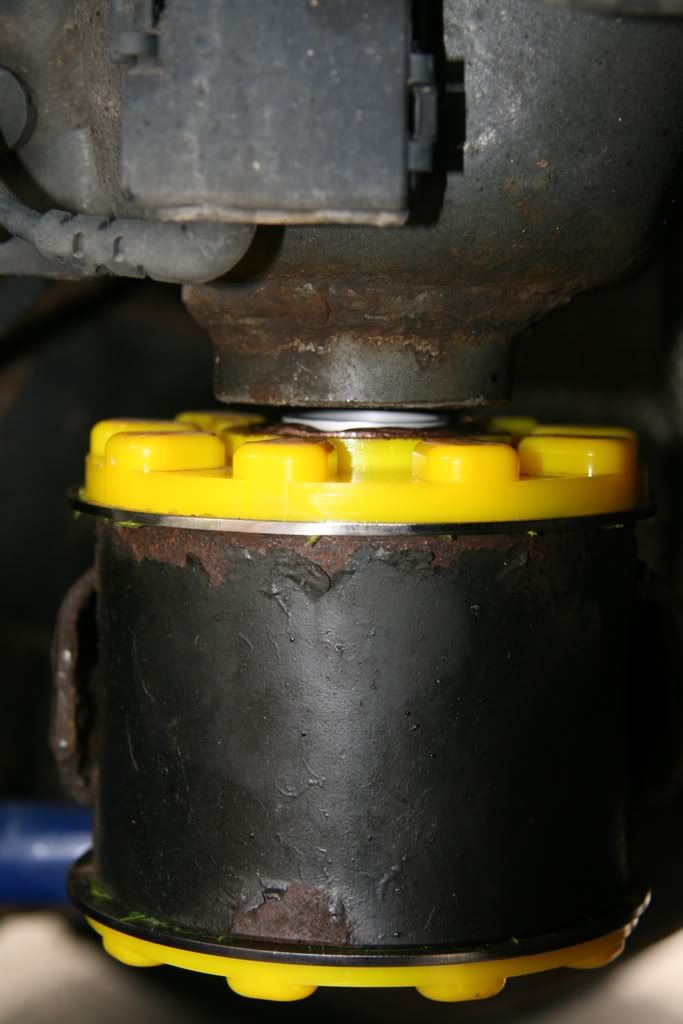
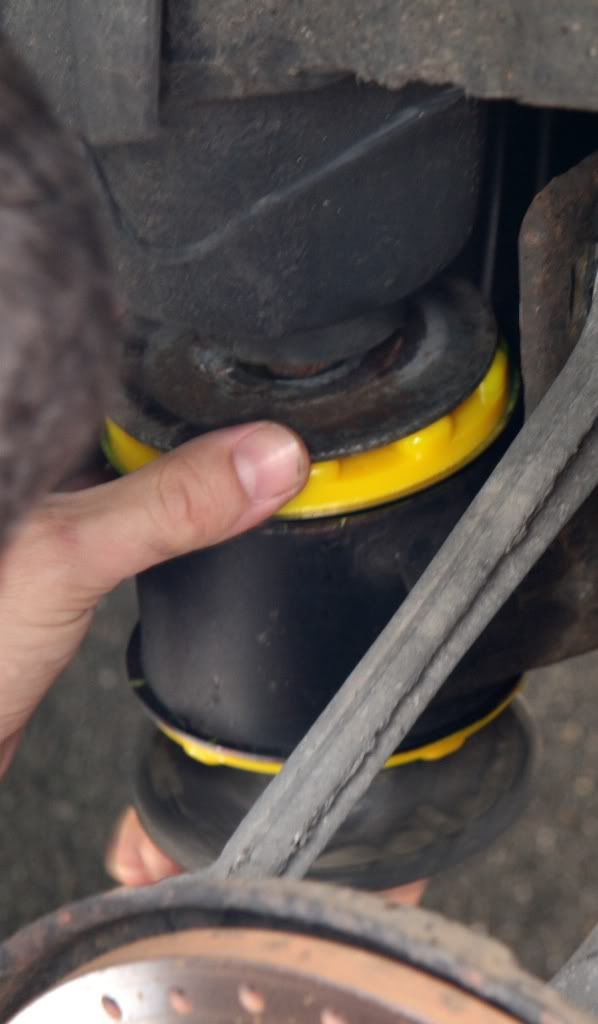
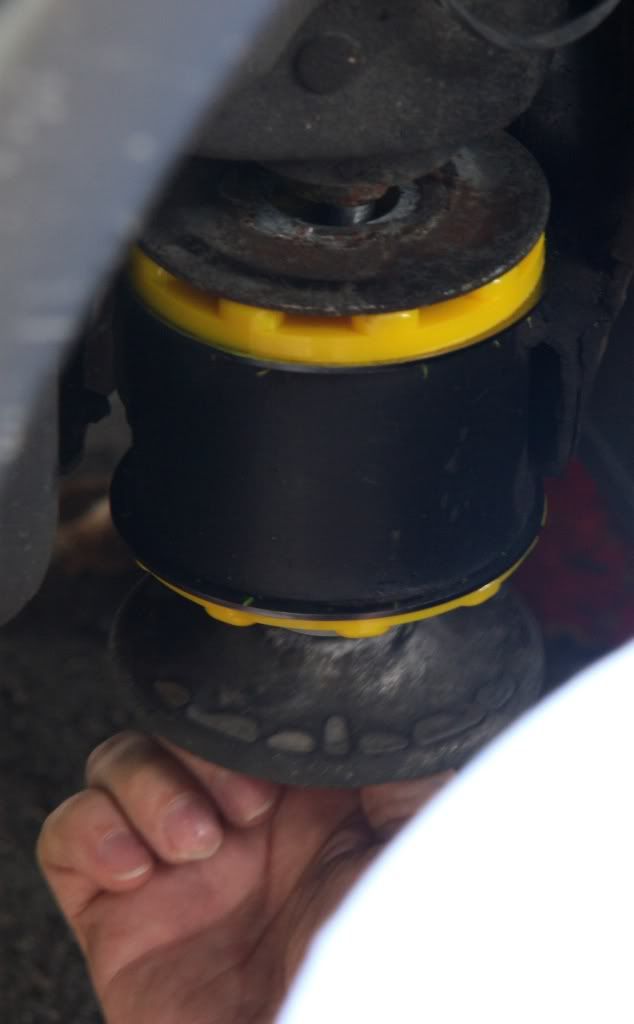
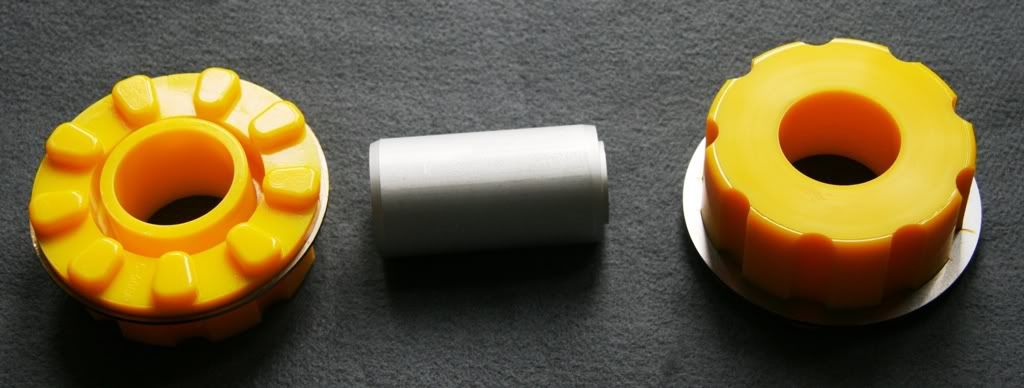
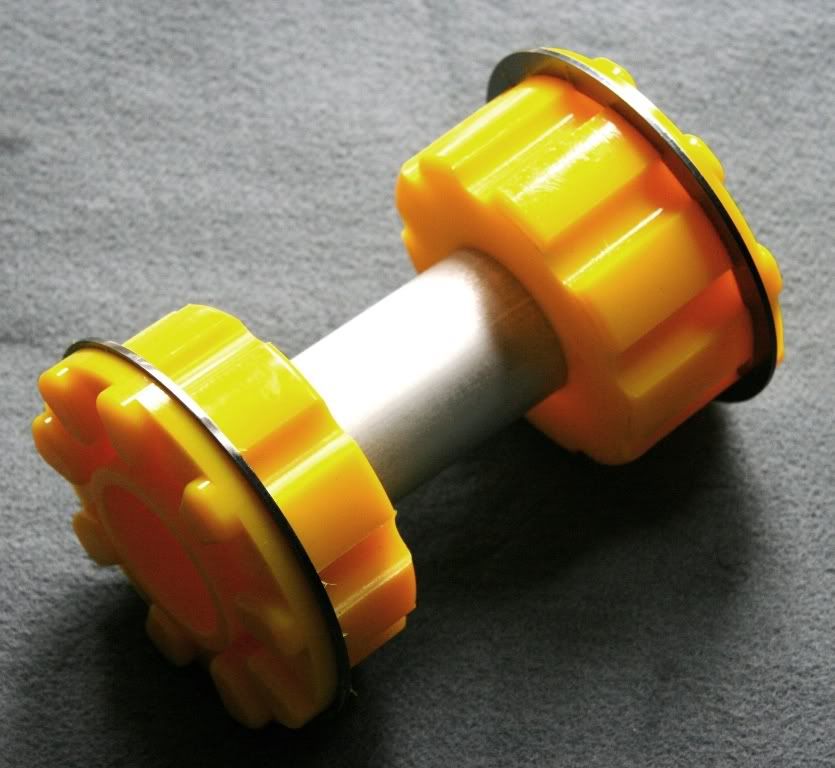
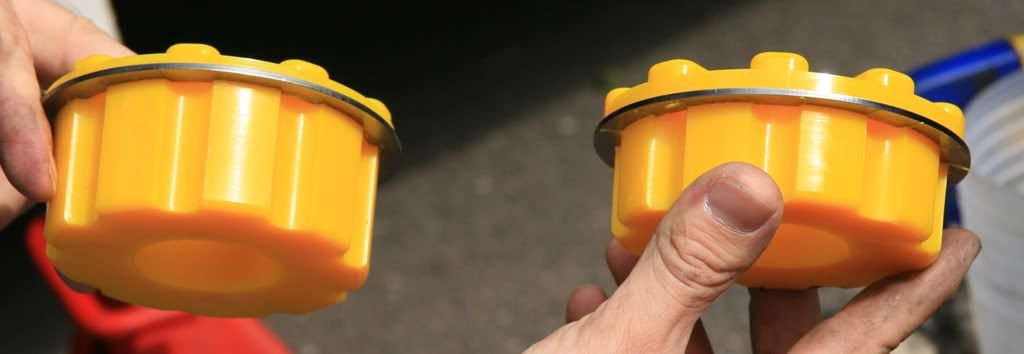
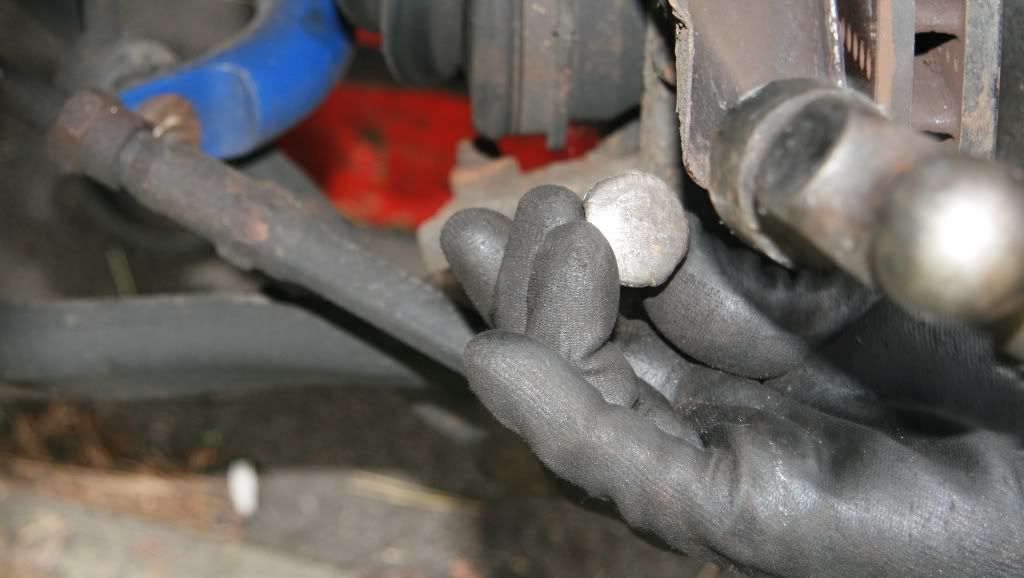
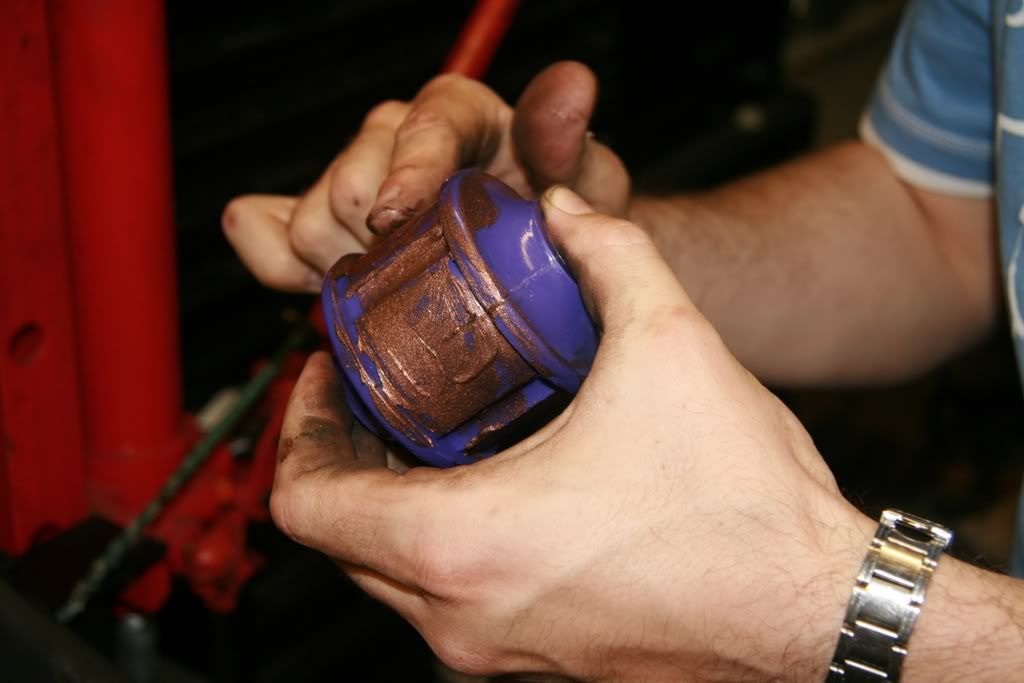
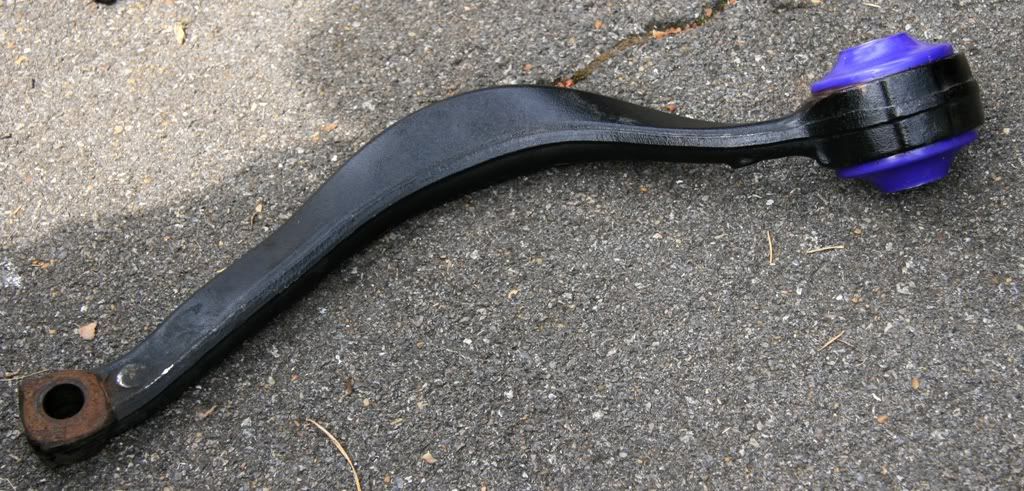
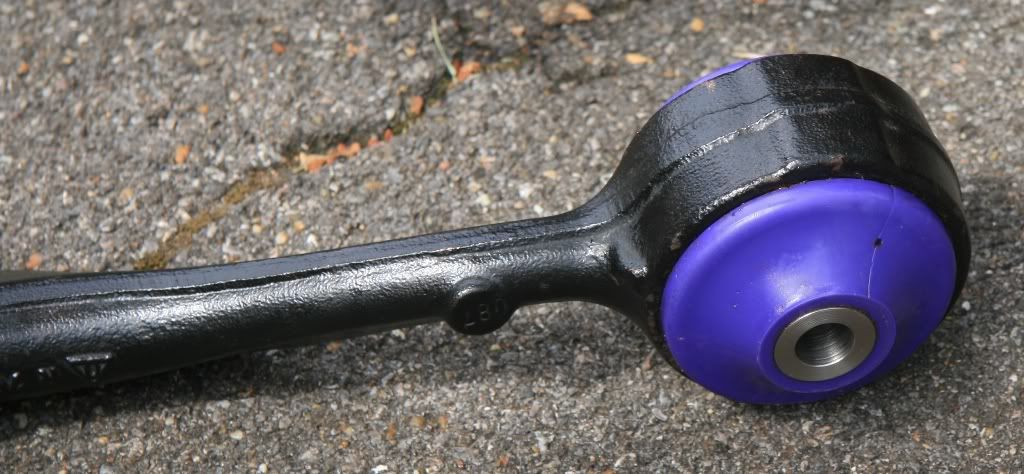
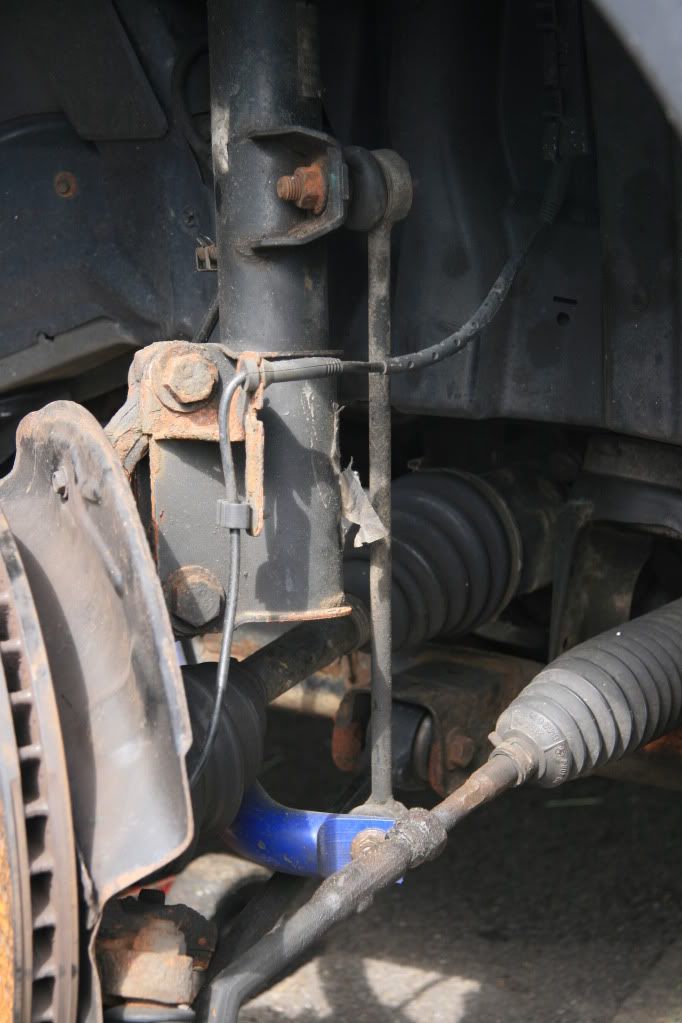
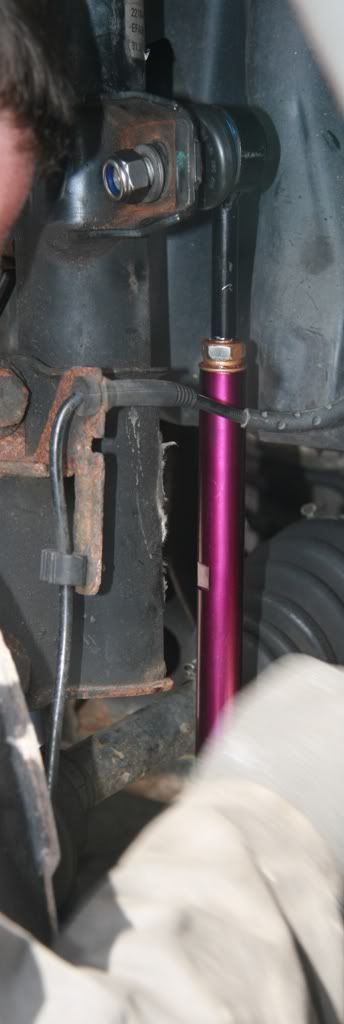
We pulled them a few weeks ago to have a look and they are still like new.
They are far superior to the stock rubber ones improving steering accuracy and brake feel. I would never go back now
__________________
Black E53 V8 on 20's, lowered, drilled discs and poly bushes, strut brace and adjustable sway bars.
|
|
#65
01-28-2012, 07:08 AM
|
|||
|
|||
|
So Gerry, still misleading people by pretending to be a girl and posting links to your own ebay listings ? Neato.
|
|
#66
01-28-2012, 01:56 PM
|
|||
|
|||
|
Quote:
|
|
#67
09-08-2012, 12:37 PM
|
||||
|
||||
|
Quote:
__________________
/ / / Mike BMW X5 Xdrive50i 2015 F15 BMW 325iC 1992 E30 BMW X5 4.4i - sold BMW 335i X Drive 2010 - sold BMW Z4 3.0is 2006 - sold BMW 325is 1993 - sold BMW 2002 1976 - sold X5 Garage
|
|
#68
09-14-2012, 01:15 PM
|
|||
|
|||
|
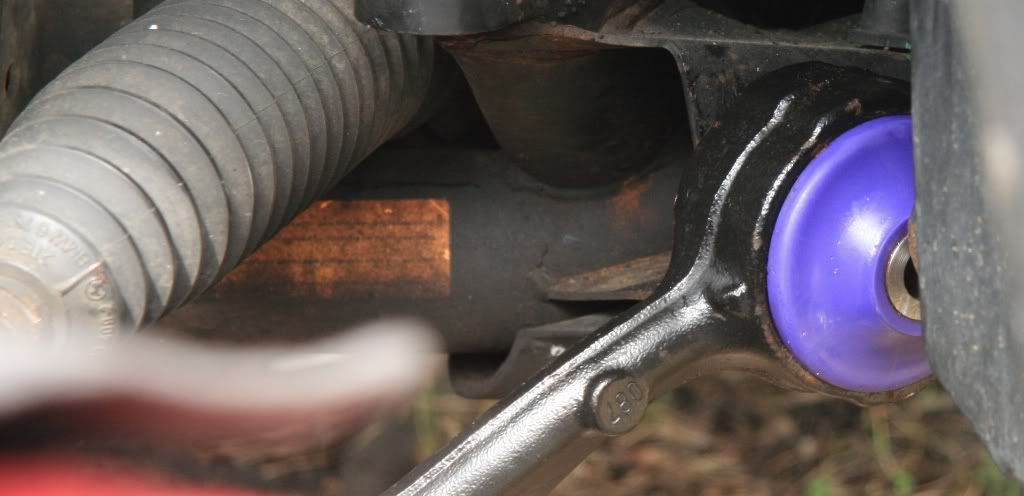
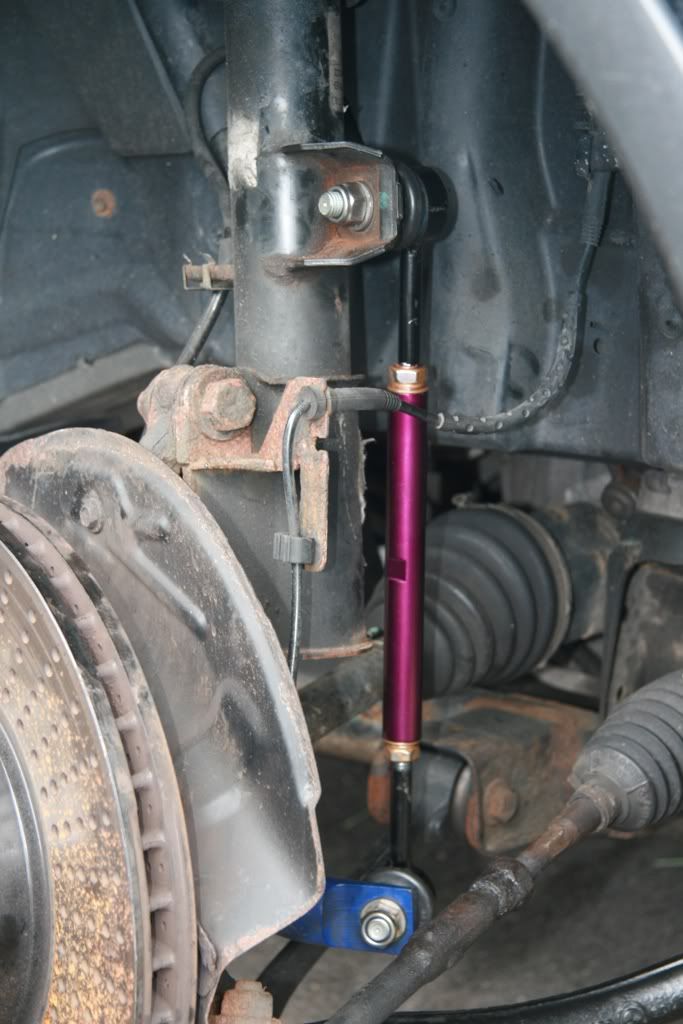
Excellent write up
 Sorry for digging up an old thread but I am curious for those who have switched over to the PM bushings. Have you found any downsides to using poly bushings such as increased road noise, squeaks or a harsher ride? I know from my Jeeps the poly's are stiffer, will handle better and will last longer, but also transmit a lot more road and mechanical noise, and my X is my oasis from that. Sorry for digging up an old thread but I am curious for those who have switched over to the PM bushings. Have you found any downsides to using poly bushings such as increased road noise, squeaks or a harsher ride? I know from my Jeeps the poly's are stiffer, will handle better and will last longer, but also transmit a lot more road and mechanical noise, and my X is my oasis from that.
|
|
#69
12-13-2012, 09:40 AM
|
|||
|
|||
|
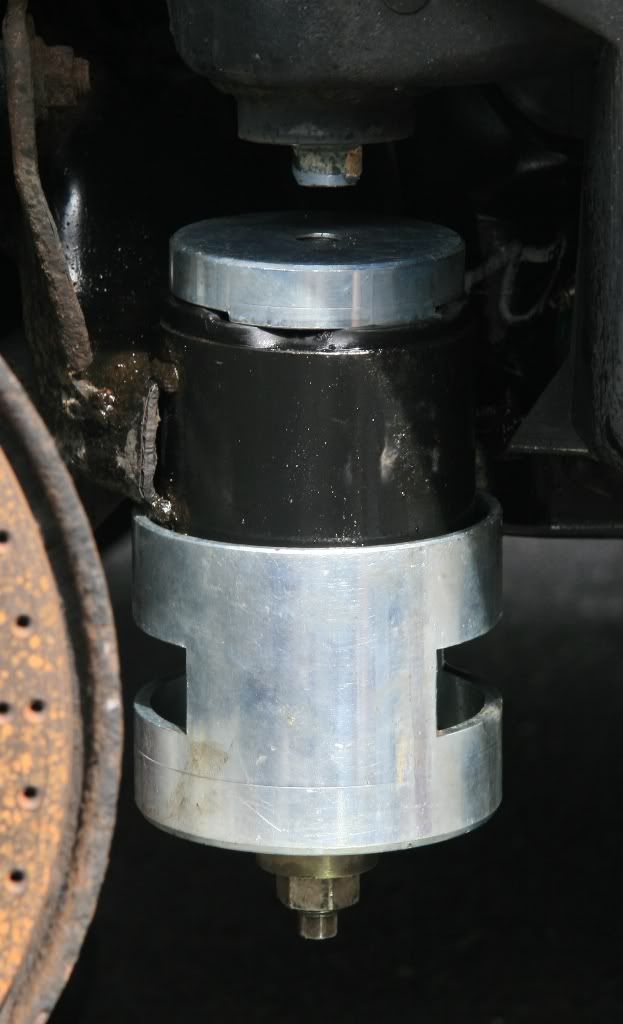
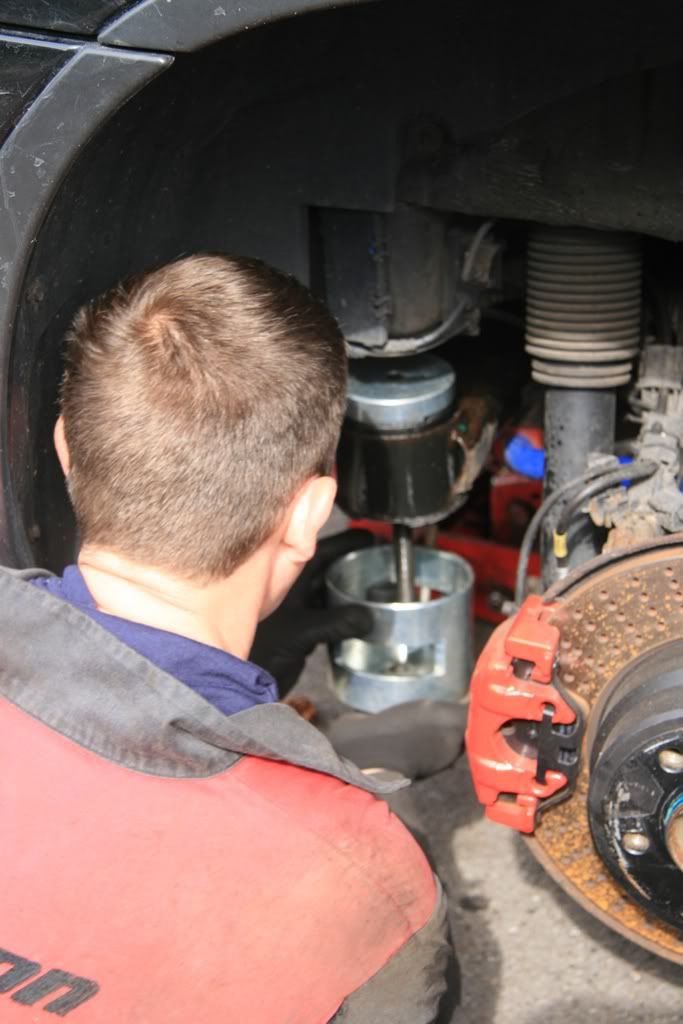
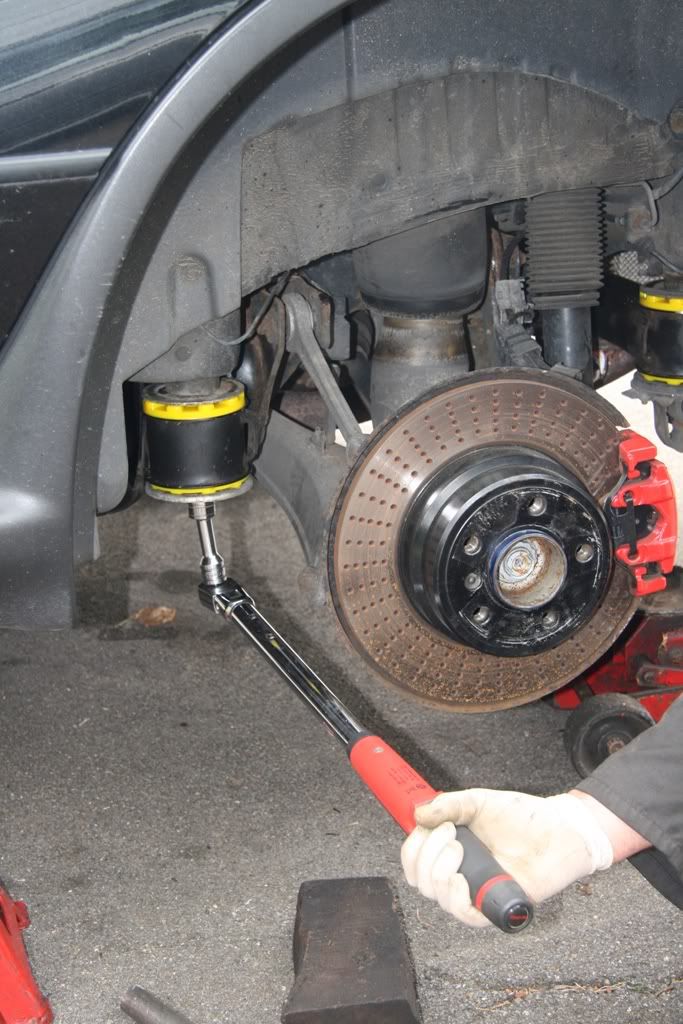
The tool is also available to hire at a competitive rate from Specialist Garage Tools For Hire It's also supplied with a ratchet spanner which makes the job MUCH quicker if changing all four to OEM bushes.
|
|
| Bookmarks |
|
|
|
|


 Linear Mode


